Mycelium Cultivation Typography
1. Extended Methodology
An extended methodology presenting the photographic documentation, detailed processes, and an Observation Log recording the observations and reflections for experiments 1A and 1B.
View a compilation of all the letters for Experiment 1A here, and Experiment 1B here.
Materials:
- Malt extract agar plates
-
Grain spawn - Mycelium strands
︎︎︎Reishi
︎︎︎Pearl Giant Oyster -
Black Cardboard
-
Shoeboxes
-
Masking Tape
-
Clear Tape
-
Permanent Marker
- Sterilised tweezer

Process:
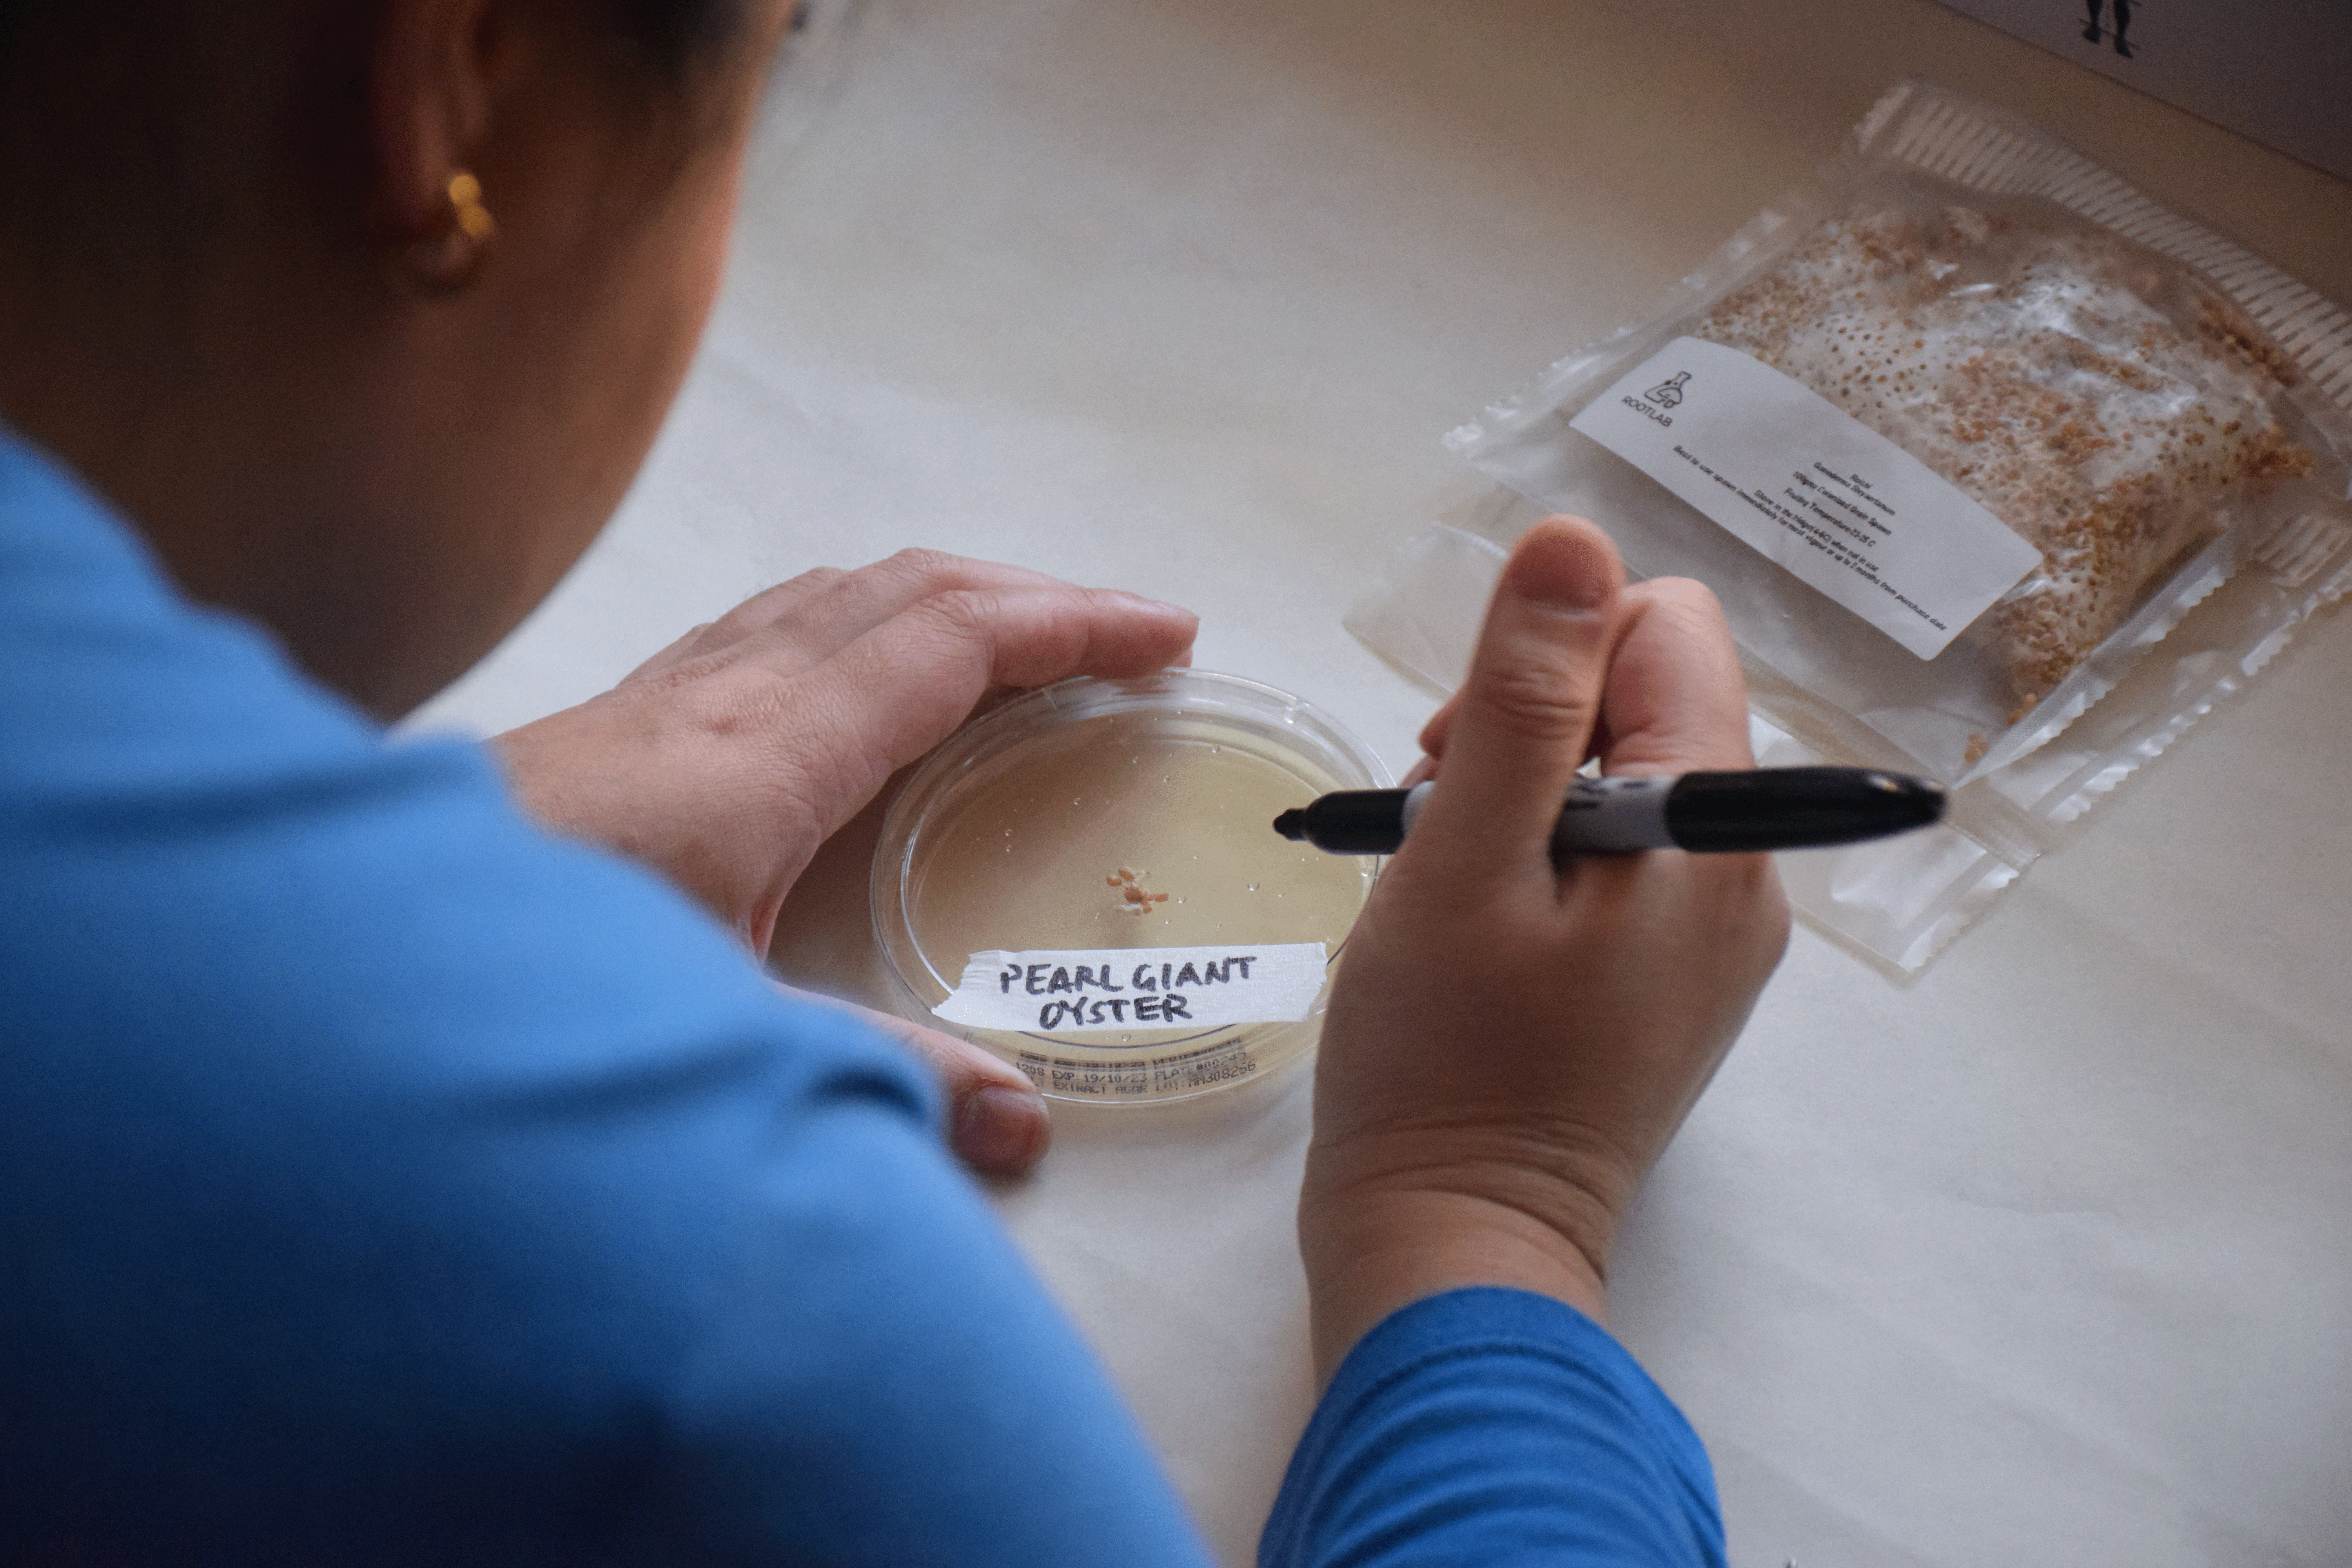
Make sure your hands are clean and sterilise your working environment and tweezers.
CONTROL:
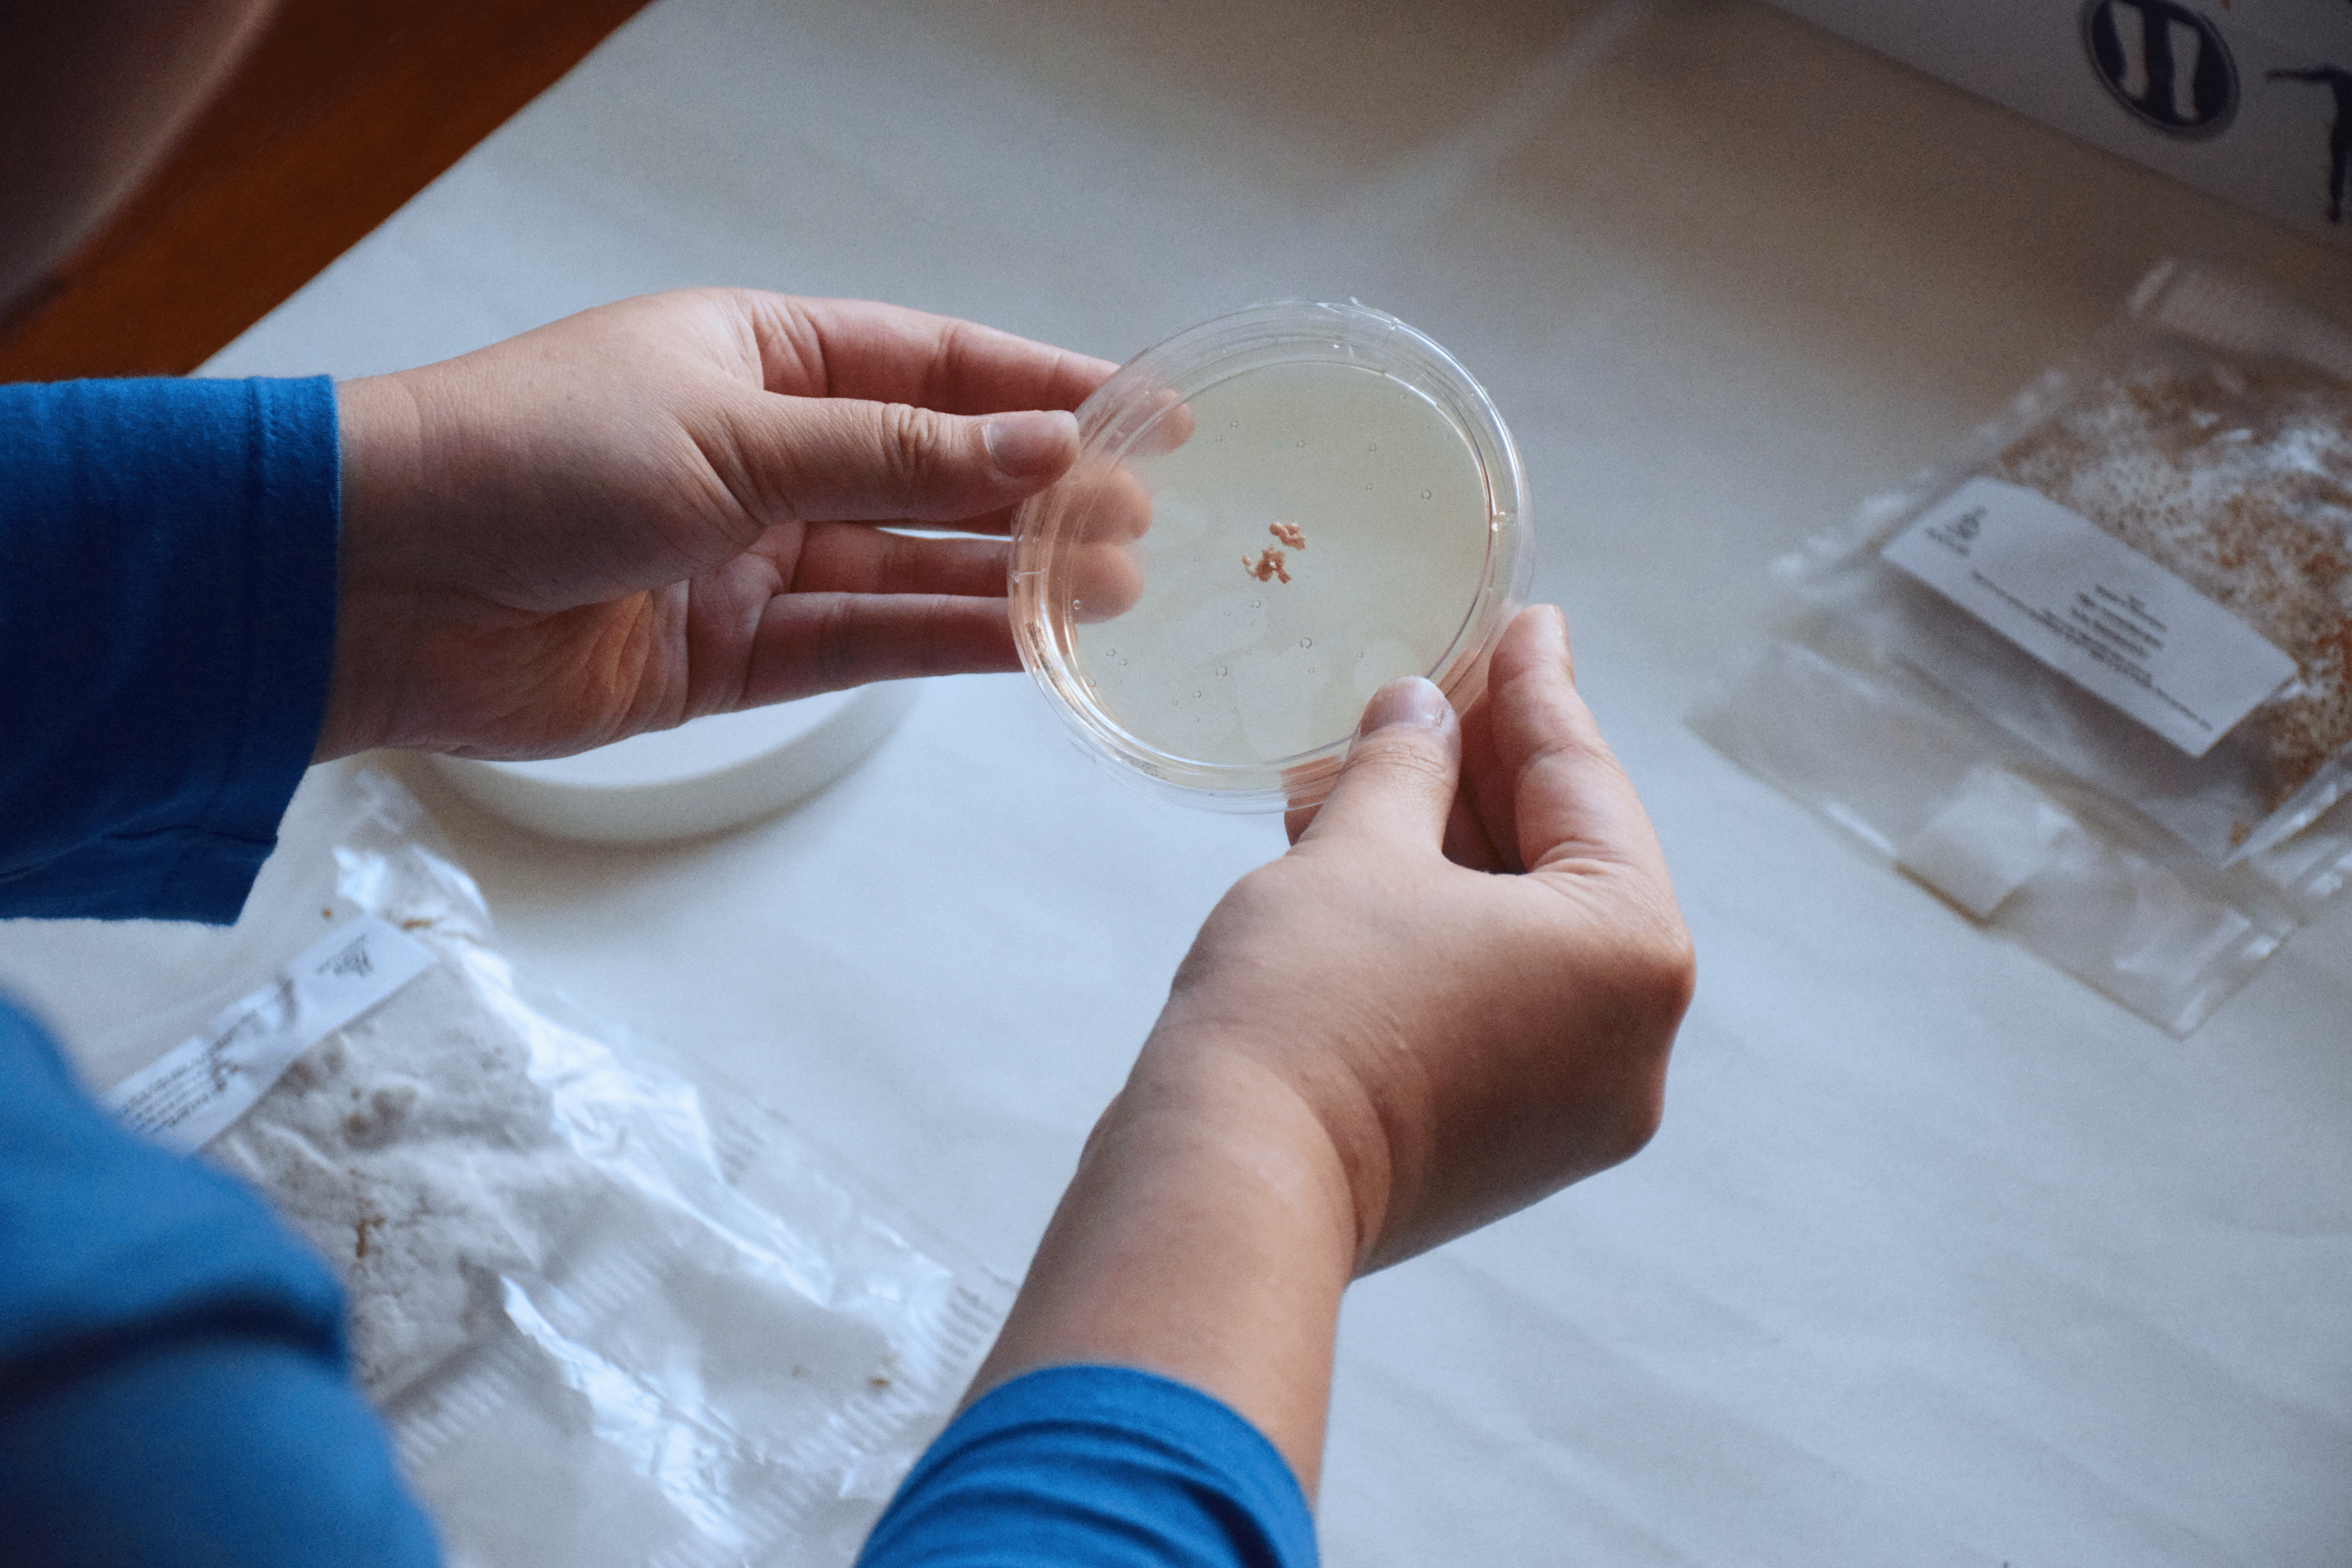
- Place a cultured grain spawn (of your chosen species) using the sterilised tweezer onto the centre of a petri dish.
- This will be your control grain spawn.
- Place the petri lid onto the dish and tape the edges with clear tape. This will prevent external bacteria and substances from going into the petri dish.
- Label the species, date and title onto masking tape. Place the masking tape on top of the closed petri dish.
- Place dish against black cardboard and take a photograph from a birds eye view of the petri dish.
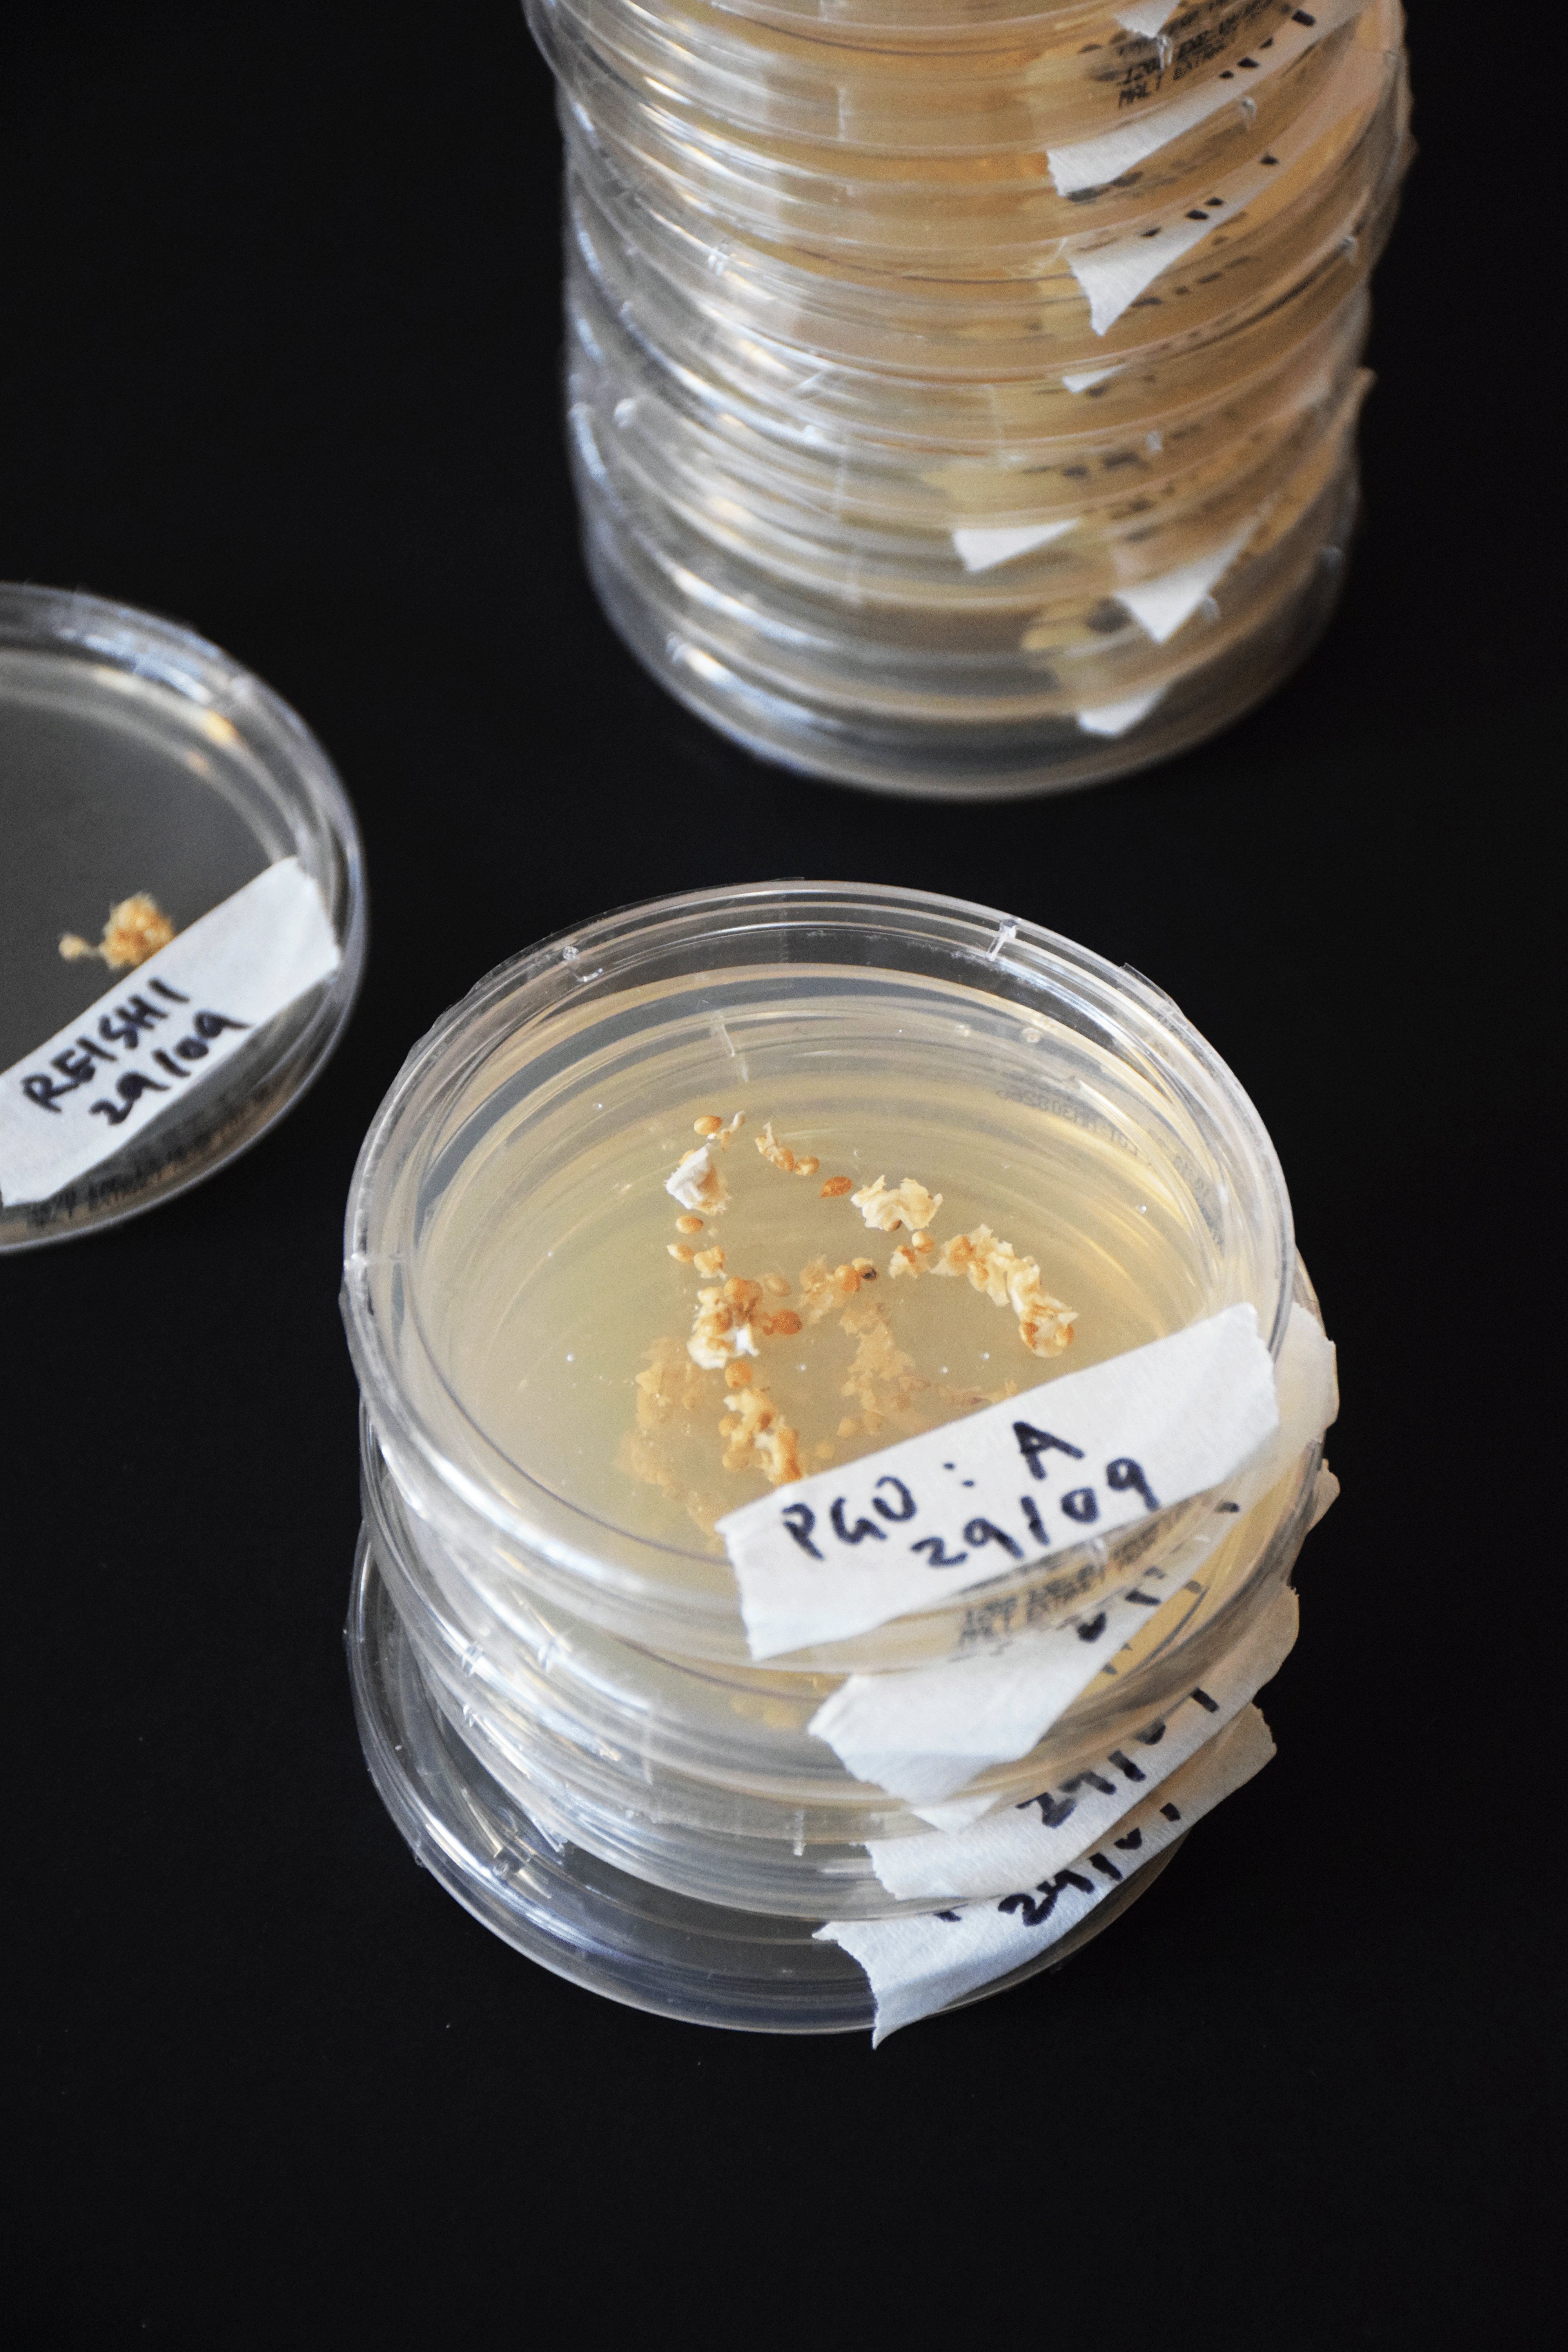
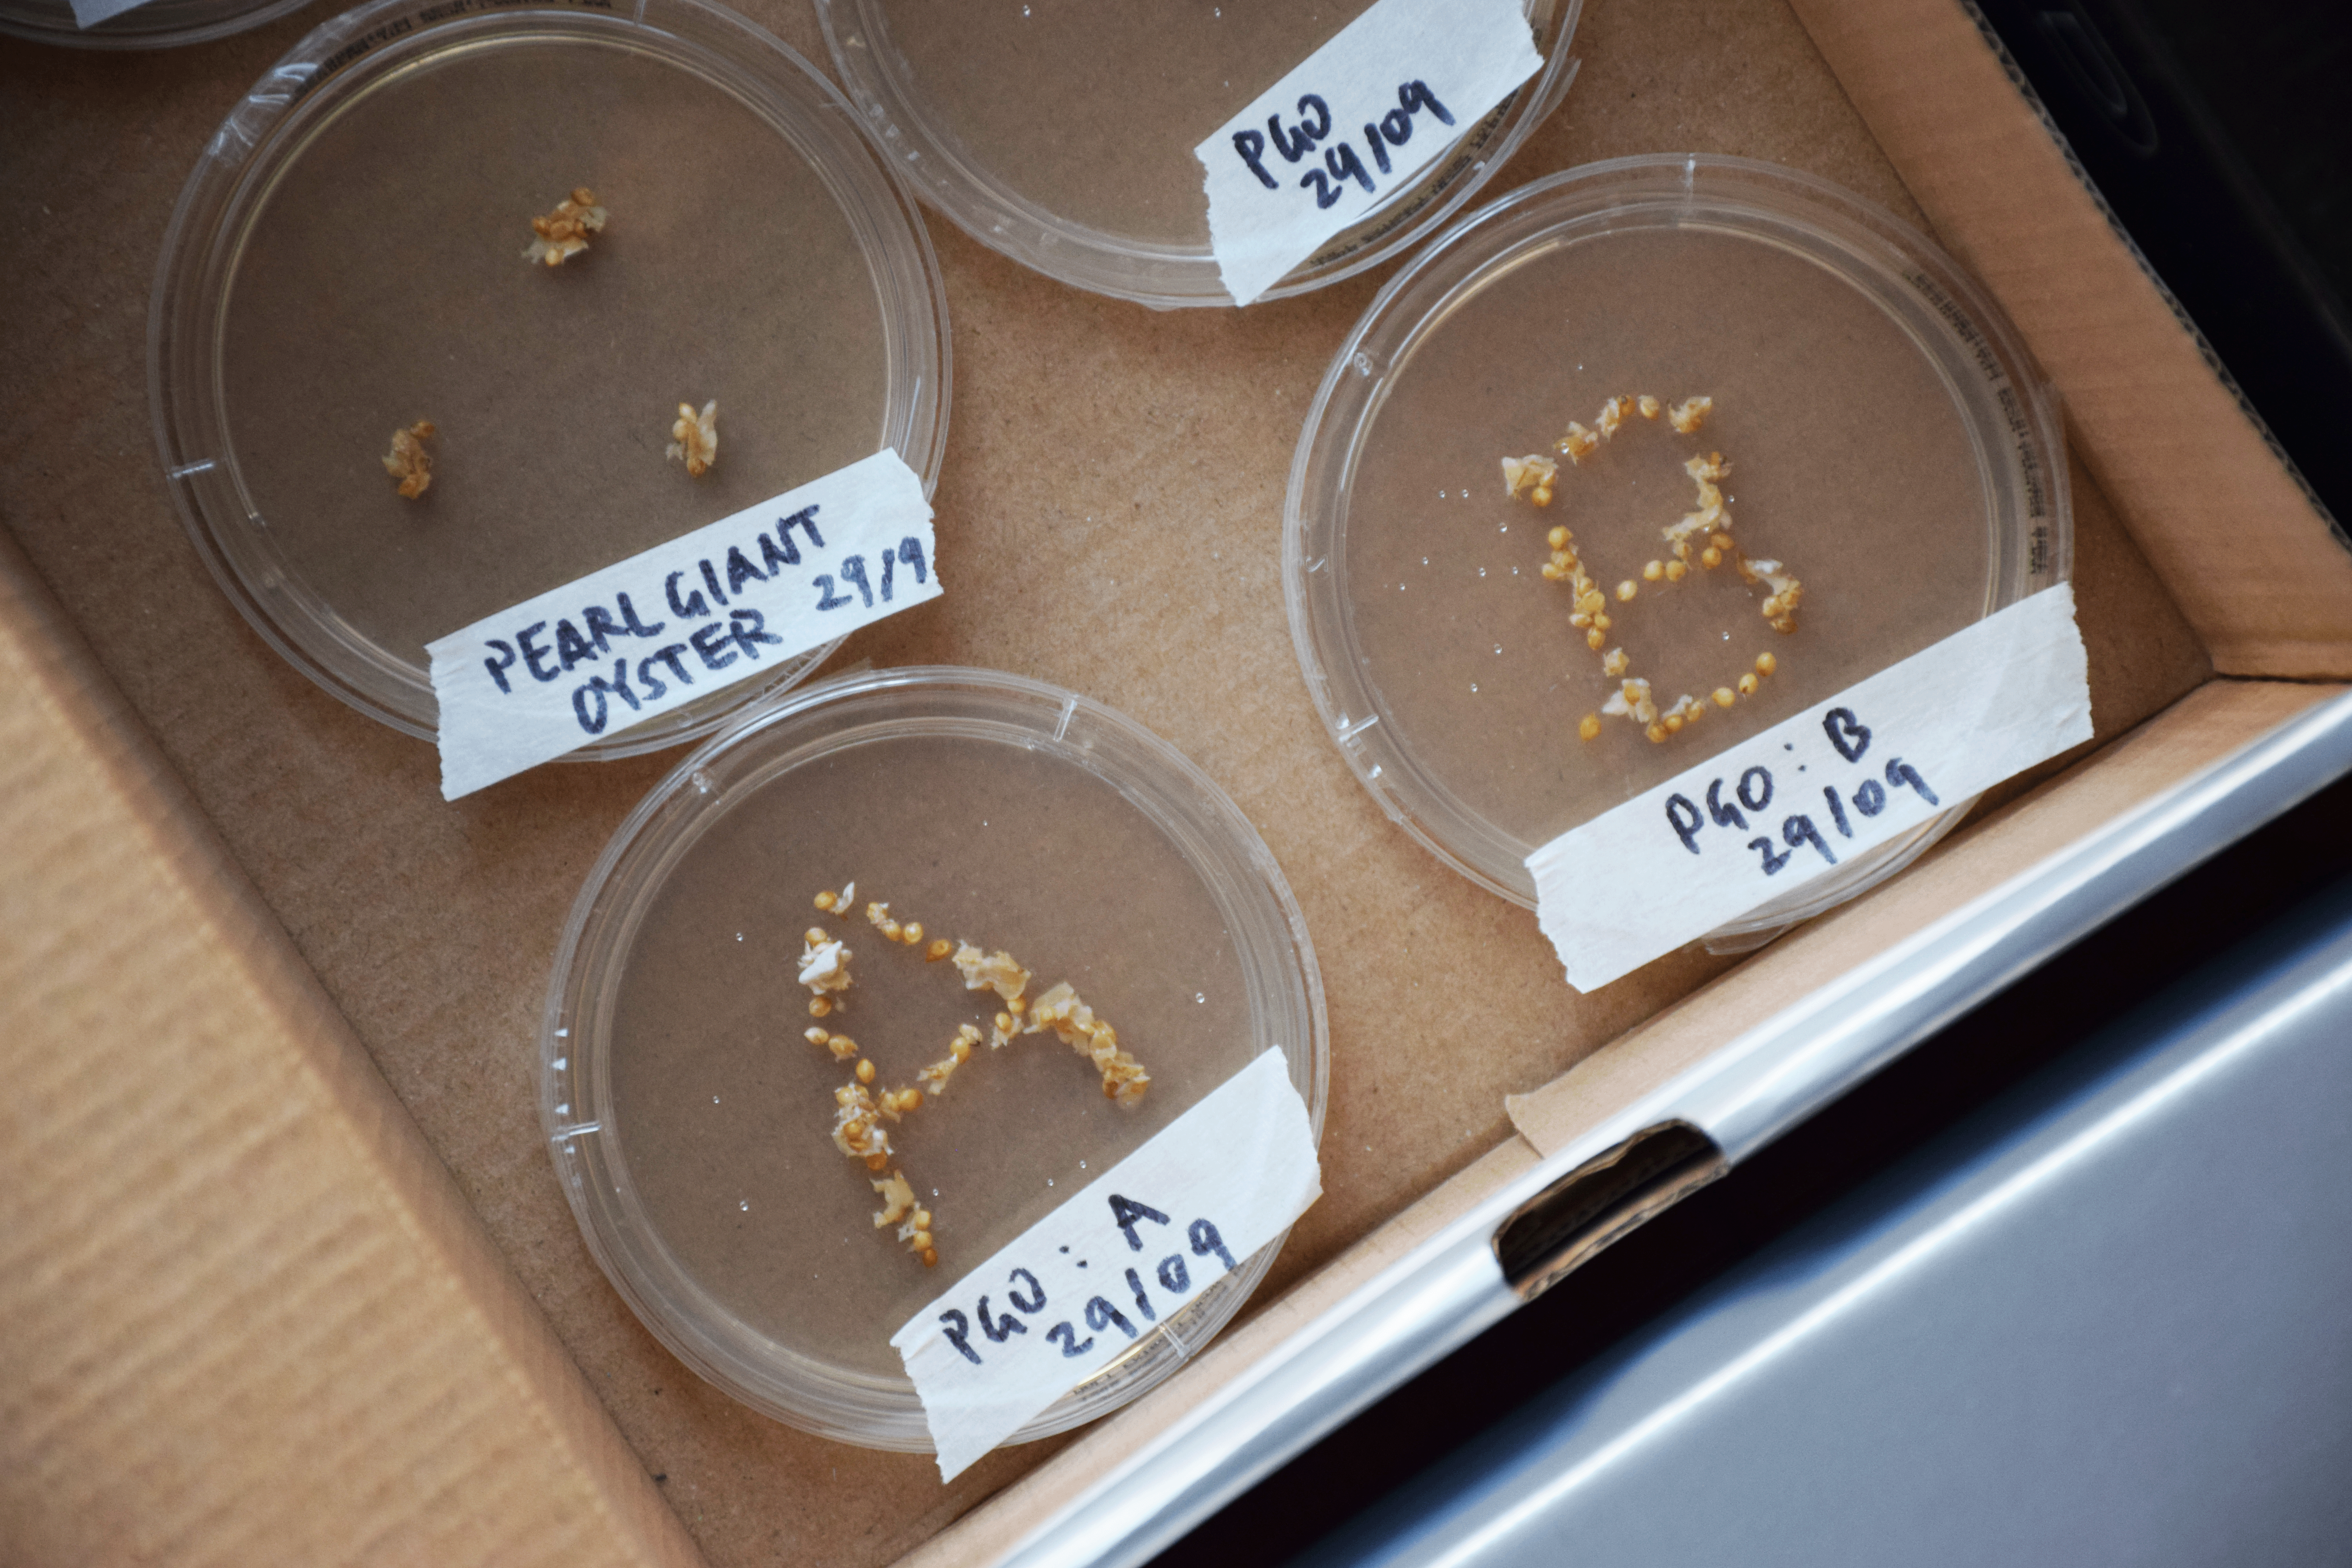
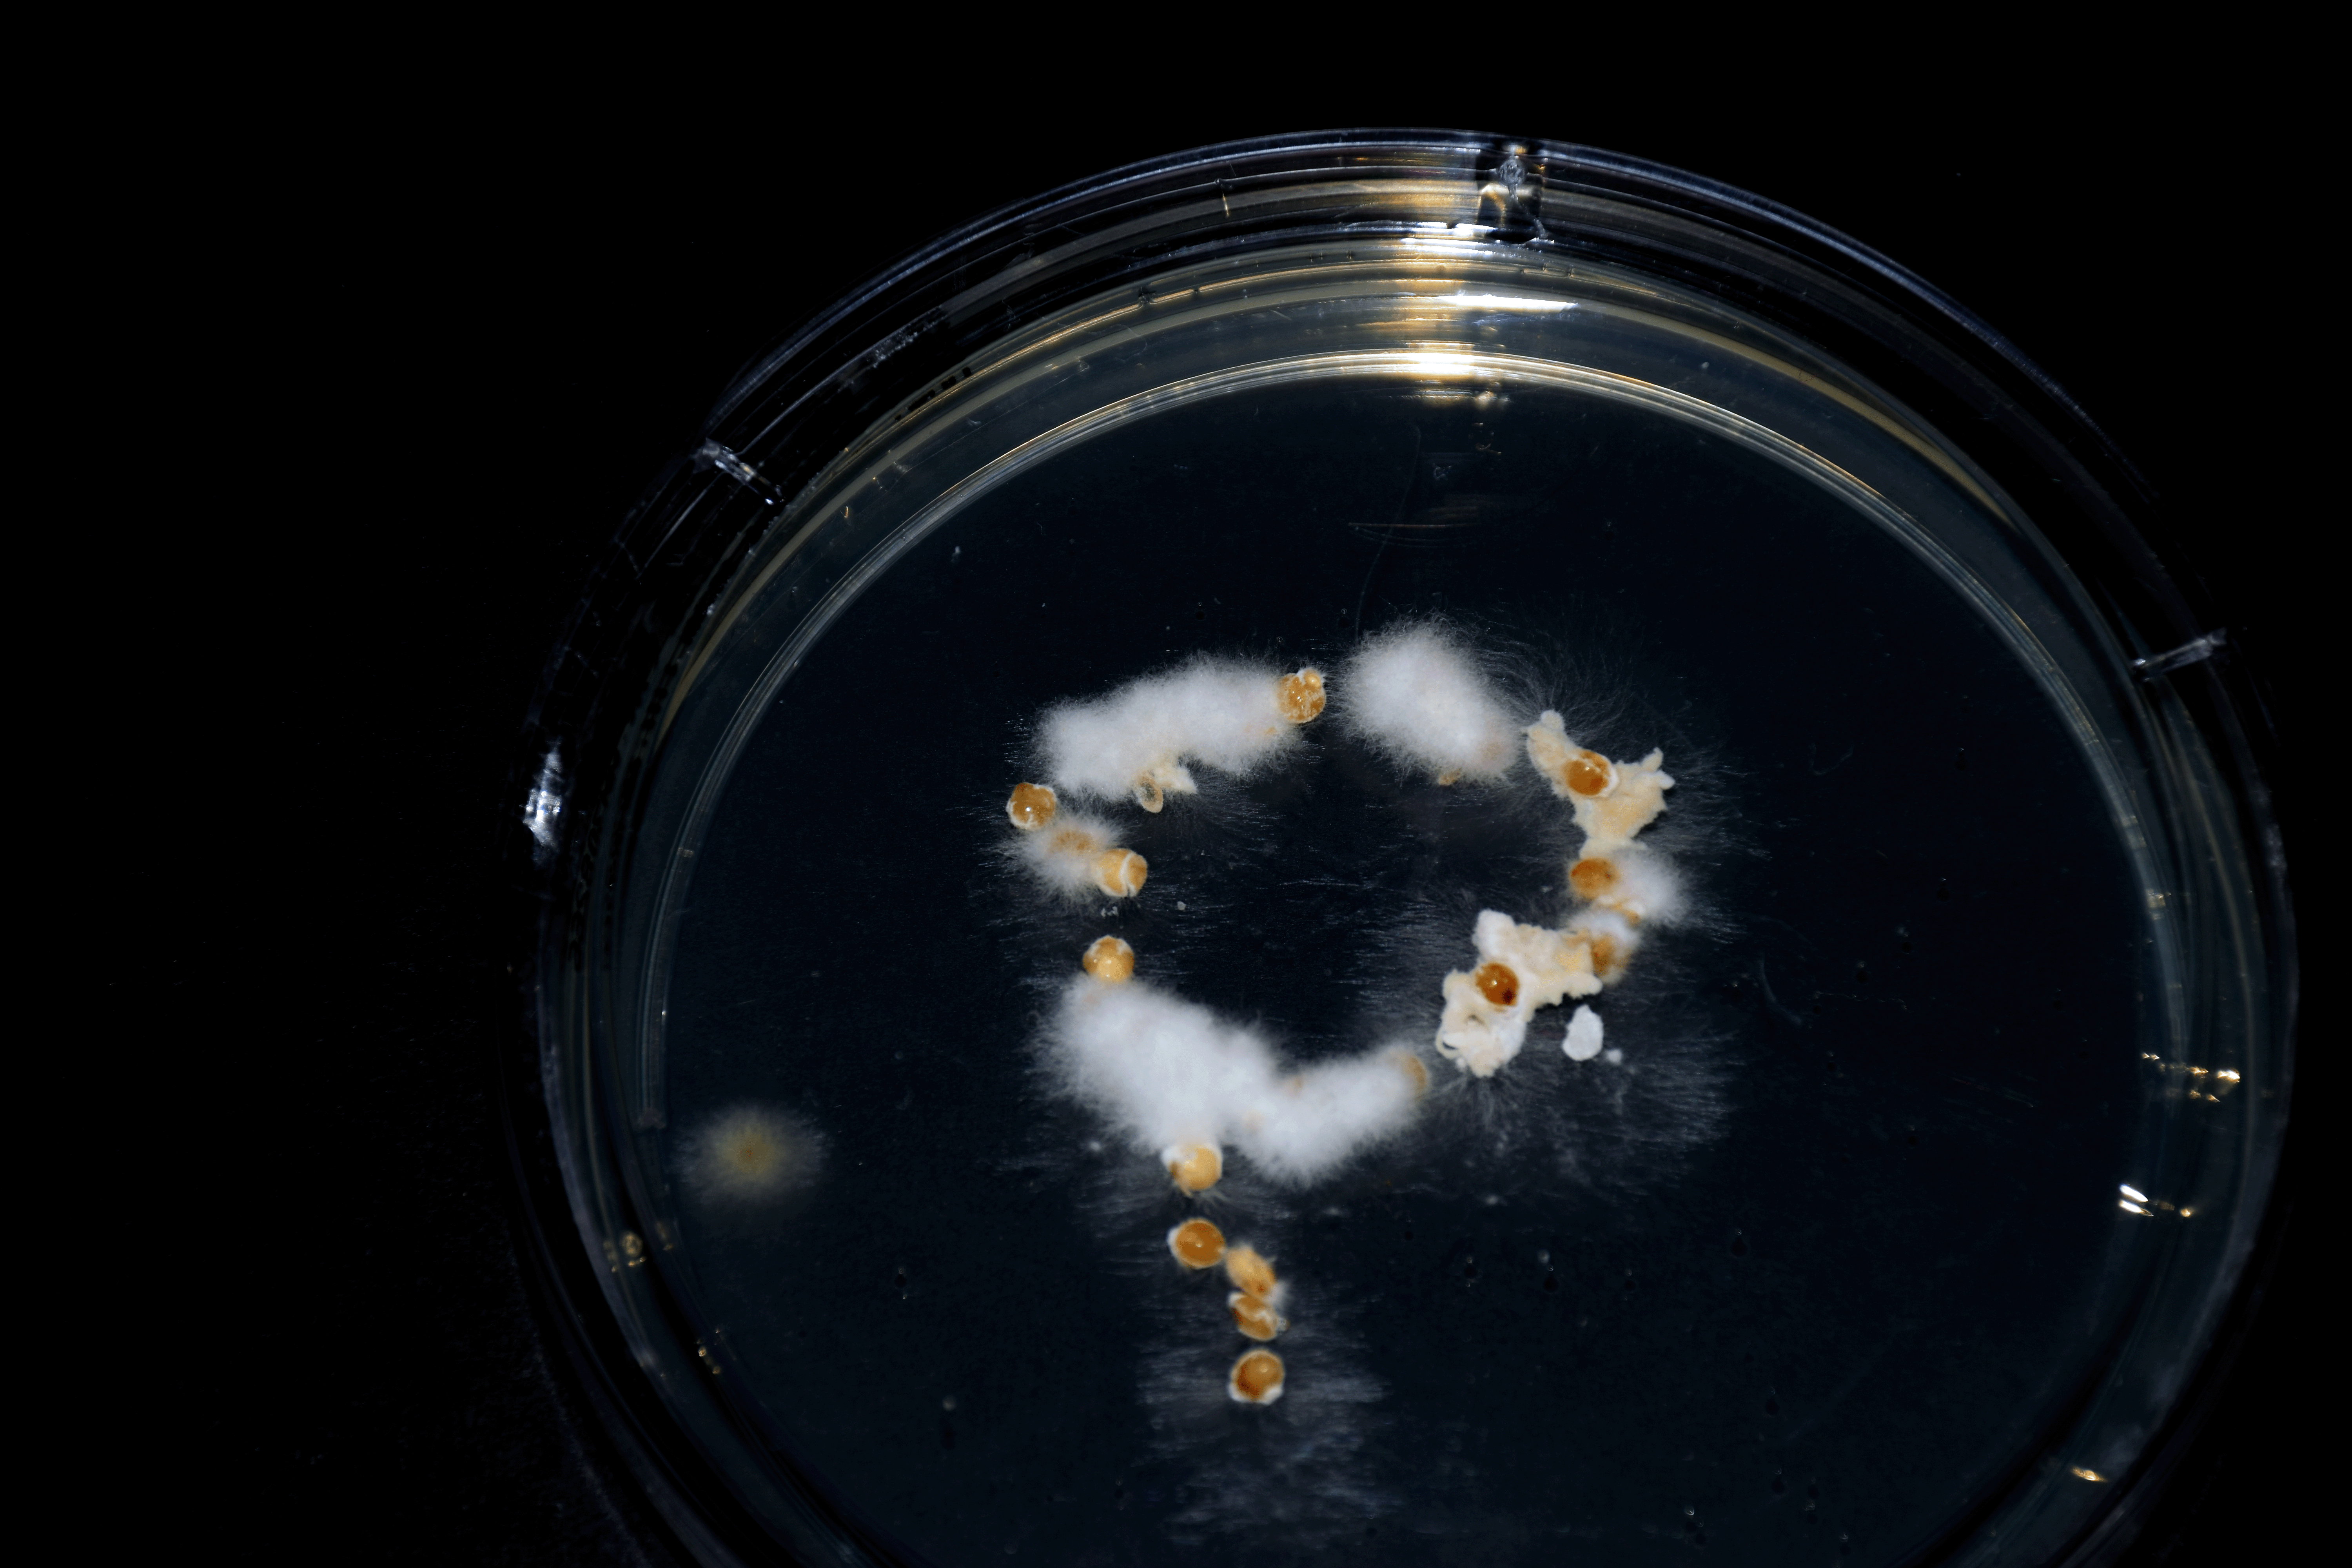
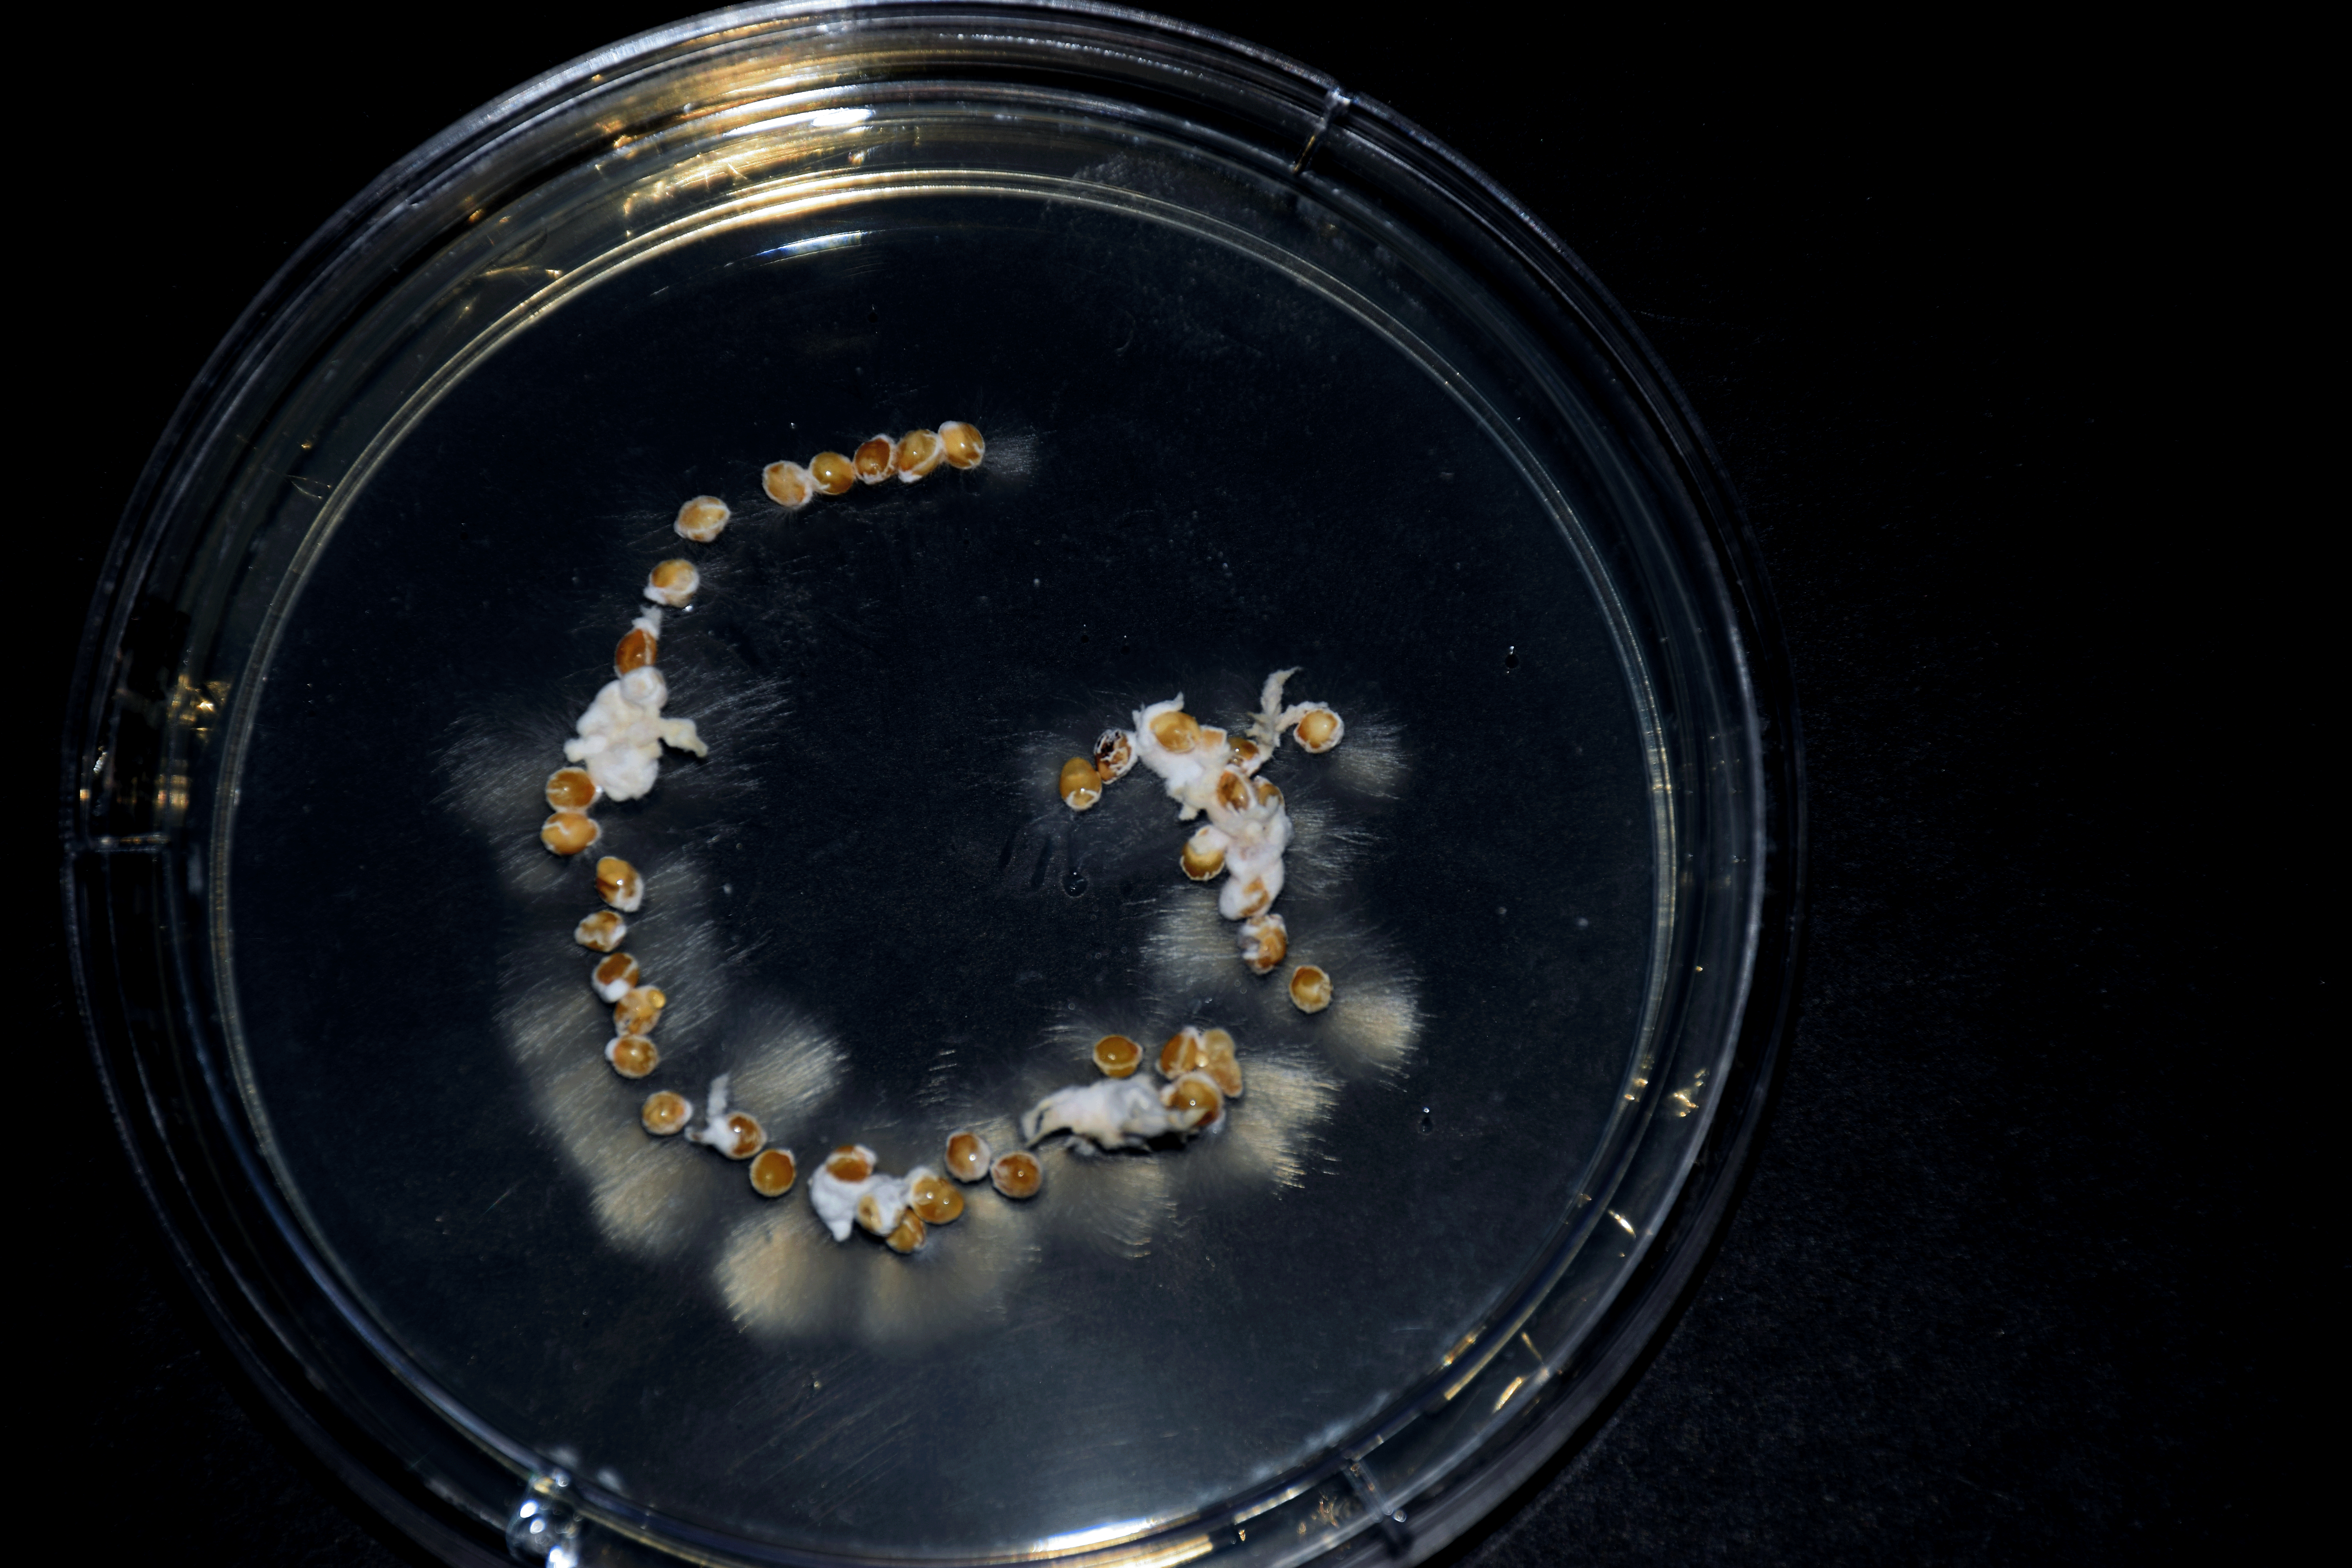
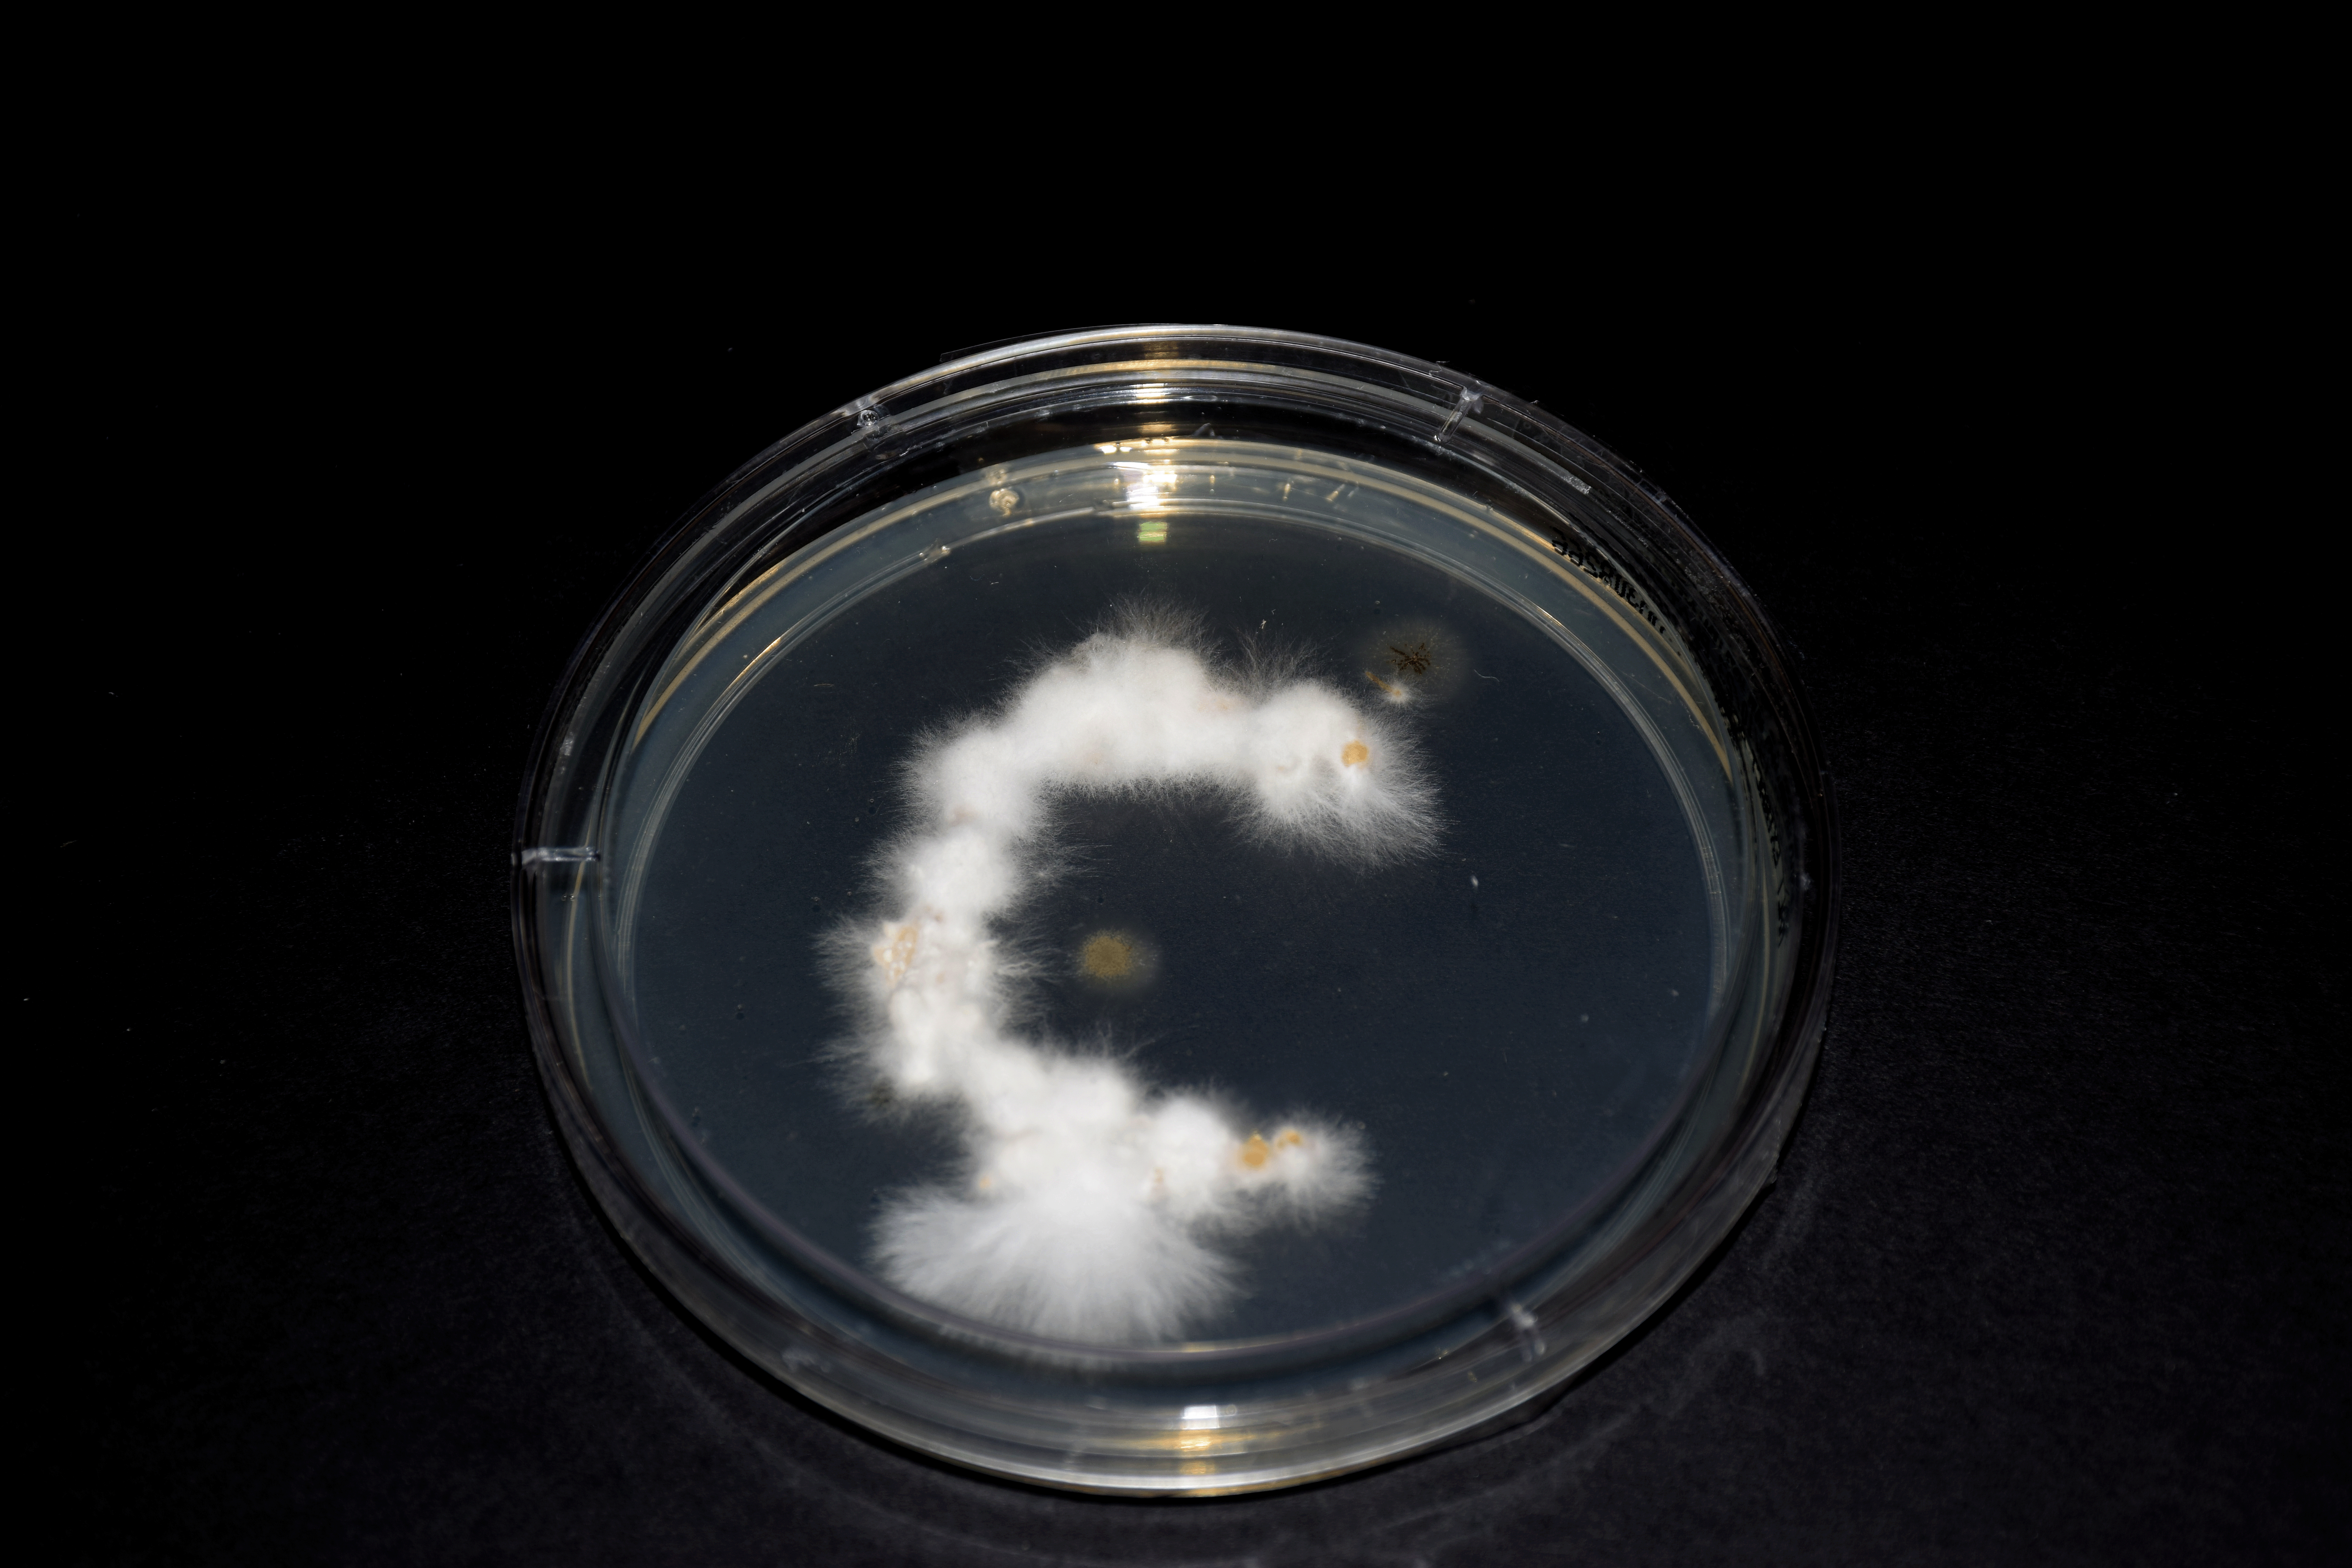
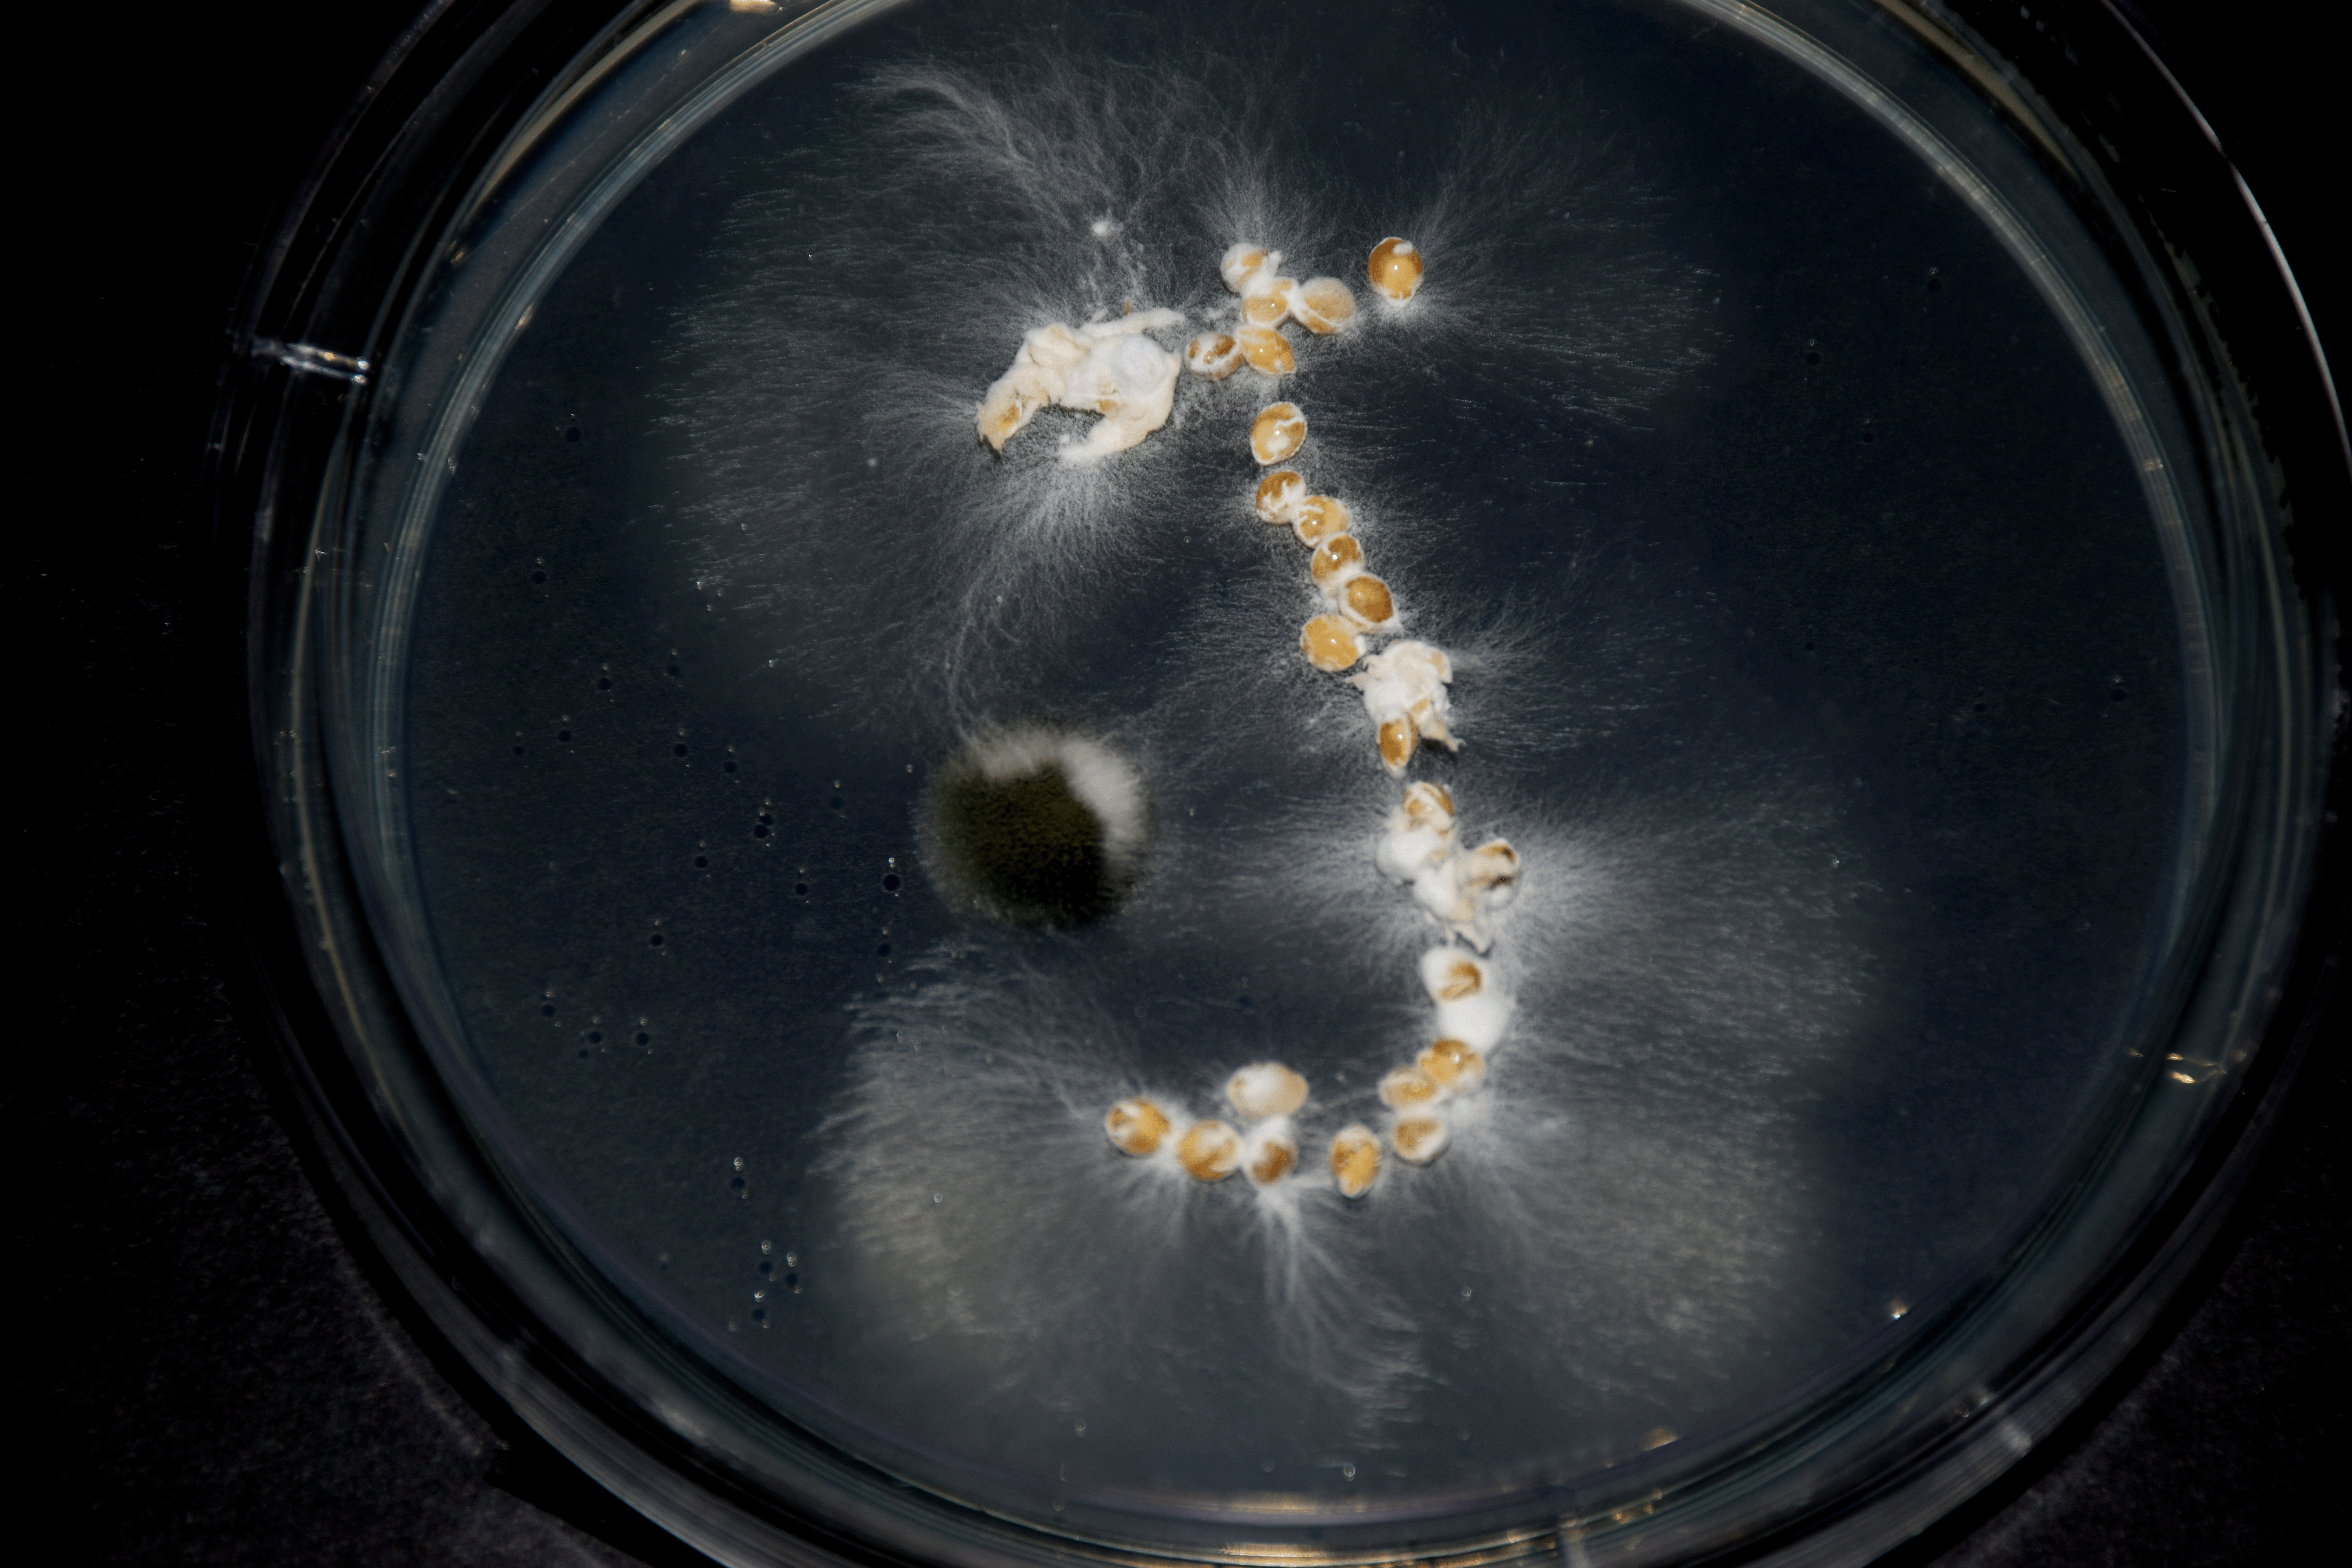
- To create a mycelium typeface, place the cultured grain spawns (of your chosen species) in the shape of a letter of the alphabet, starting from "A" using the sterilised tweezer onto the centre of a petri dish.
- Repeat steps 3-5.
- Once all letters have been formed on each petri dish, place them inside a shoebox. Depending on the size of the shoebox, you may be able to fit around 4-6 petri dishes lying flat down. Do not place petri dishes on top of each other.
- Close the shoebox and leave in a dark, humid area. Leave the dishes to incubate and grow mycelium.
- Continue to observe and record the changes in the petri dish everyday.
Process


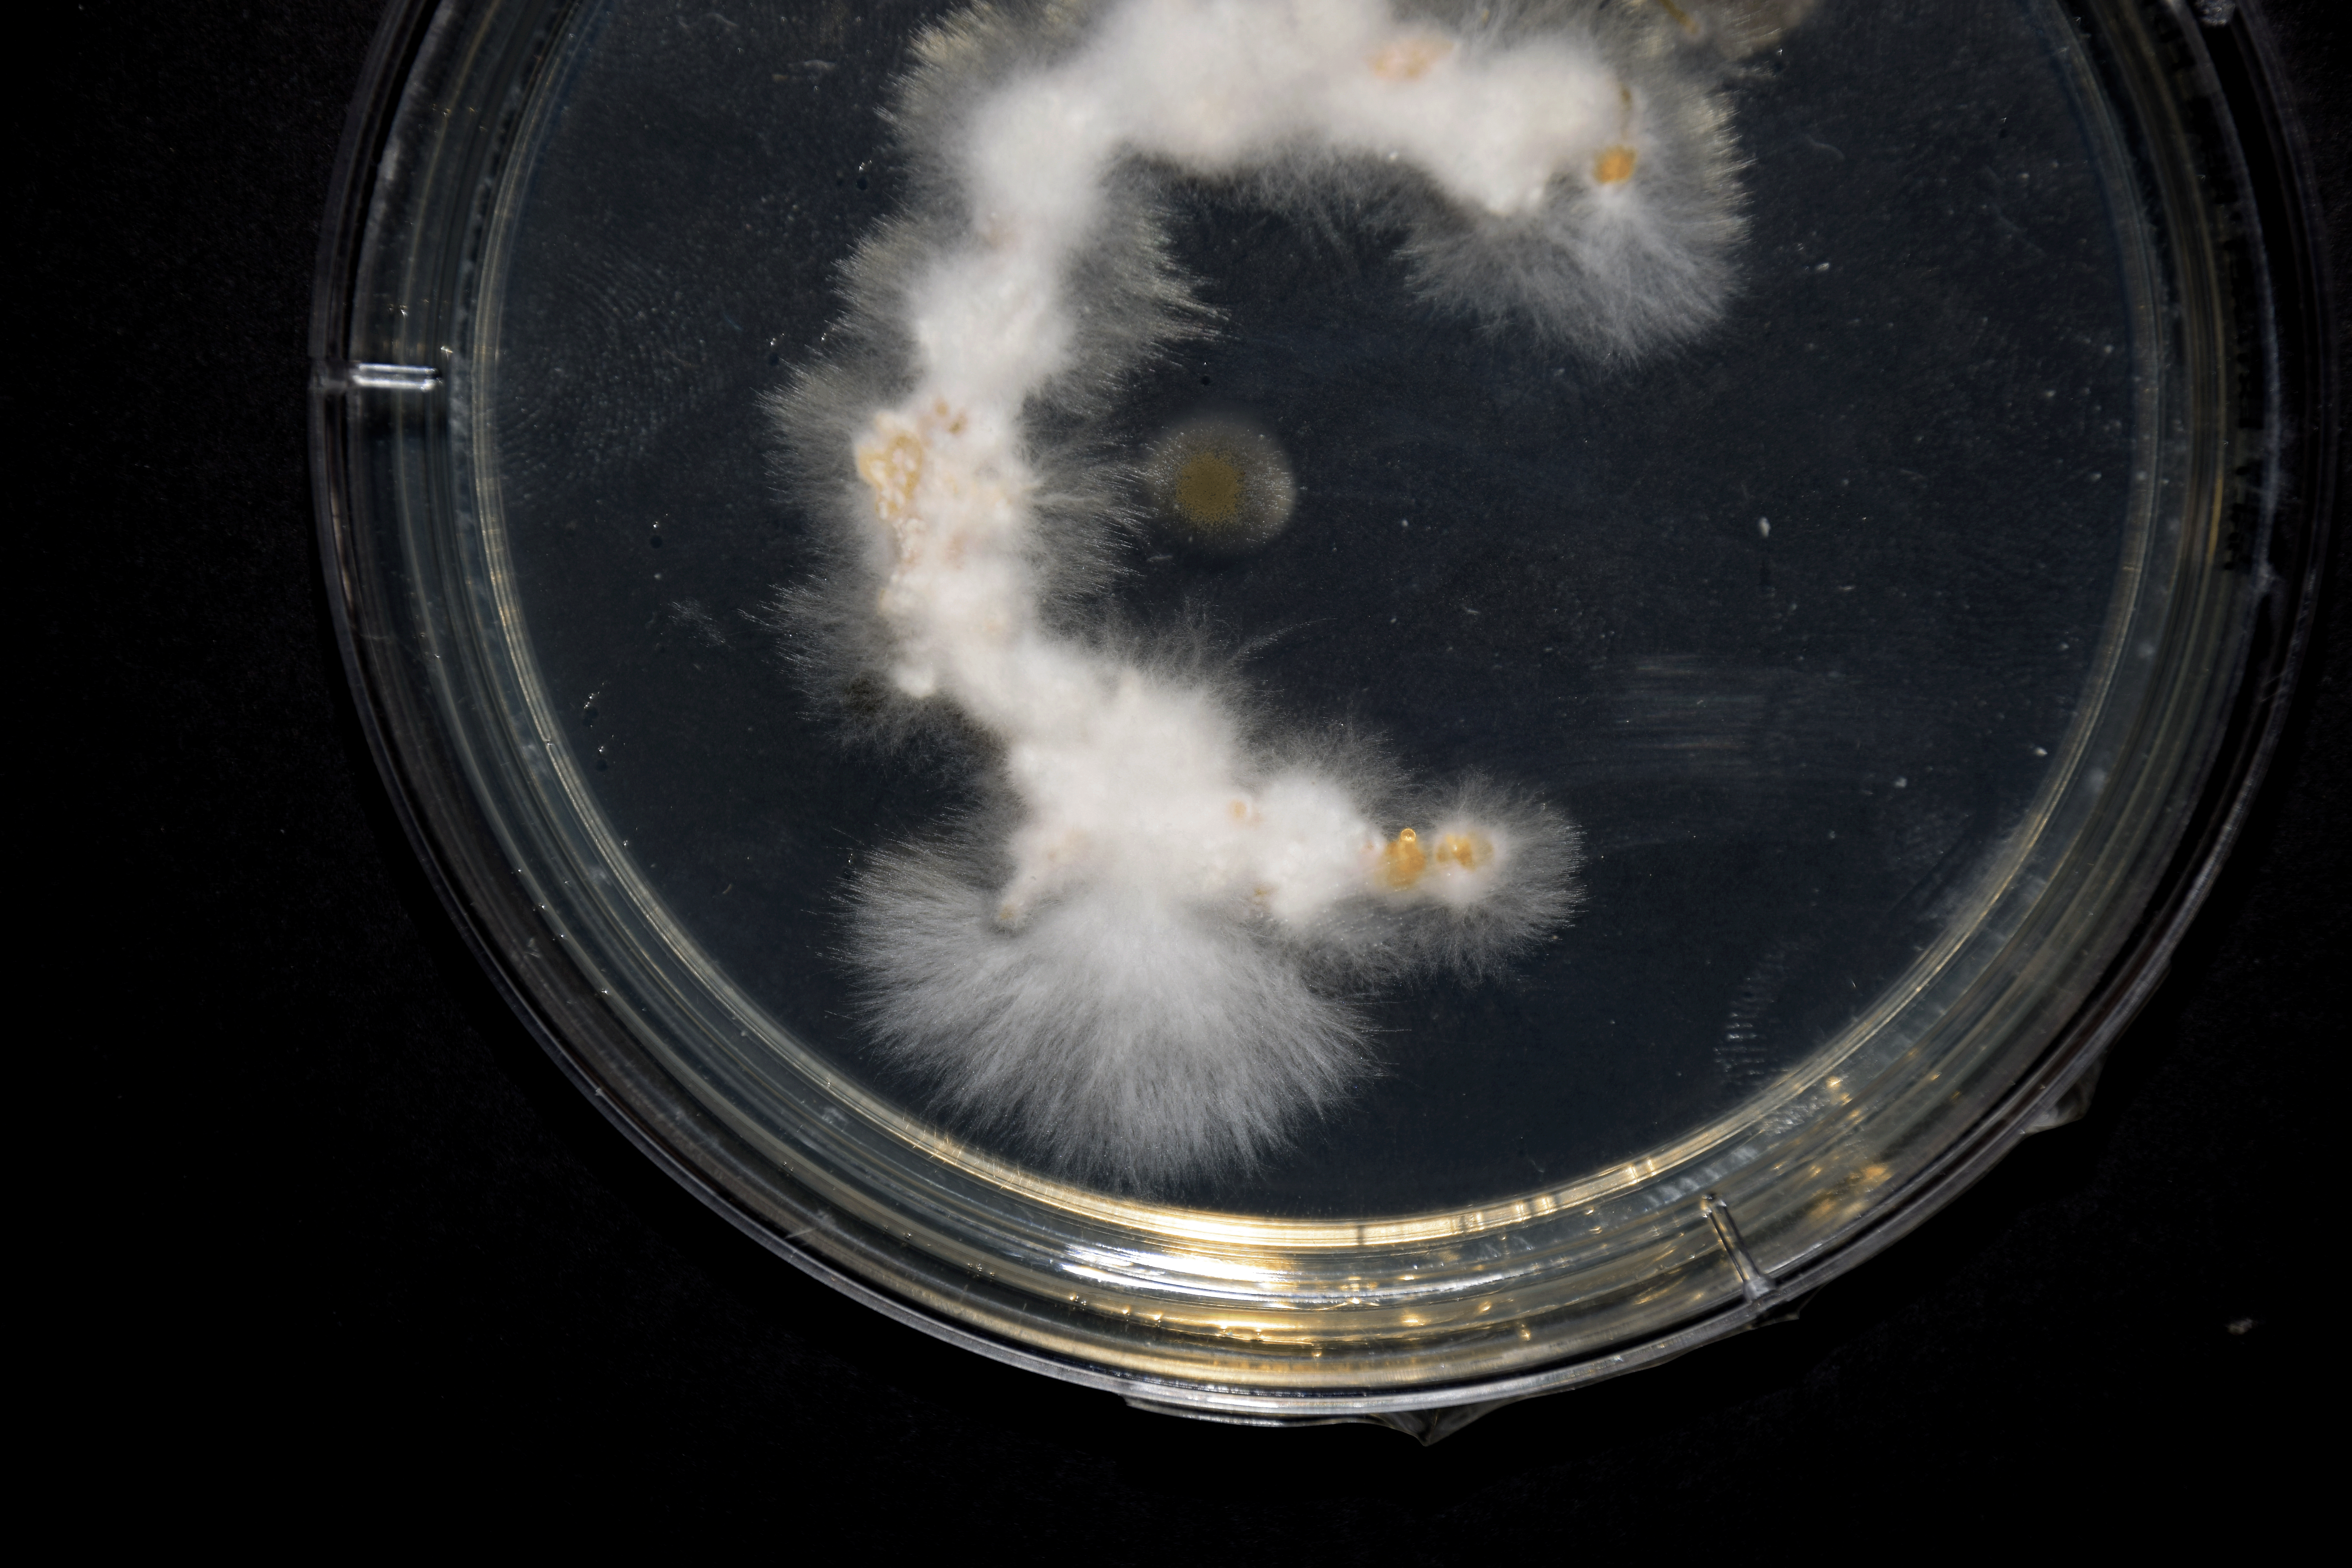
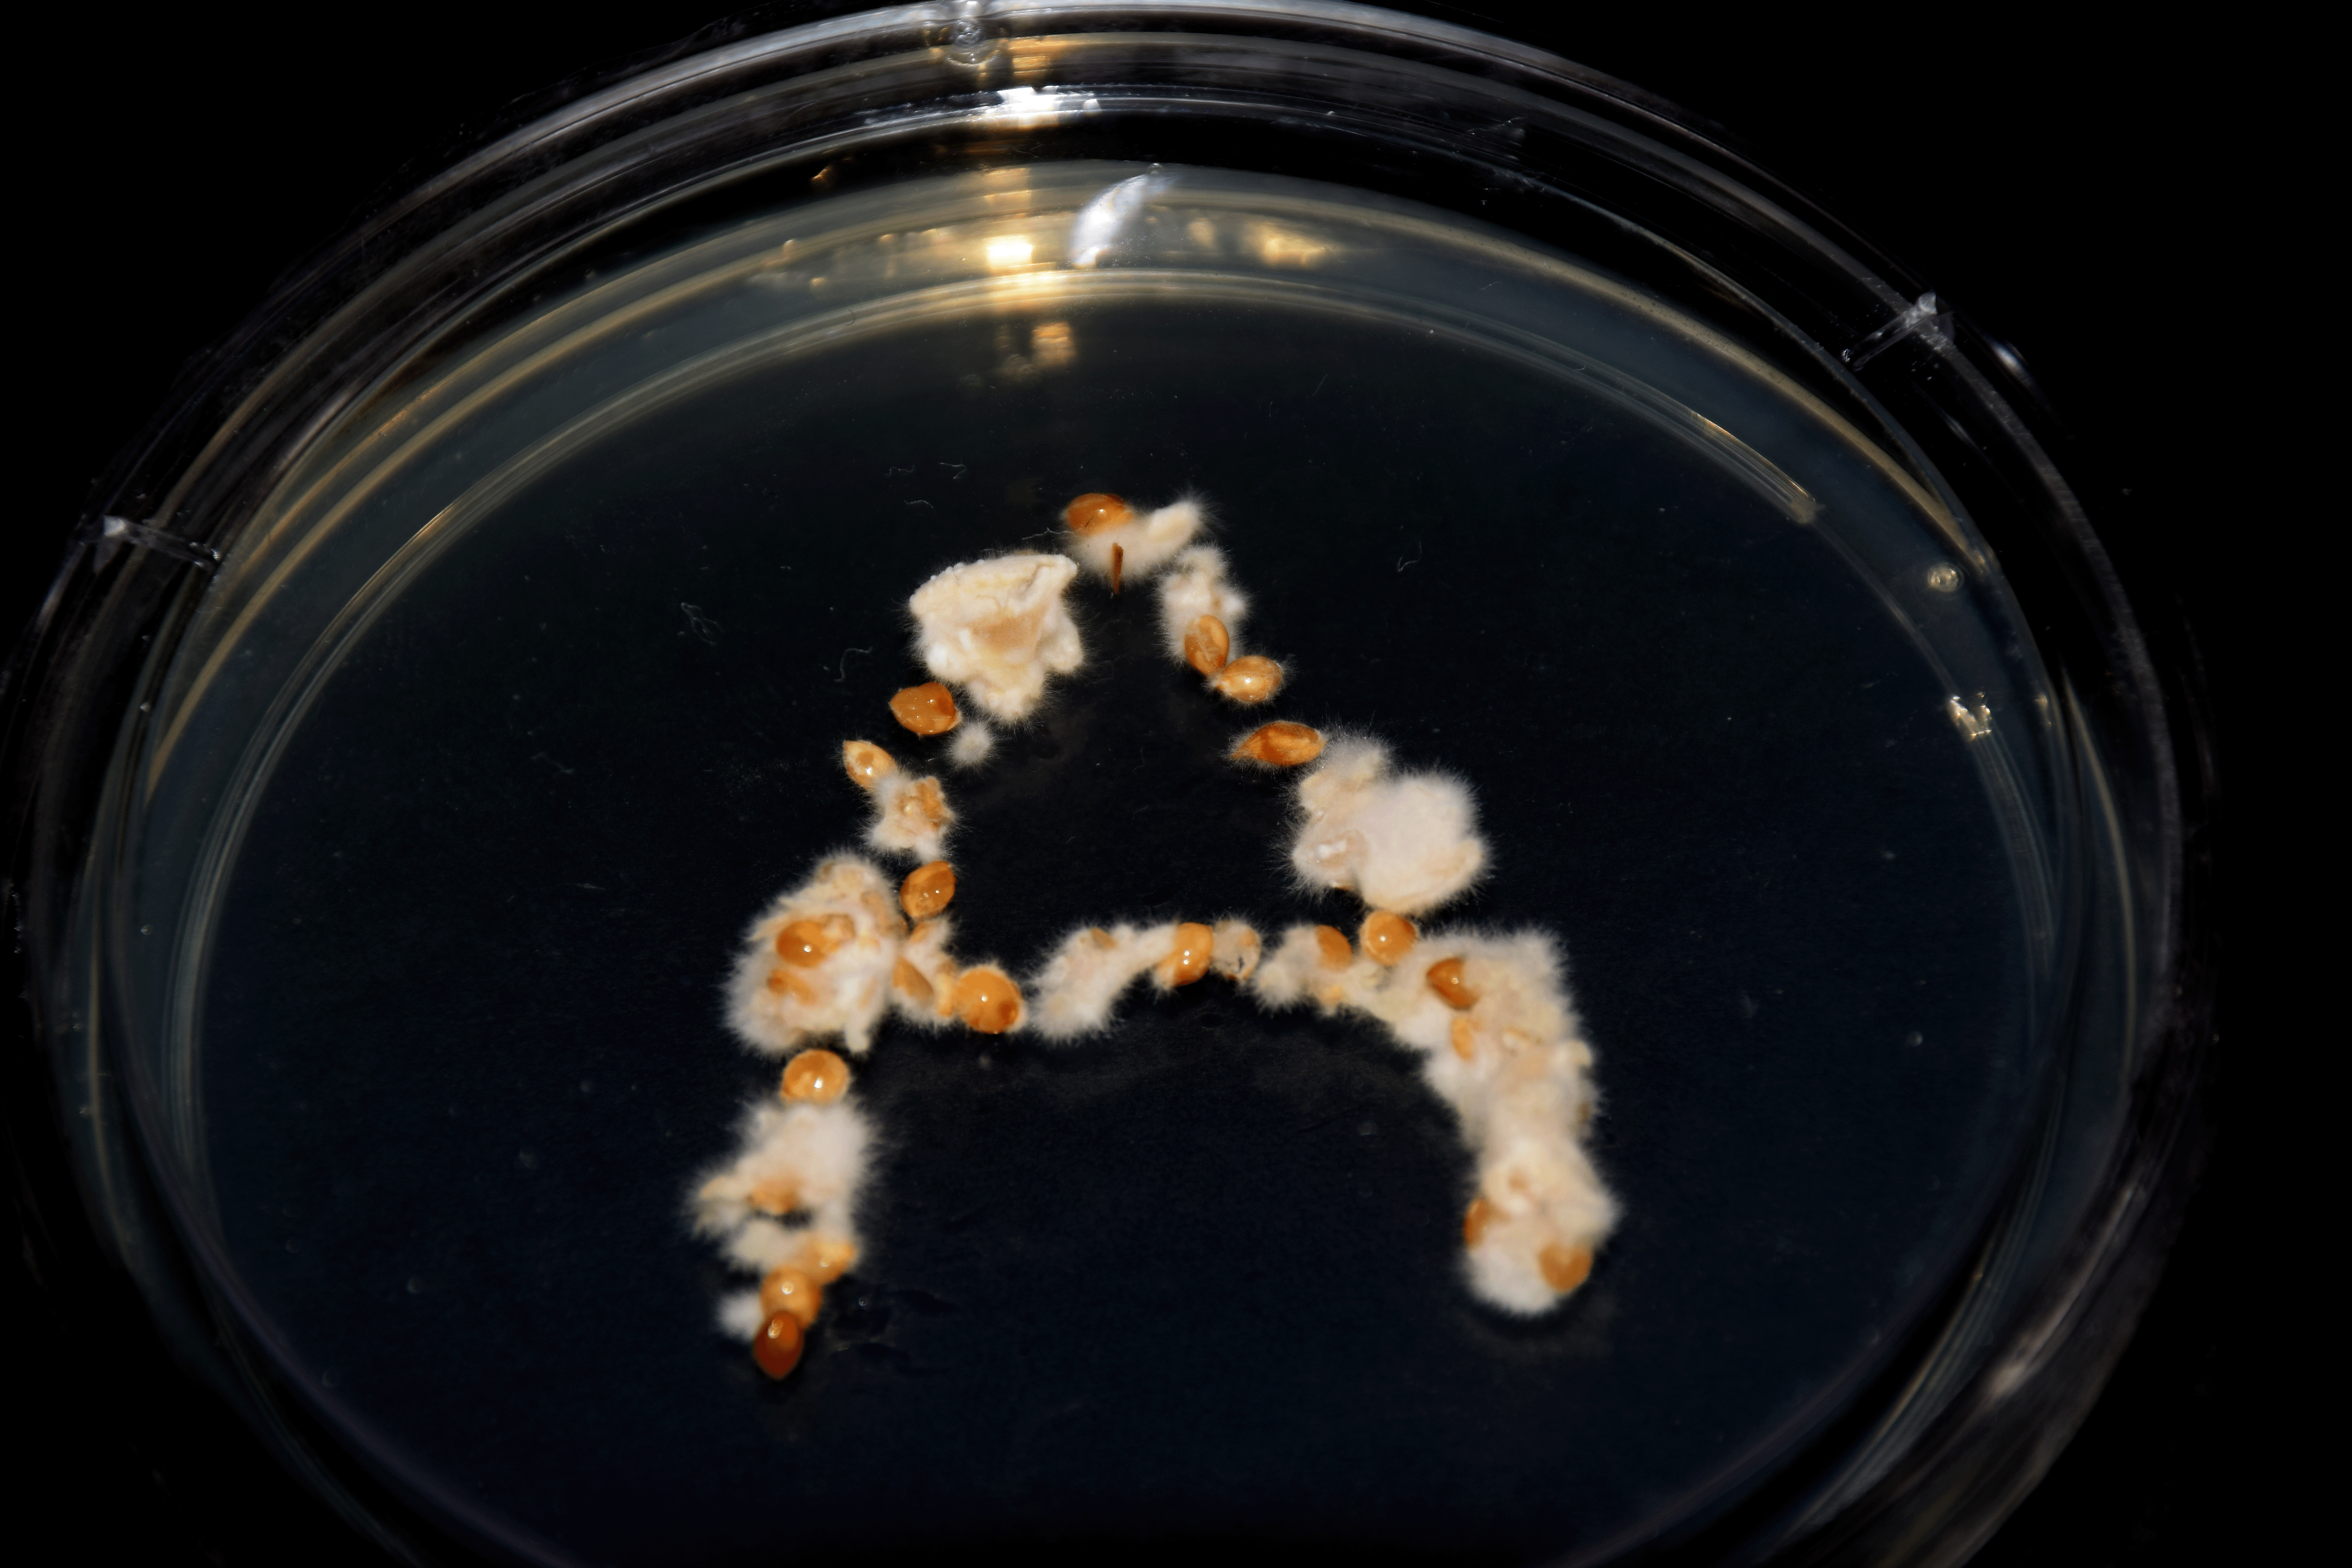
Close-up Photographs

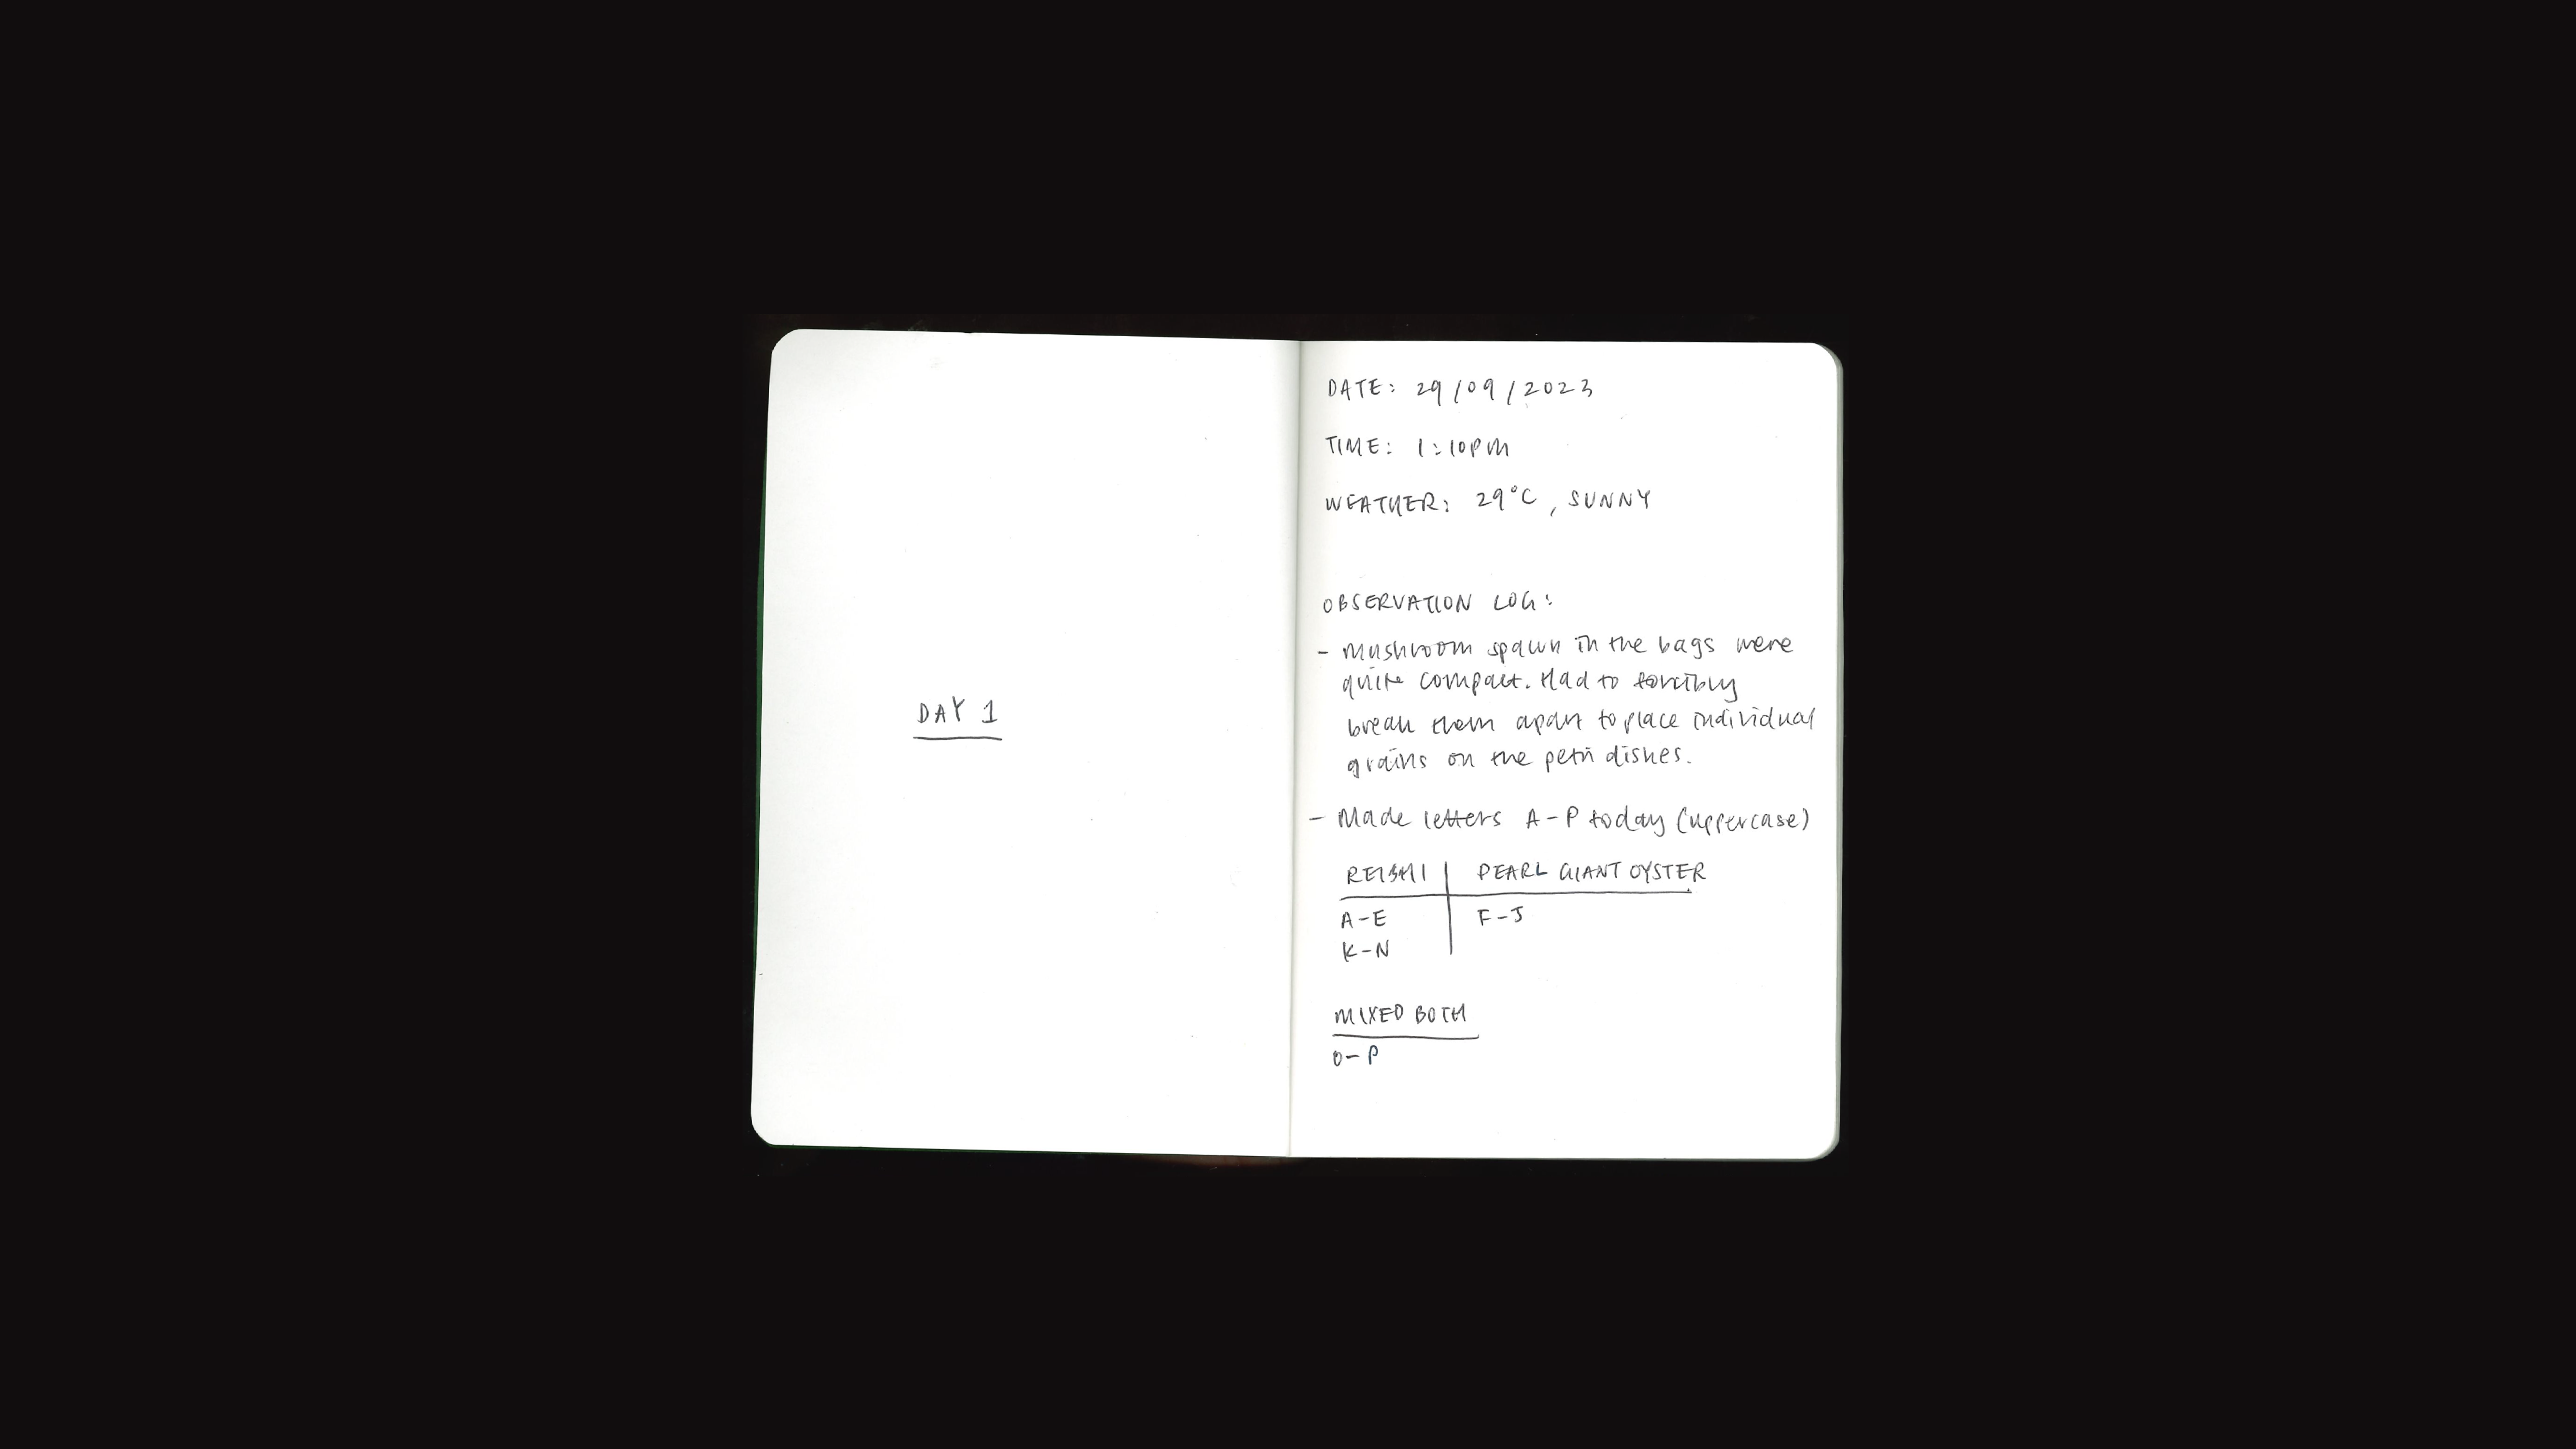
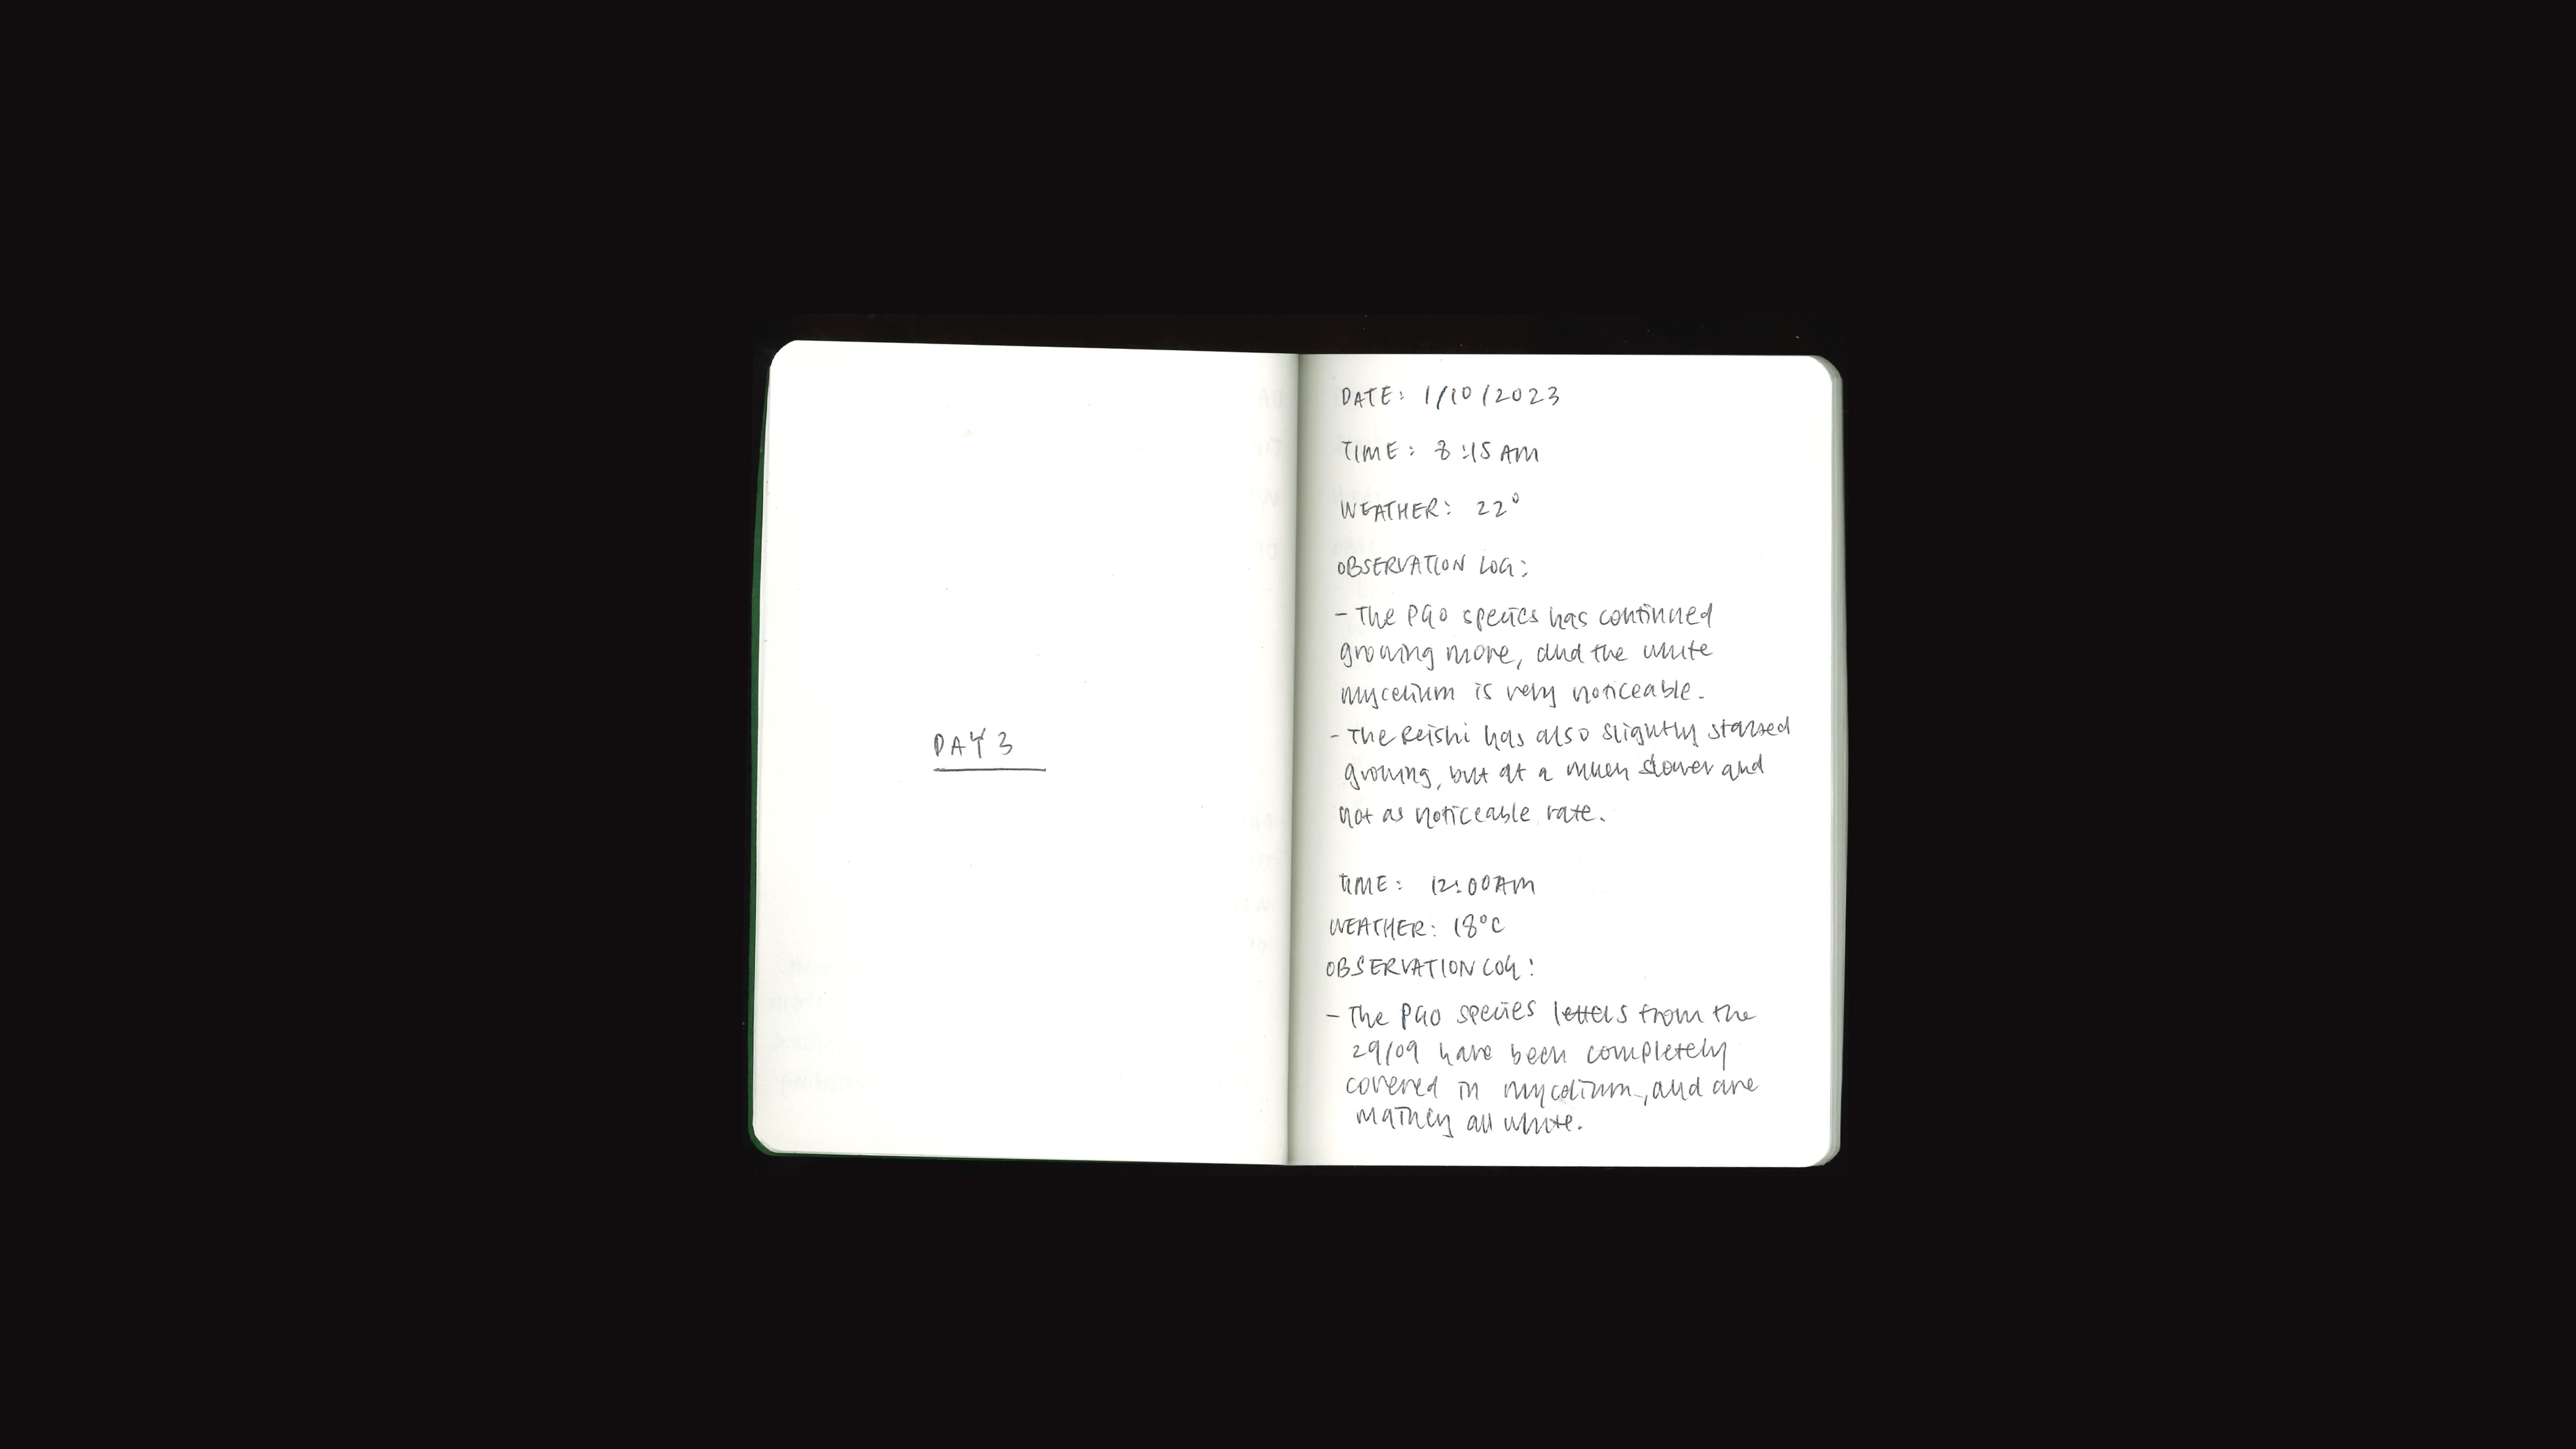
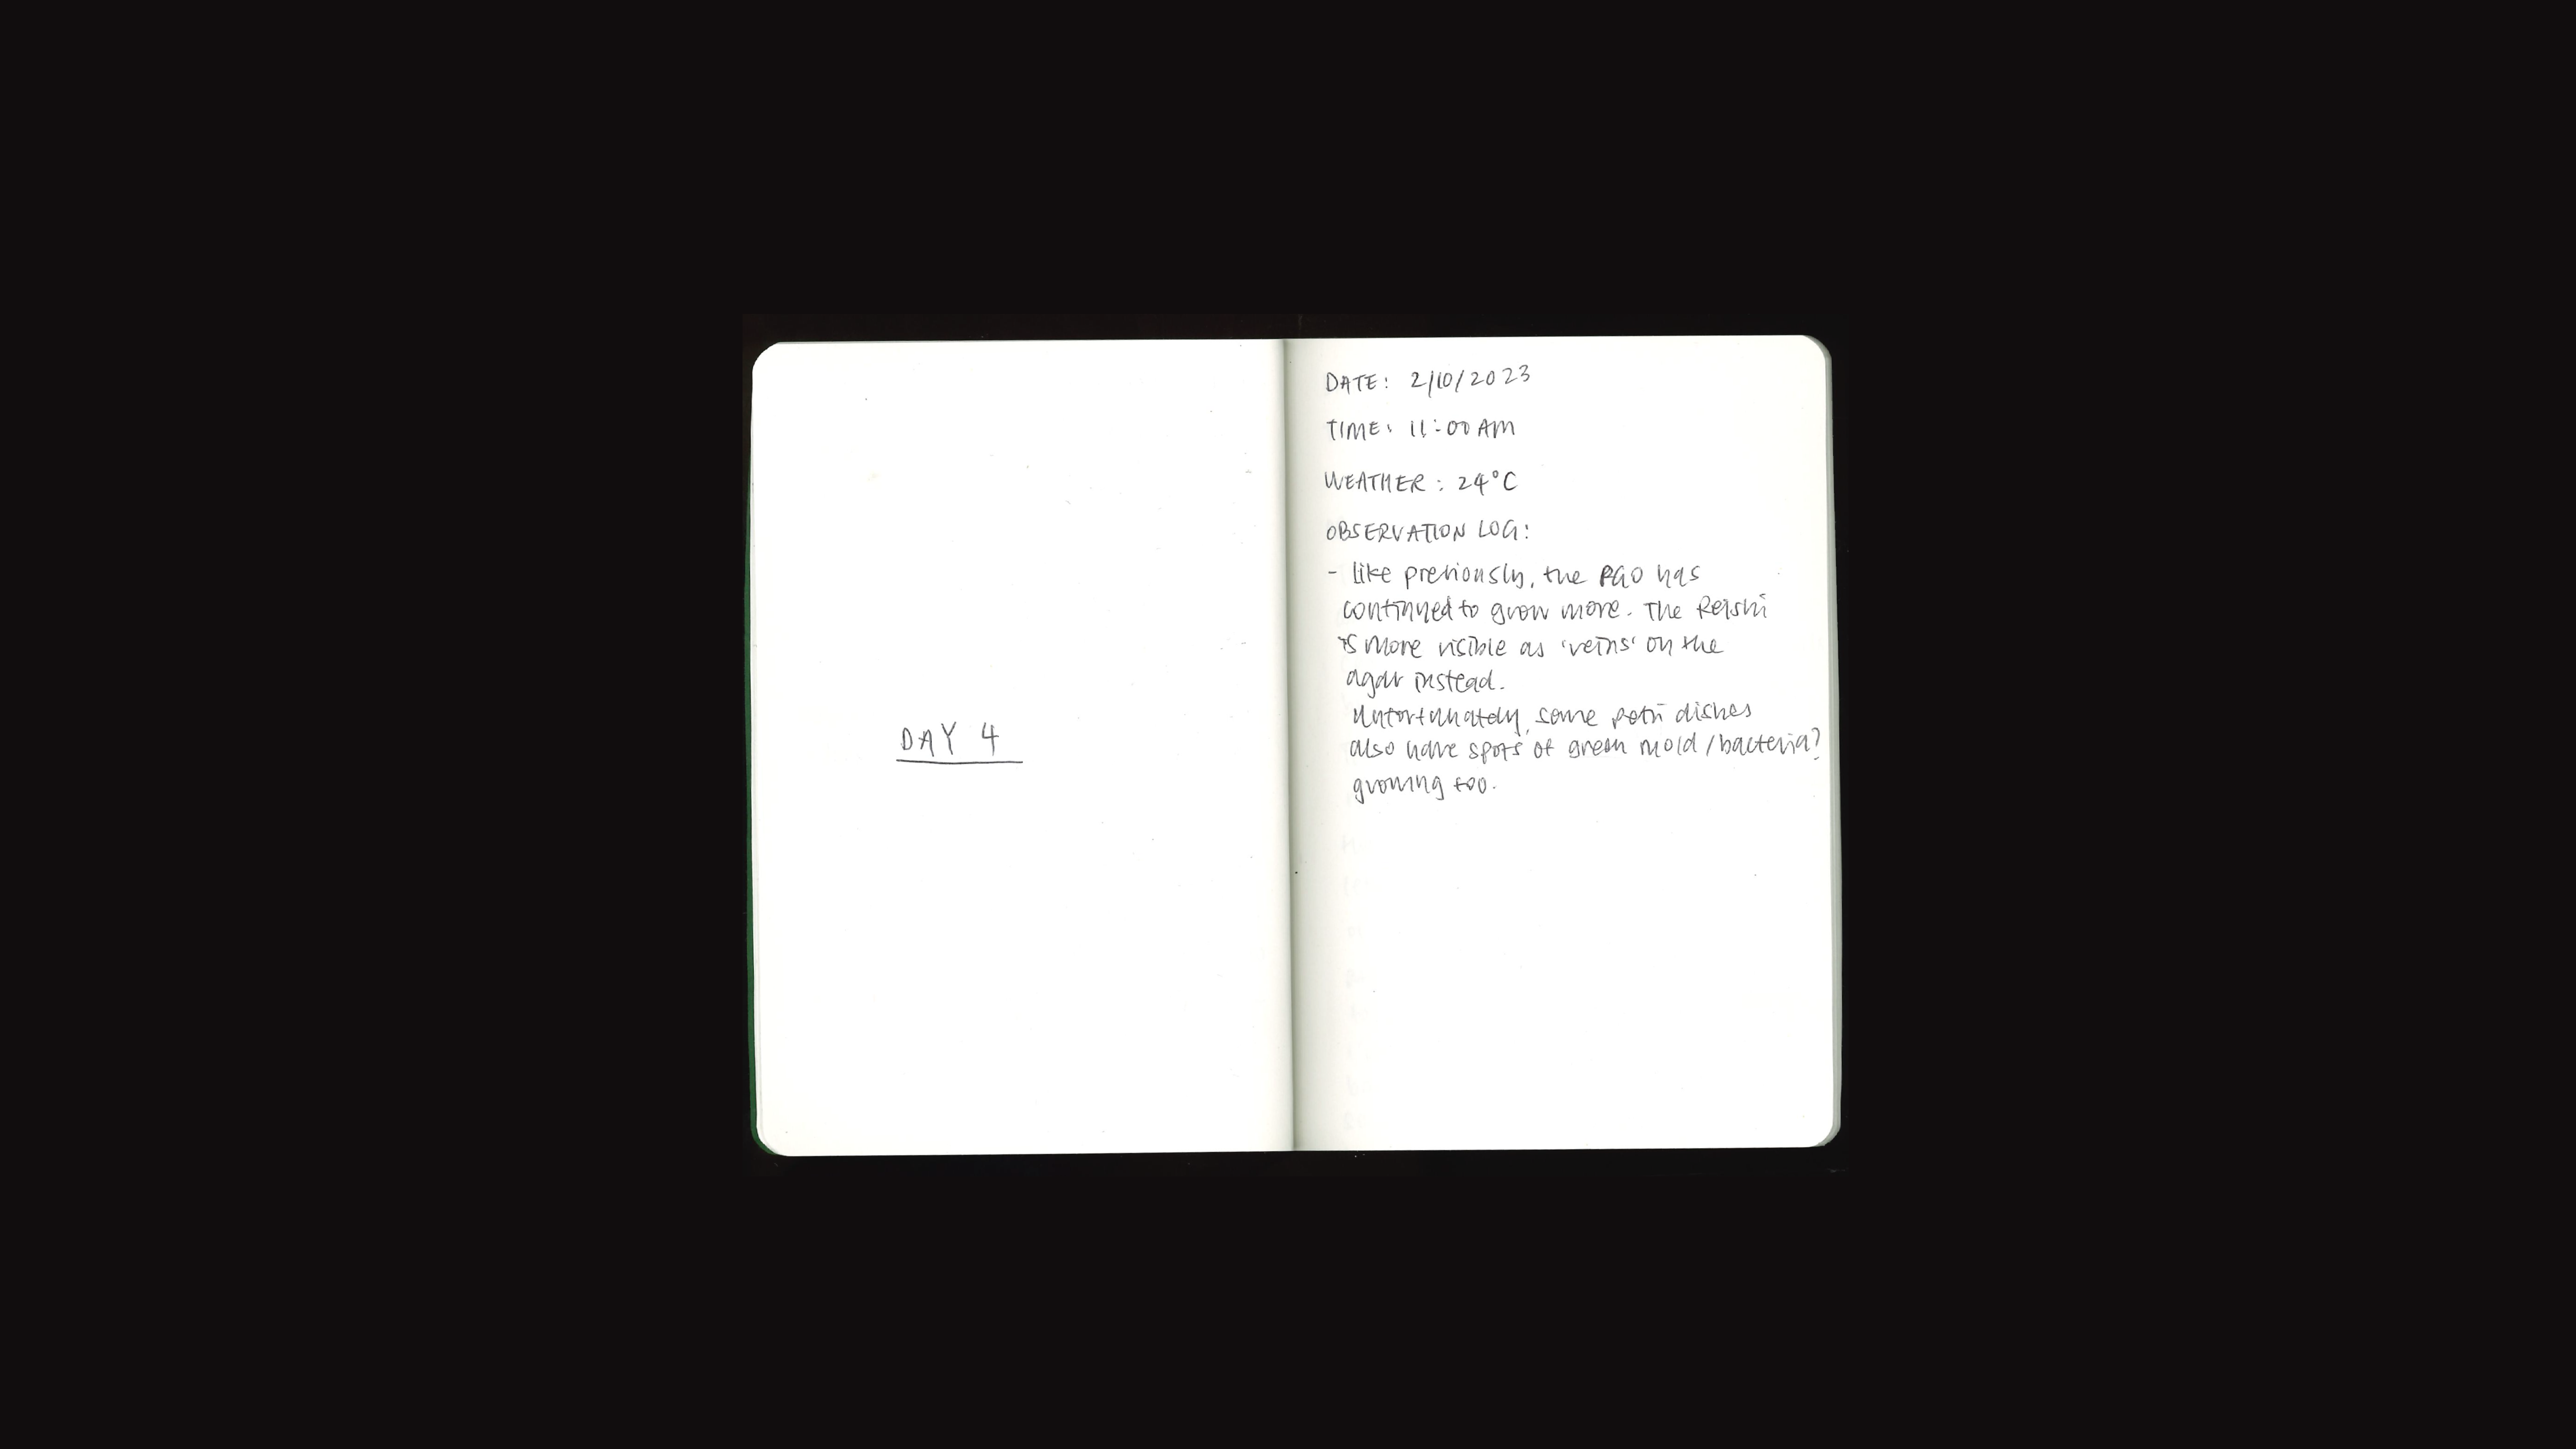
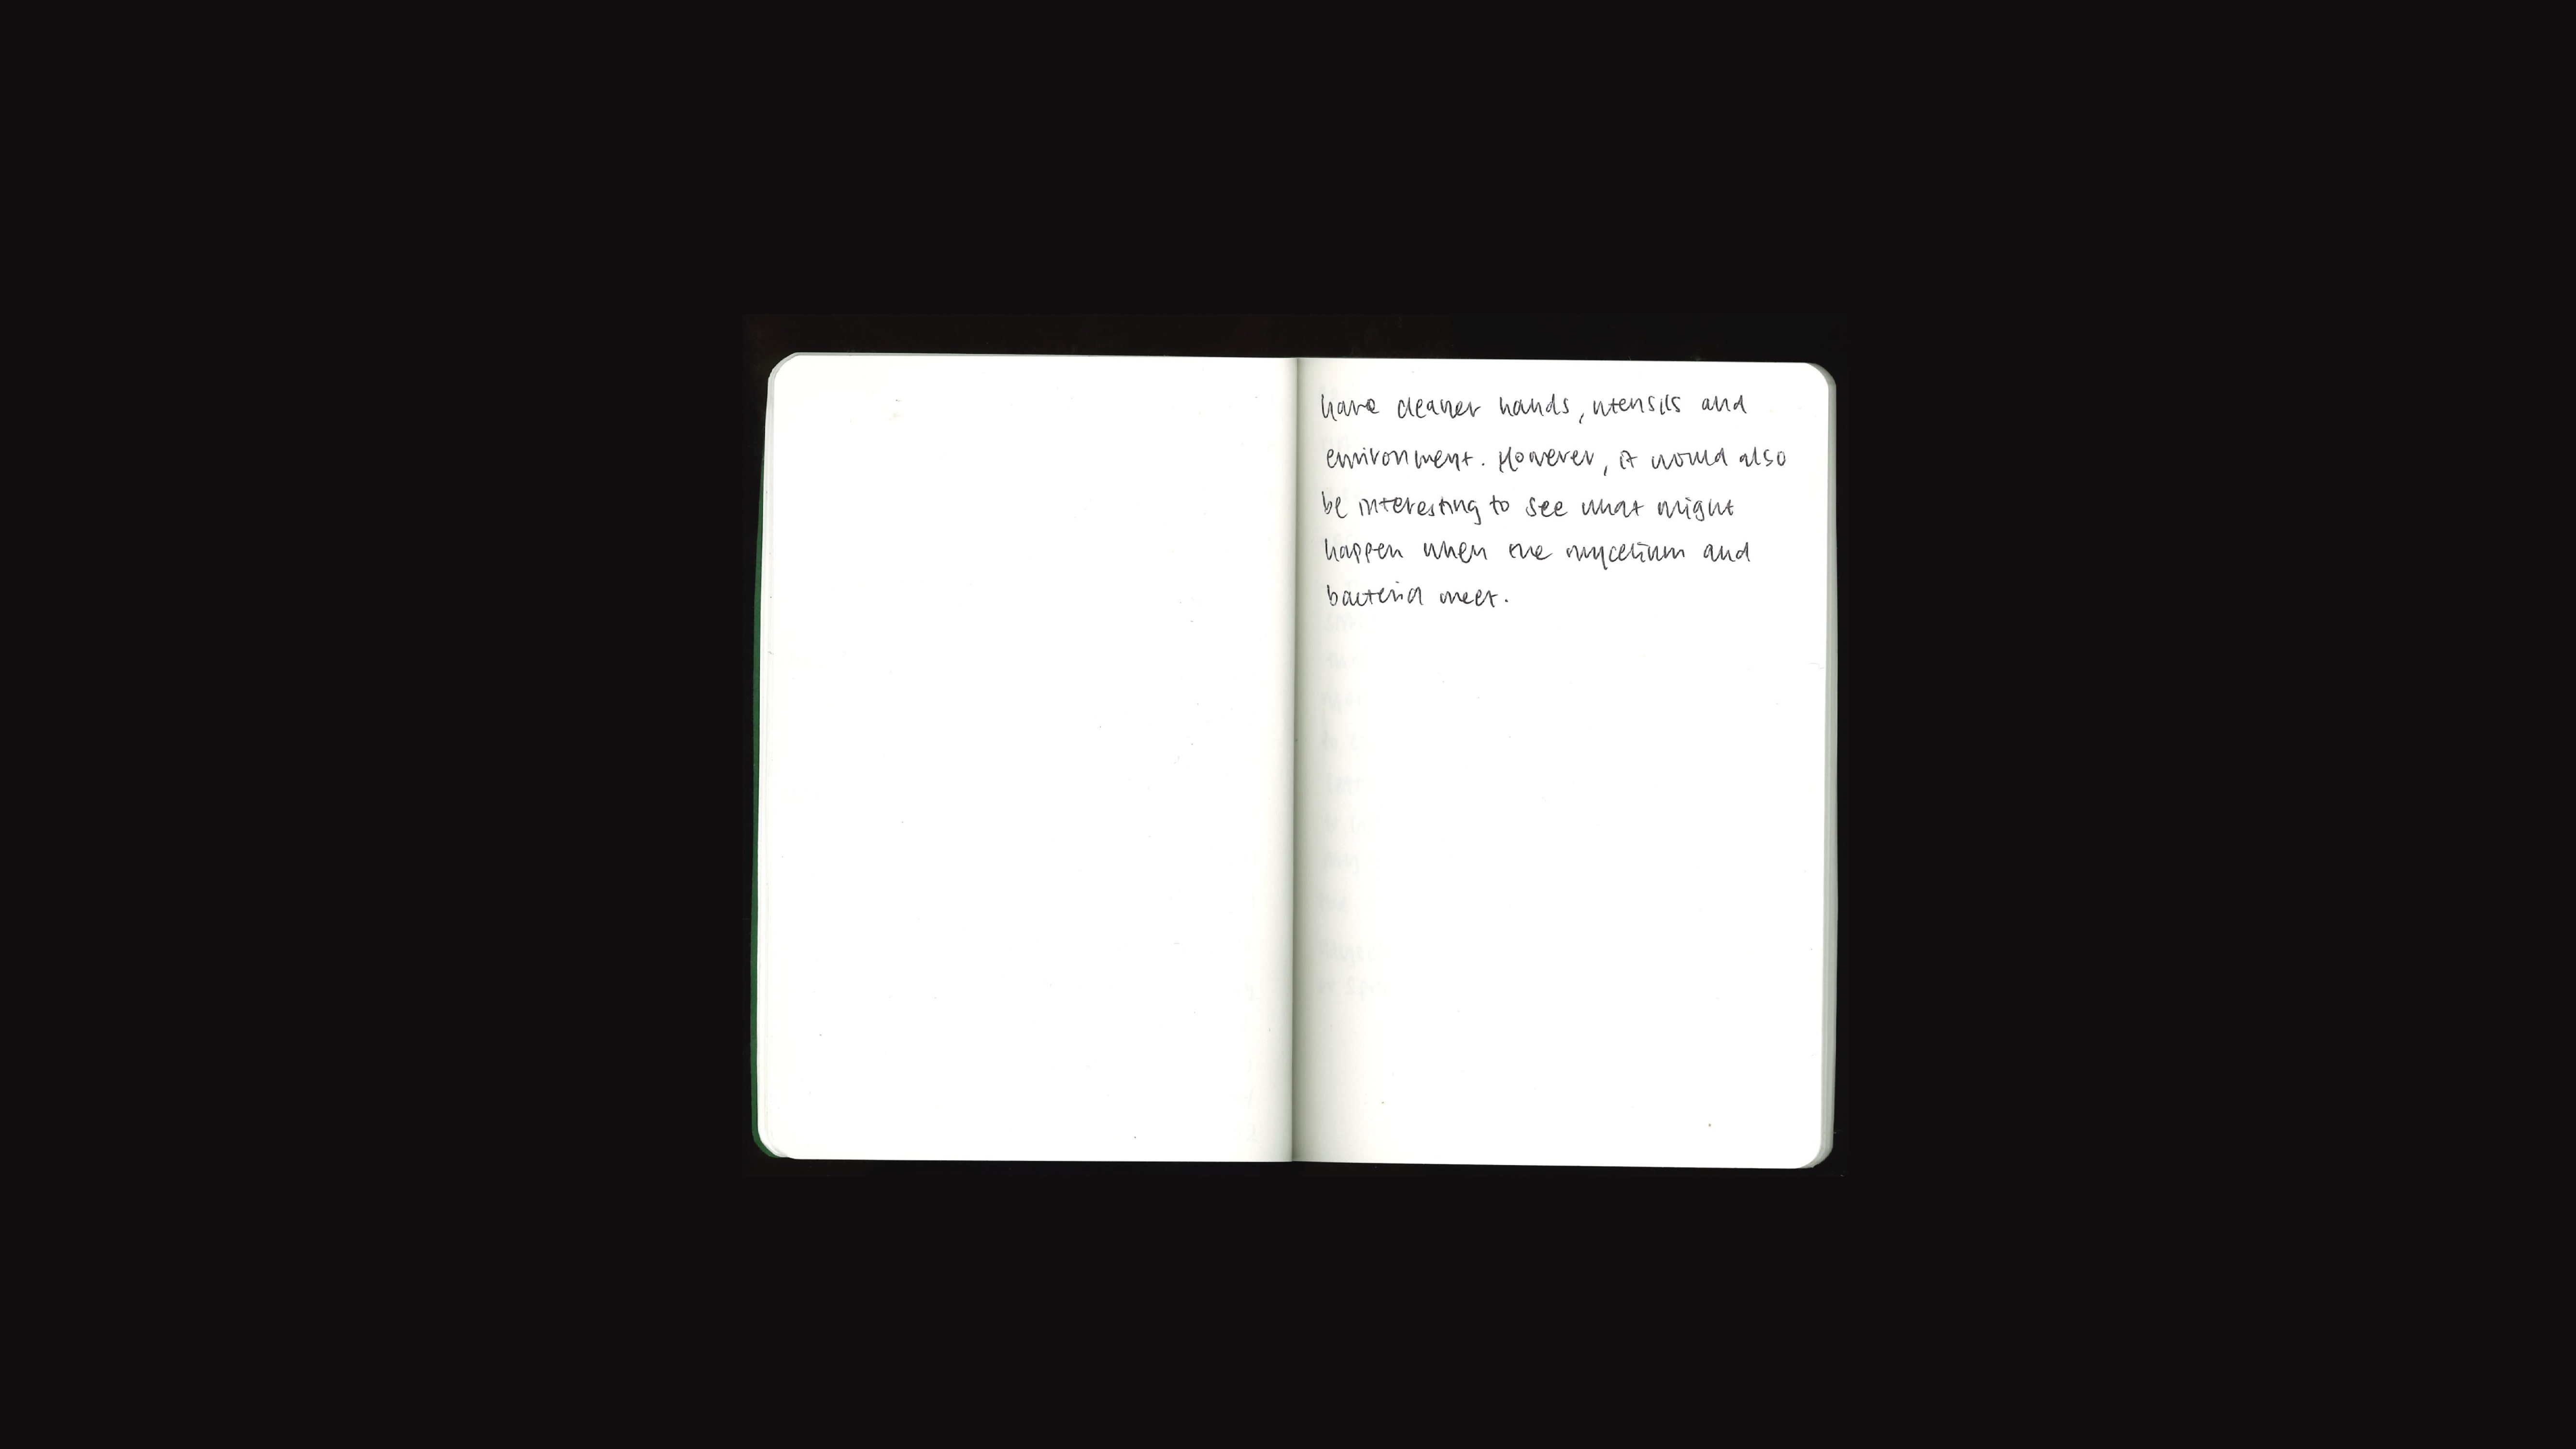
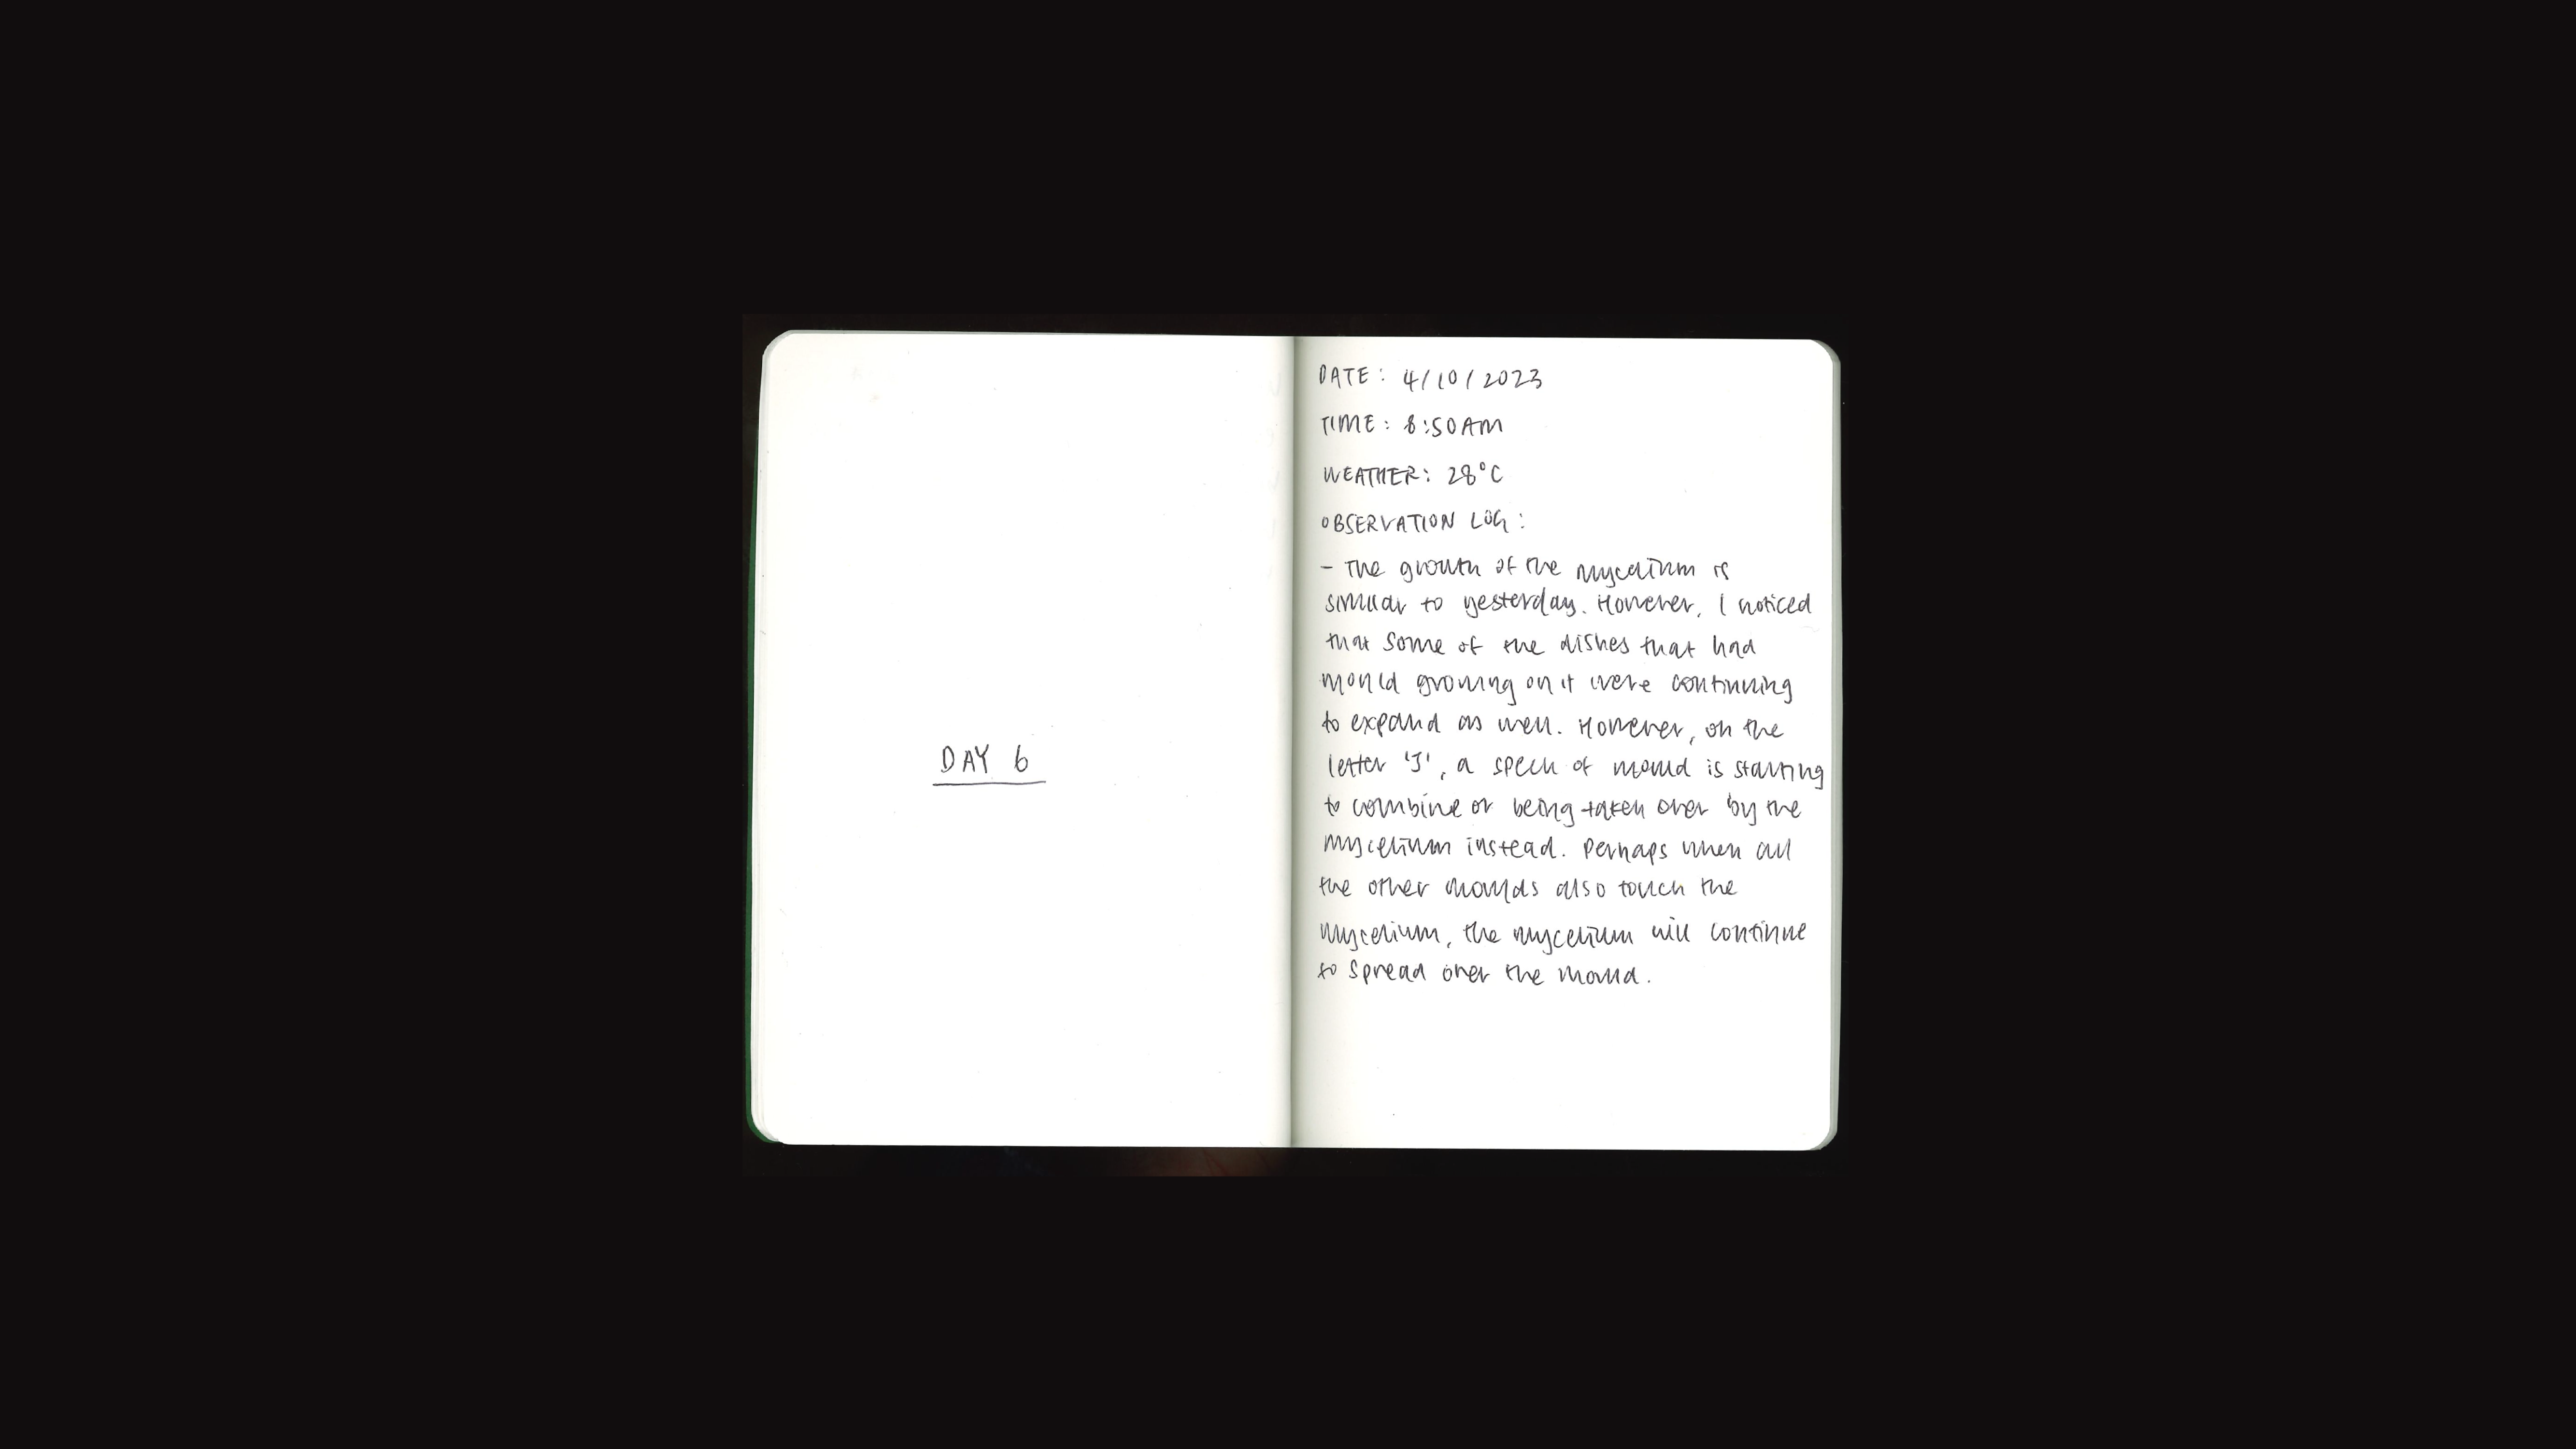
Observation Log 1A