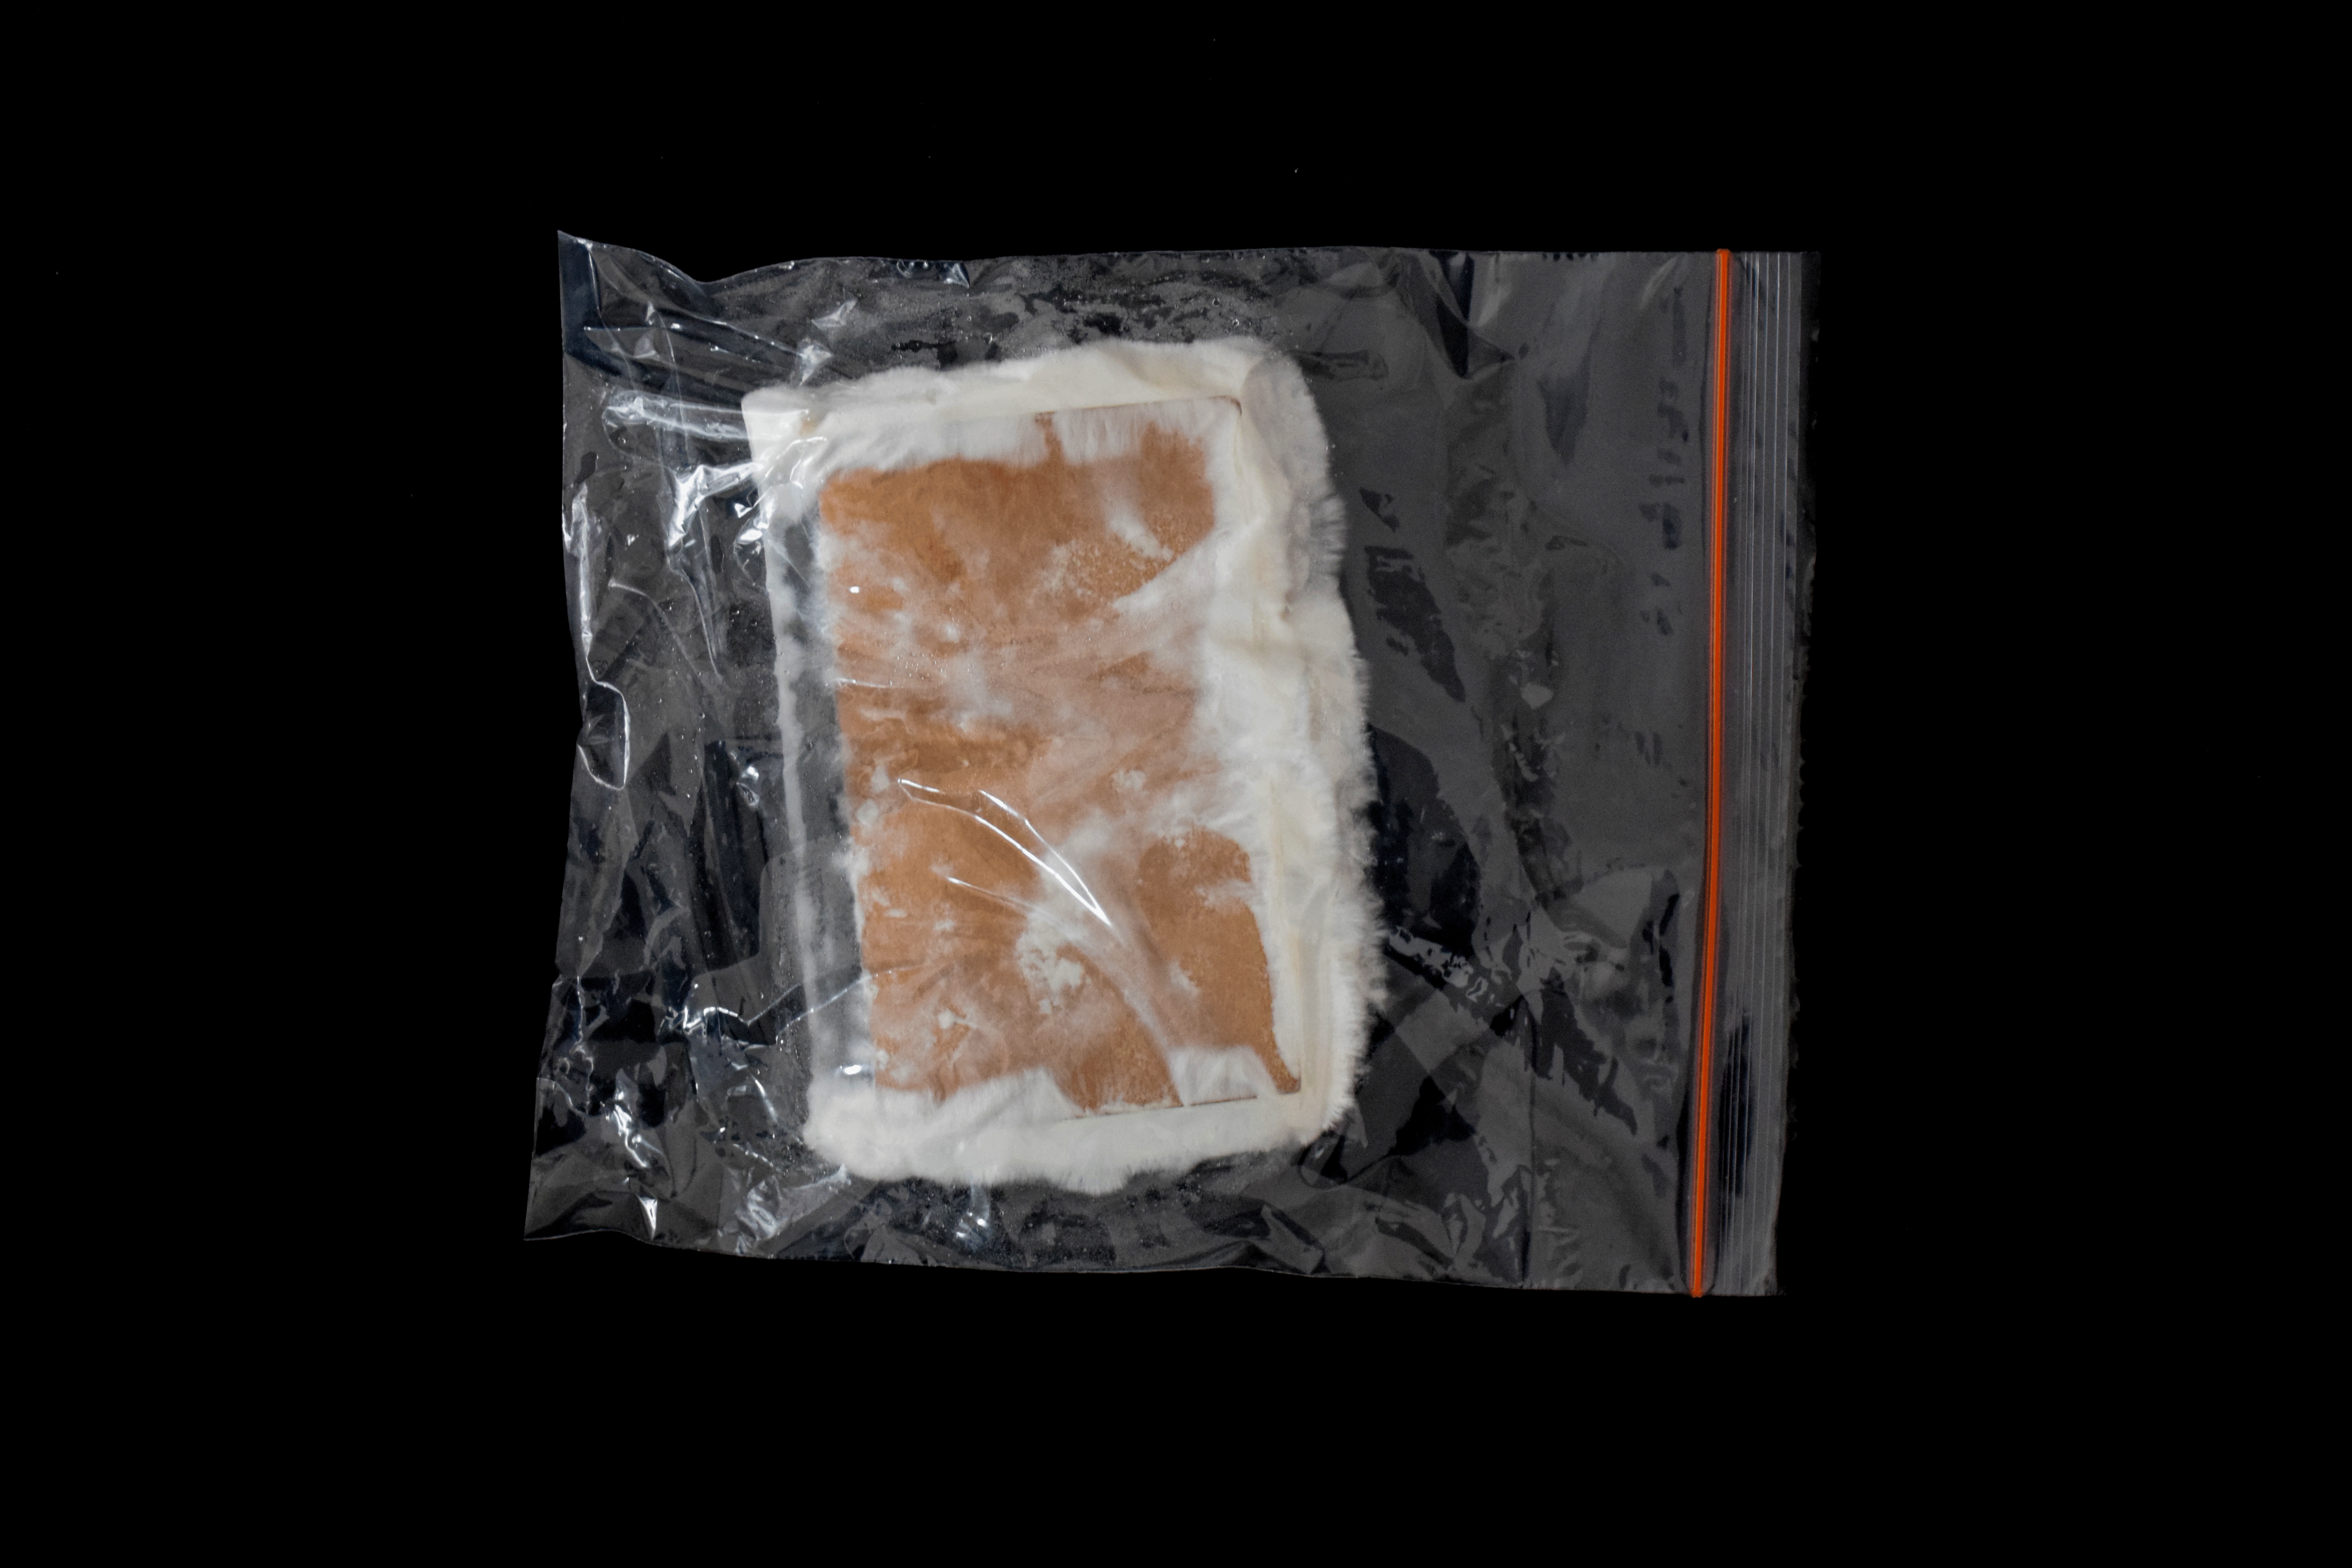
Experiment Log 2A
2A. Mushroom Kit Grid System
Disclaimer: The following content may include images or videos related to clustered holes, circles or patterns. If you suspect you have trypophobia, a fear of such patterns, or if you experience discomfort, anxiety, or distress when exposed to them, we strongly advise you to exercise caution or refrain from viewing the content within Experiment 2A and the Extended Methodology.
AIM:
This experiment proposed to explore how the stages of mushrooms growing from a mushroom kit could be used to develop a grid system and structure.

PRECEDENTS:
Swiss graphic designer, Josef Müller-Brockmann’s manual for Grid Systems (Grid Systems in Graphic Design: A Visual Communication Manual for Graphic Designers, Typographers and Three Dimensional Designers) provides guides and rules for the function and use of grid systems (from 8 to 32 grid fields). His work was analysed and modified to develop my own rules and guides for this Mushroom kit grid system.
METHODS:
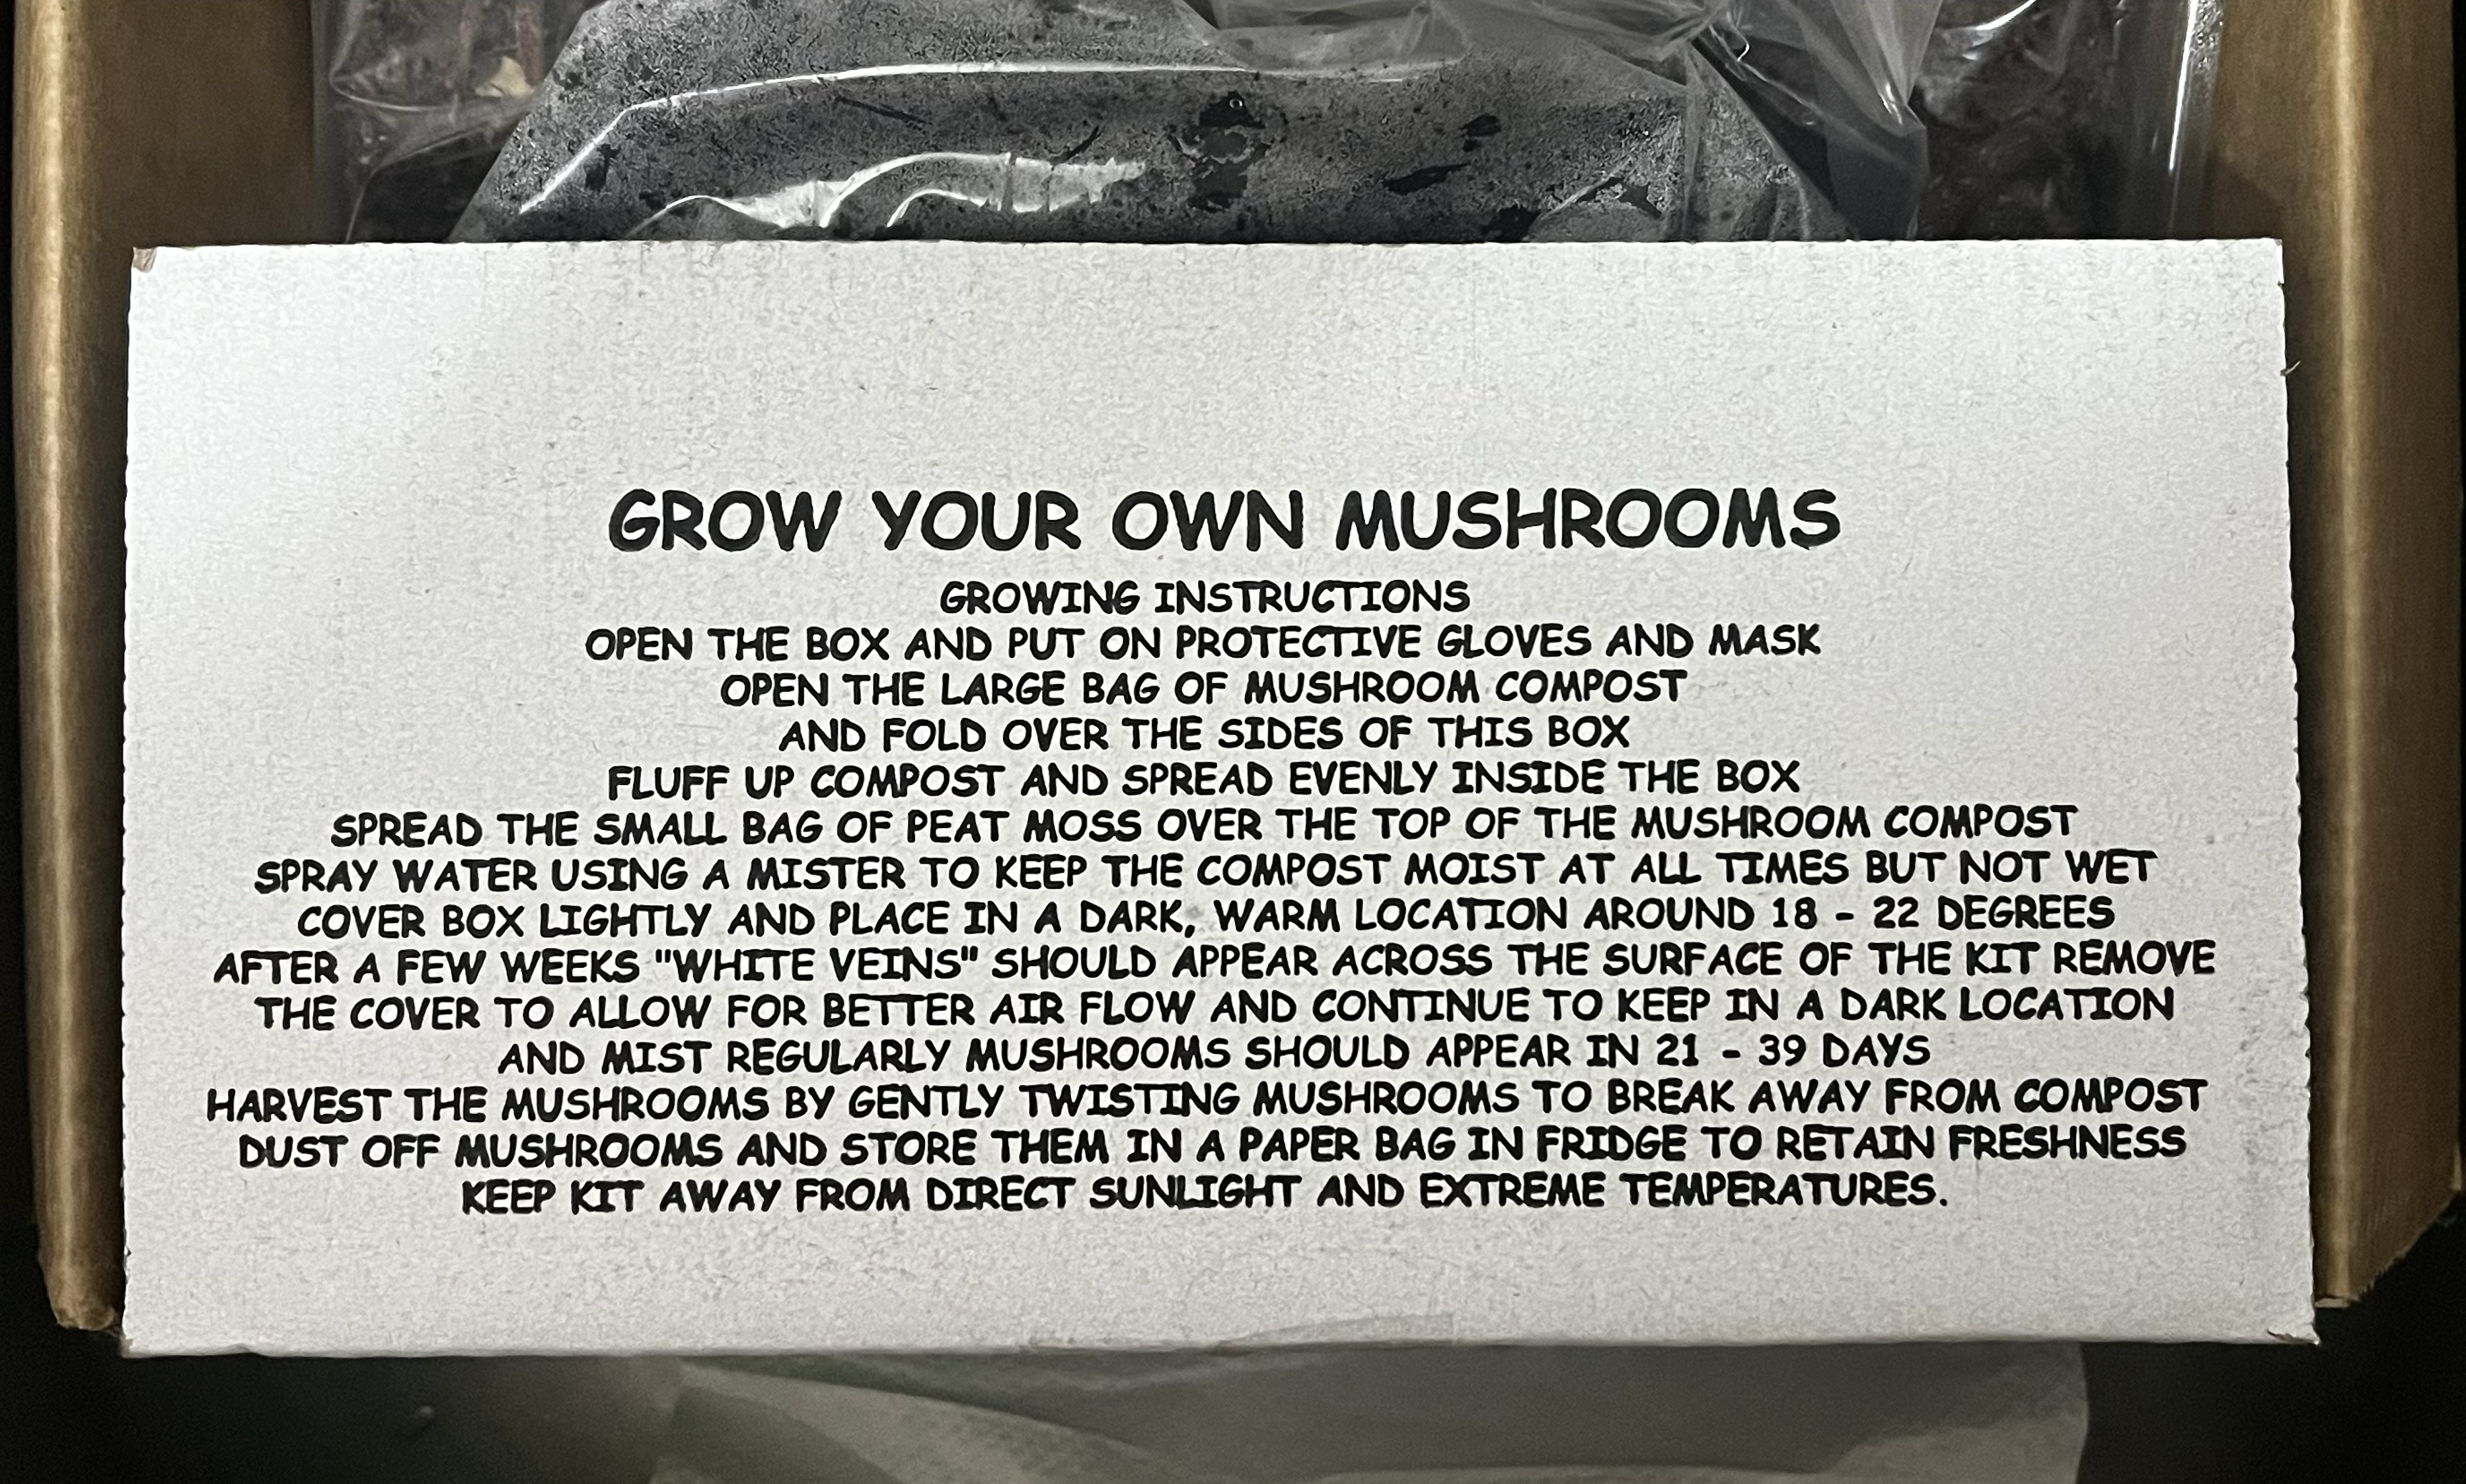
After purchasing the mushroom kit from my local hardware store, I did some further research online to understand the process of growing mushrooms more clearly. Initially, I had thought my success rate of growing mushrooms would be quite low, as the majority of the reviews for this kit had mentioned that it was unsuccessful and impossible to grow.
Following the instructions provided from the kit with the research I had done online, I placed the kit in the sink of my laundry room. The laundry room was an ideal environment that was out of direct sunlight and humid, especially as it was connected to the kitchen. After setting up the kit, I would mist it twice everyday, once in the early morning and at sunset. I covered the sink with a large cardboard box that had been flattened down. This allowed the kit to grow under a consistent lighting condition, as the laundry room would often be opened and closed throughout the day.
For the next five weeks, I watered and observed the growth of these mushrooms.
Refer to the Extended Methodology (2) to read the Process in detail.
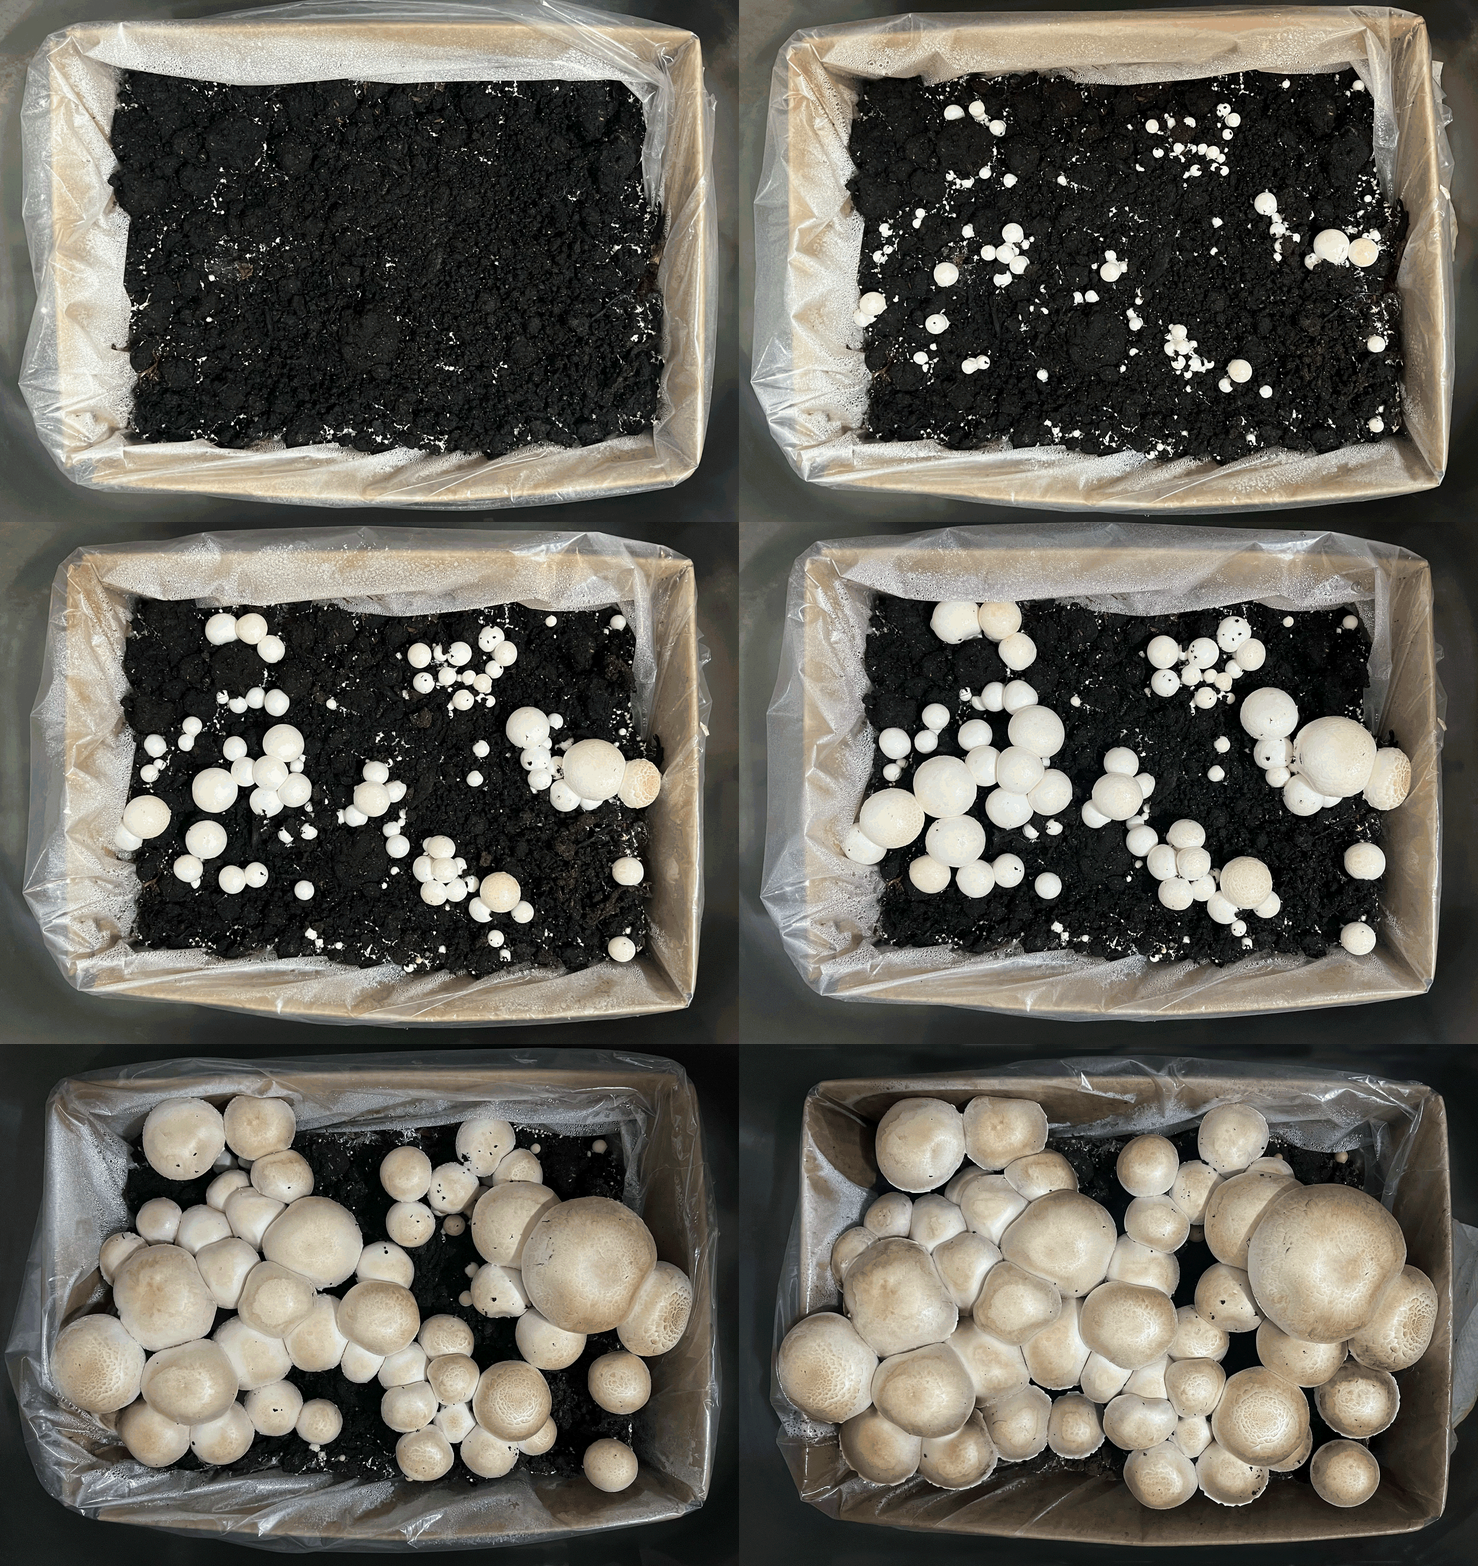
Mushroom kit growth timelapse
OBSERVATIONS:
With it being winter during this experiment, I was concerned that the mushrooms would not grow due to the cold and inconsistent weather conditions. However, to my pleasant surprise by Day 7, clusters of white mycelium were prominently growing on the soil! These growths were most noticeable around the corners and sides of the box.
There was also condensation on the plastic sheet separating the soil and the box of the mushroom kit. This meant that the temperatures were humid enough to create condensation. A strong musky scent from the mushroom kit was also becoming quite prominent. In another week, on Day 13, the mycelium had expanded to cover most of the soil, and small pinheads around the size of my pinky nail had started appearing. On this day, I removed the cardboard box covering the sink to allow for better airflow as advised from the instructions.
By Day 16, the caps of the mushrooms had expanded greatly. In half a day, they had risen and grown at an exponentially fast rate. The mushrooms in this kit were all starting to grow and expand at different rates, as some other clusters of the mycelium had only just started growing small pinheads. I also touched these mushroom caps and was surprised by how sturdy and hard they felt.
On Day 19, the majority of the mushrooms had grown into large balls, and most of the white caps had started turning brown and developing an interesting spiralled pattern. Some mushrooms had also started growing from the same connected stem. By Day 22, the mushrooms had grown so much that they were squishing each other. Some caps had grown on top of others, and some had become deformed by being crushed by the others. It was finally time to harvest the mushrooms!
When I started harvesting the mushrooms, I removed the largest and tallest ones first. It was interesting that once removed, the mushrooms growing under these had brown dust on them. Taking knowledge from my secondary research, I concluded that these were the mushroom spores that had dispersed from mushroom gills.
REFLECTION:
The main discovery from the experiment is the notable diversity in the way the mushrooms grew. Each day brought a different pattern of growth, and each stage of this growth looked visually unique from the previous ones. It was fascinating to observe how the various stages of growth could be so distinct while ultimately coming together to create the mature mushroom.
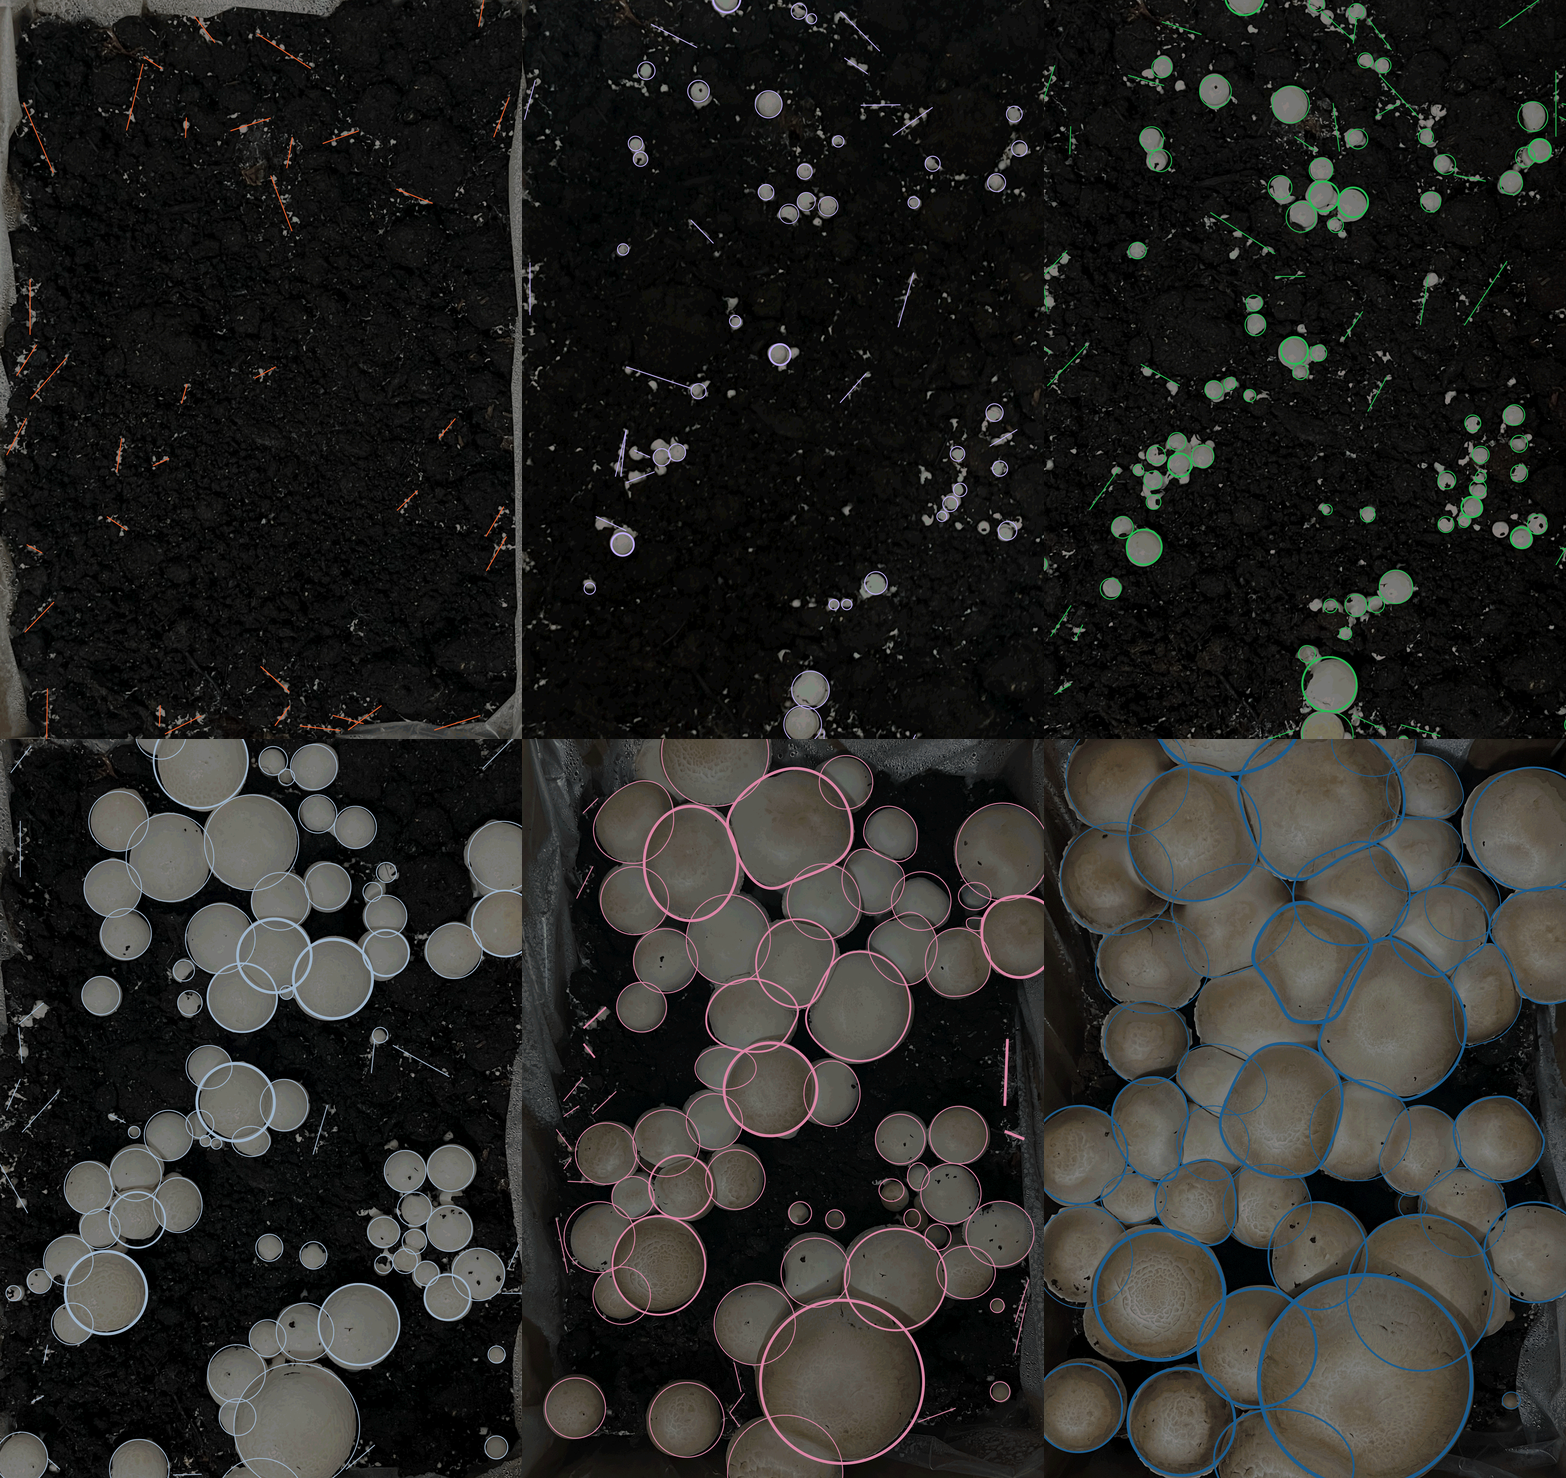
This observation of different growth stages contributing to the formation of a single mushroom inspired the idea of a mushroom grid system. This grid system, like the different stages of mushroom growth, would consist of various components or stages that, when combined, would help in constructing the final layout. In essence, the idea is to use this natural variation and progression as a model for creating a structured design system that can lead to diverse and visually interesting layouts.
DESIGN RESPONSE:
From this key insight, I was inspired to develop a mushroom grid system for print and web design. This grid system is structured and divided into steps, complete with rules and guidelines. Its purpose is to provide clear instructions on how to design layouts for both print and web media.
What makes this grid system unique is that it mimics the visual characteristics and organisation patterns I observed while growing mushrooms. In other words, the rules and guides within the grid system replicate the natural growth stages of mushrooms, using them as a model for design.
This grid system demonstrates how the concept of biomimicry, drawing inspiration from nature (in this case, mushrooms), can be effectively integrated into visual design, particularly in the creation of grid layouts. This approach allows for more organic, visually appealing, and effective design, drawing from the patterns and structures found in the natural world.
Mapping the mushroom growth
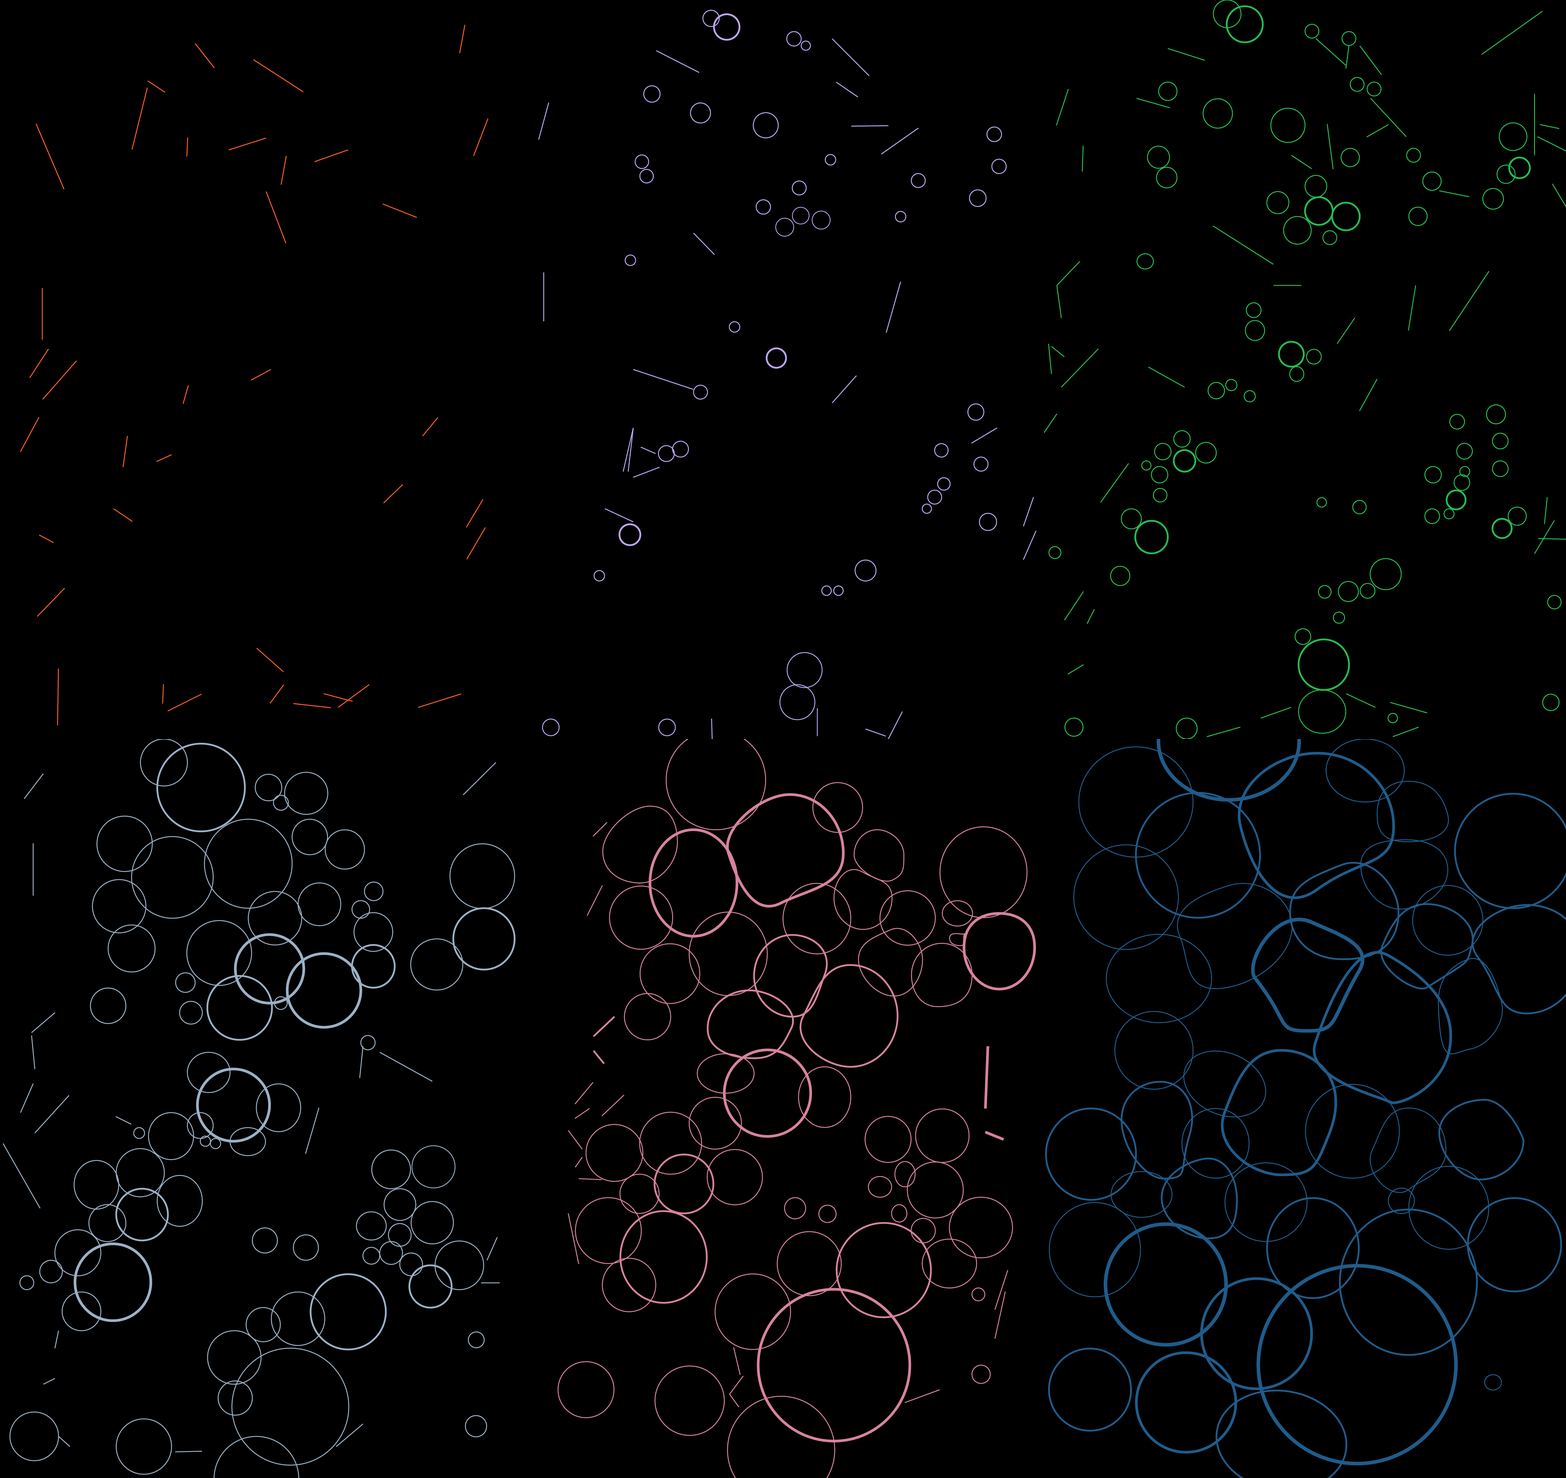
The Mushroom Grid System
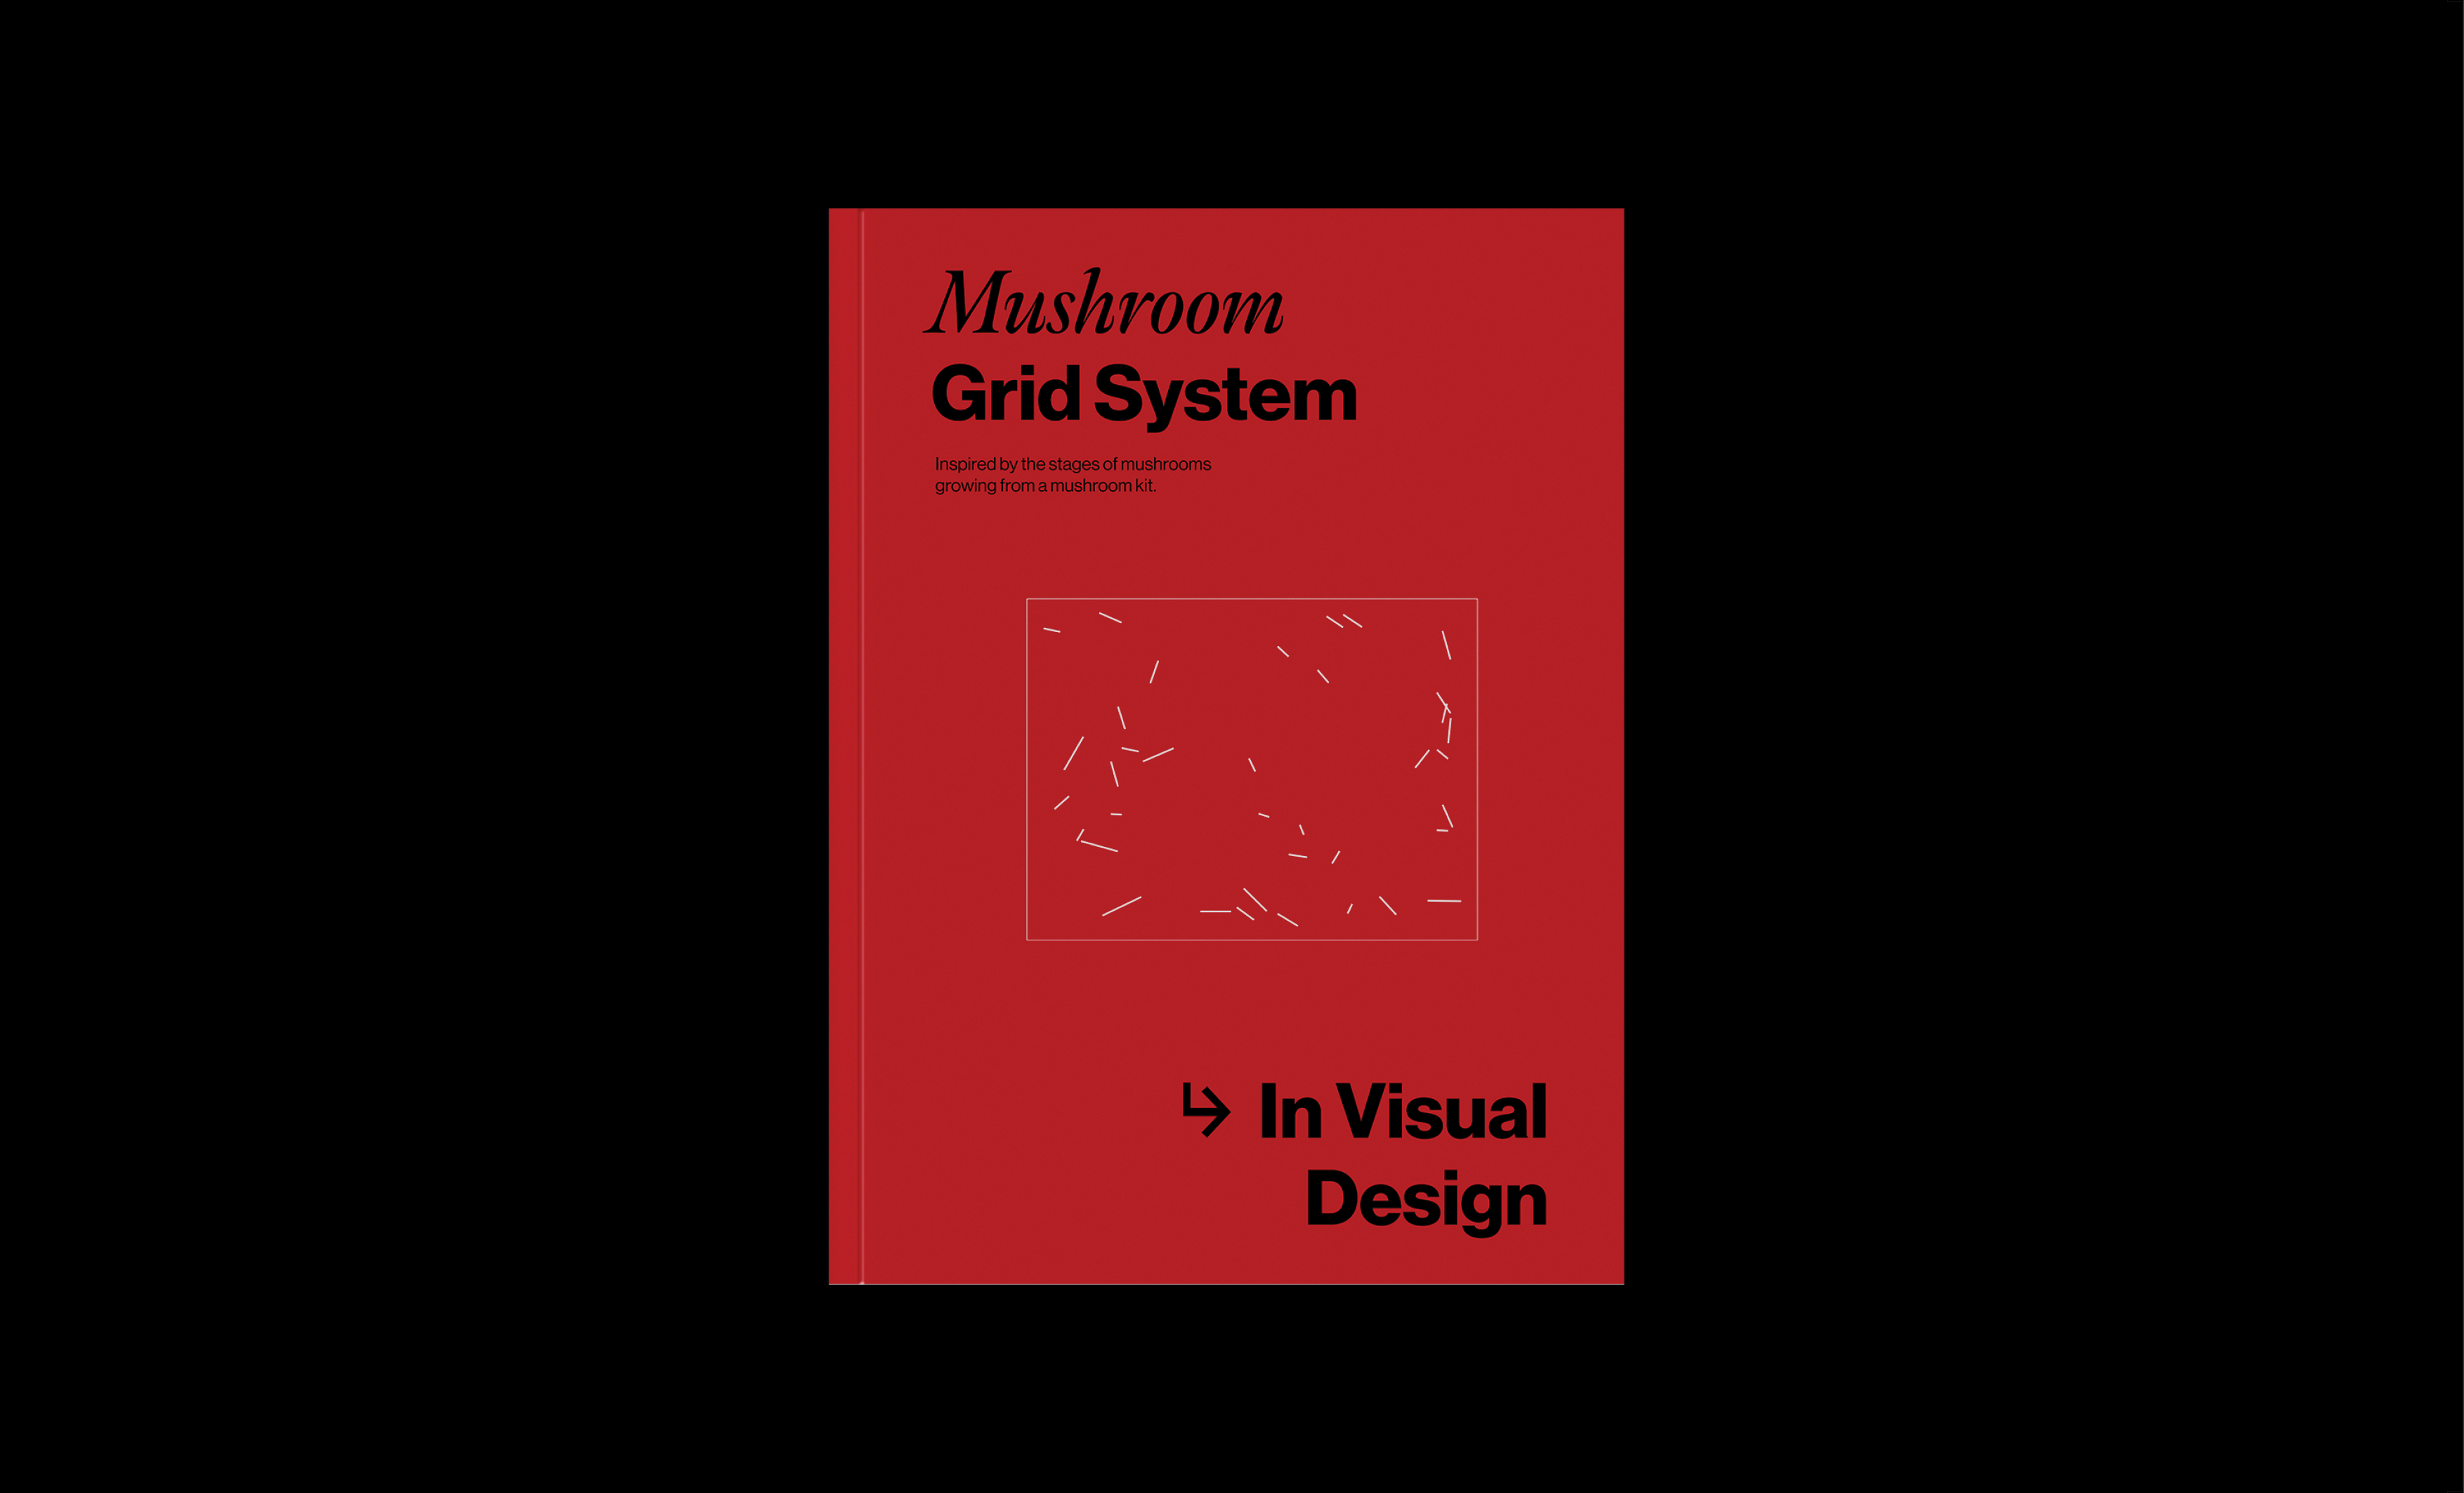


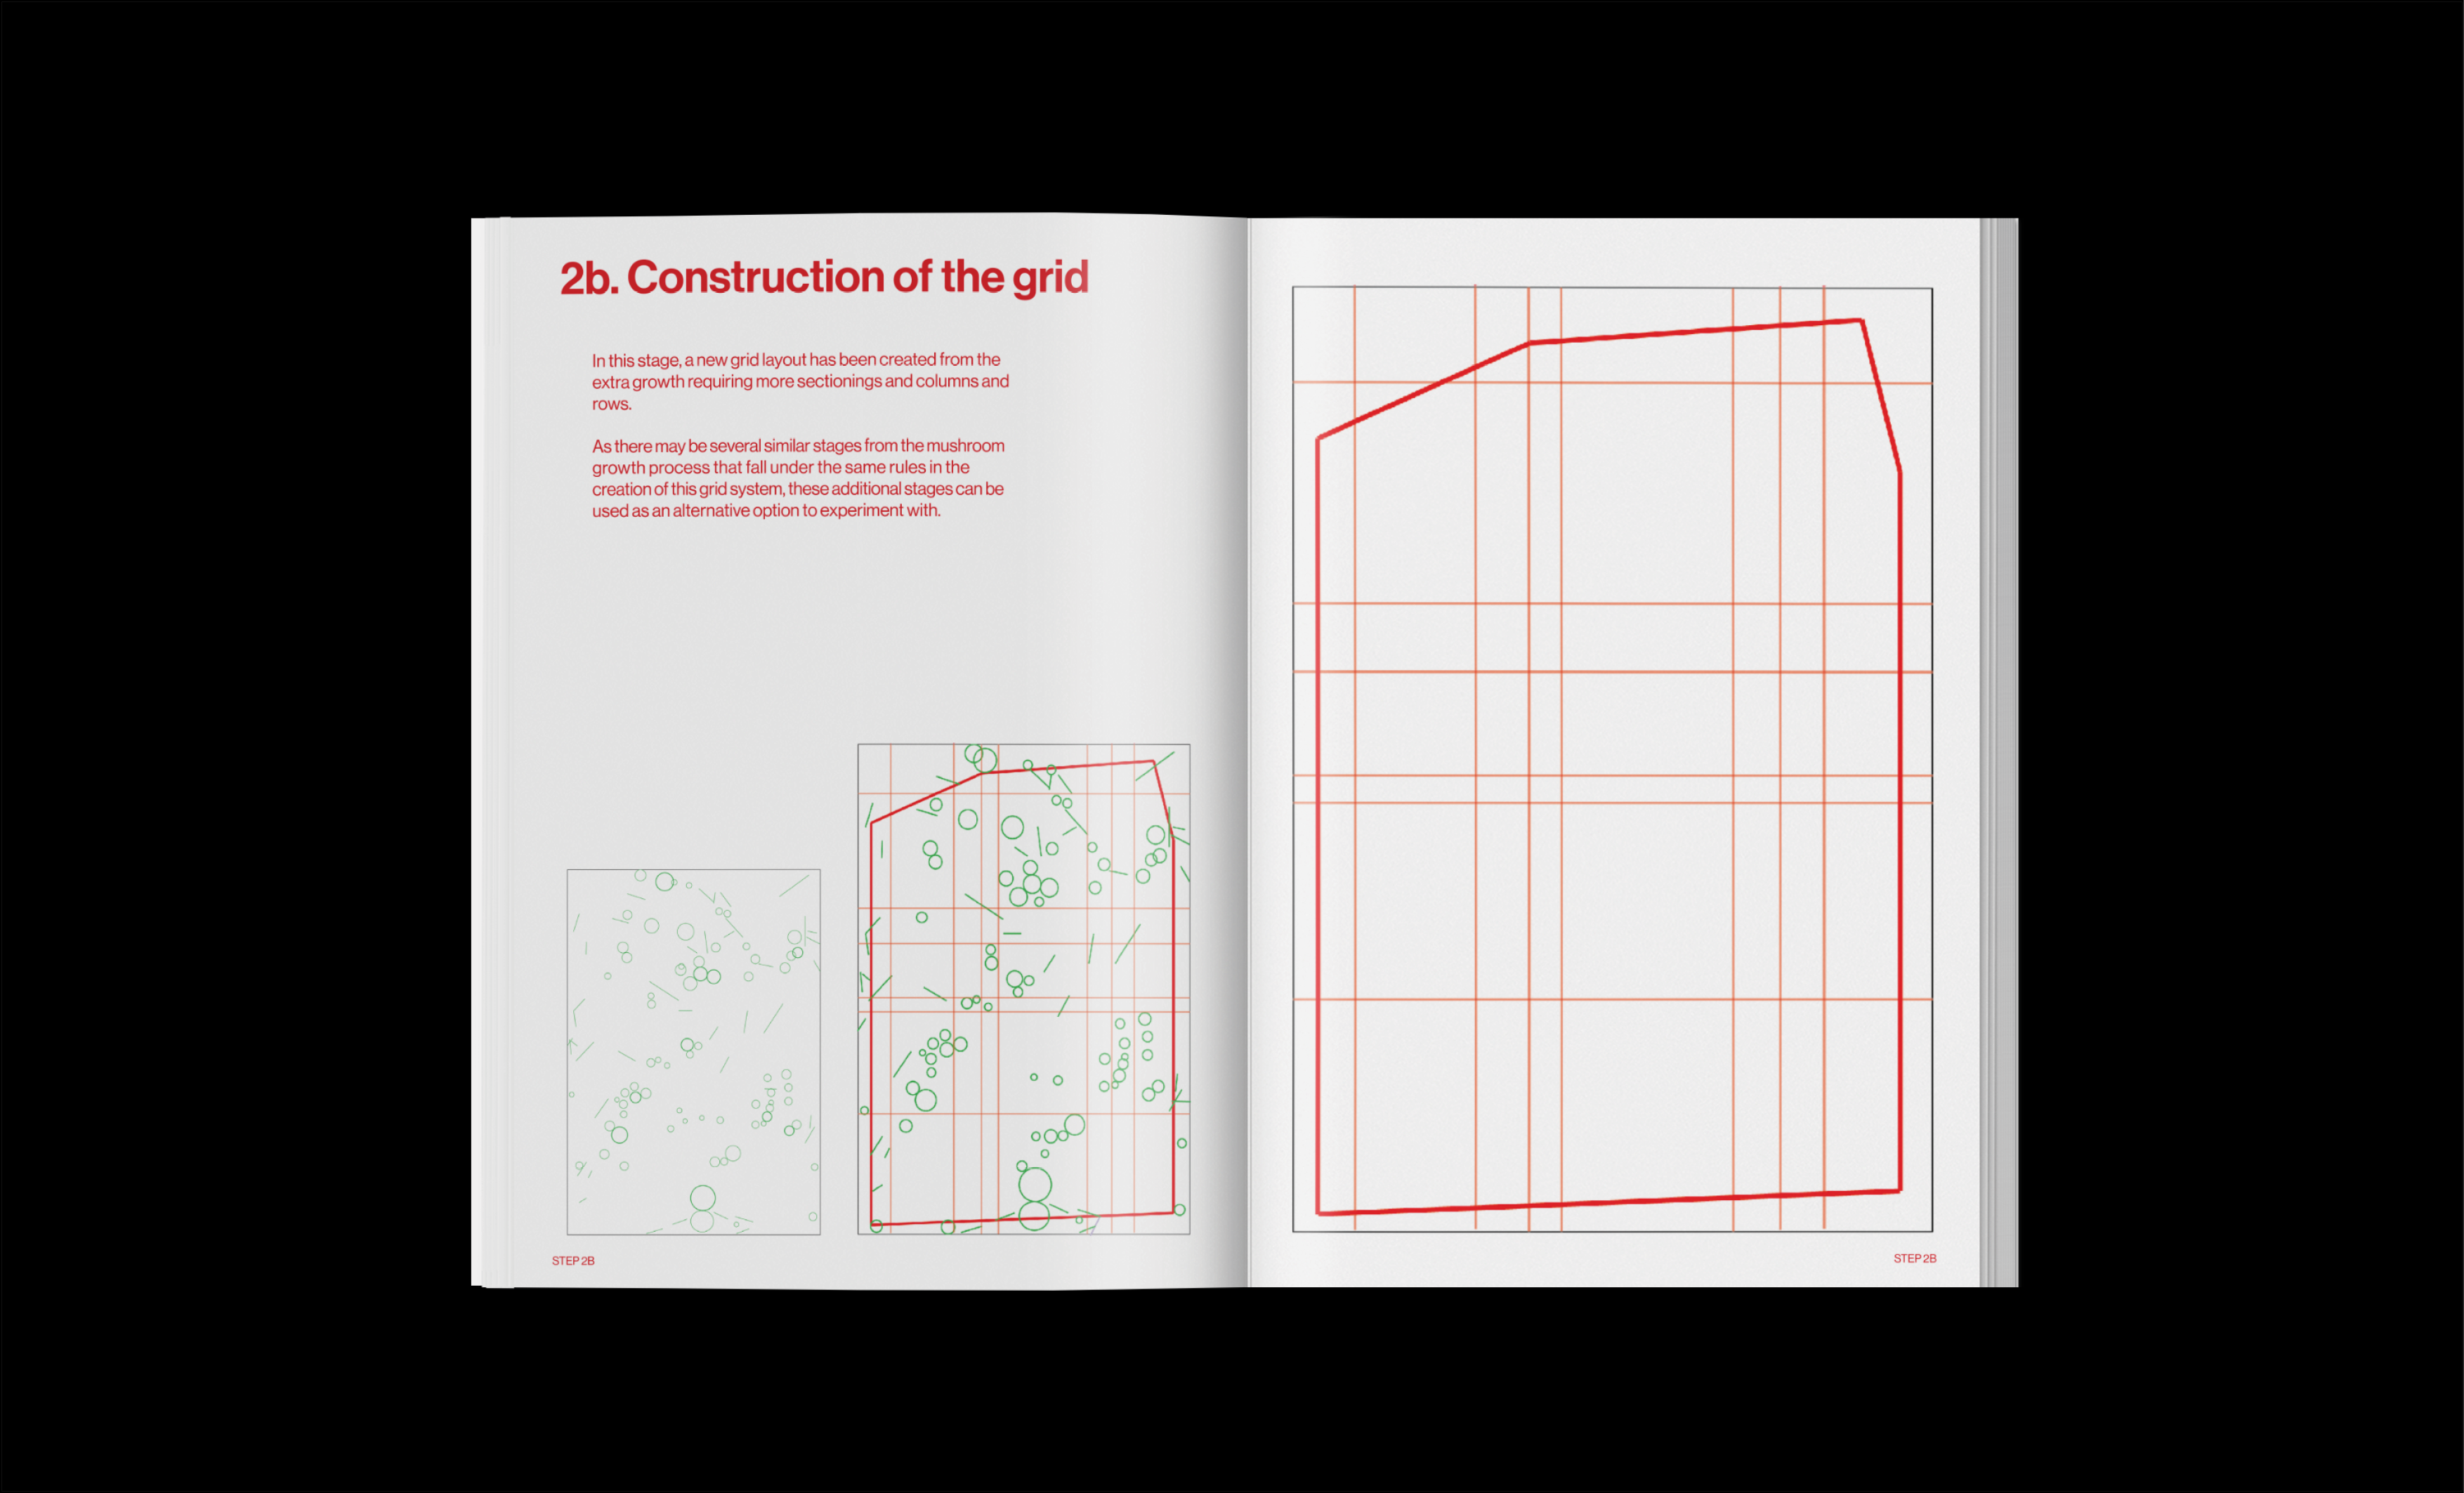


The mushroom grid system that resulted from this experiment achieved a moderate level of success. However, it had limitations, primarily related to how content could be placed within it. The experiment's rules established in the mushroom grid system predetermined the content placement in Step 3 by aligning the content hierarchy with the hierarchy observed in the growth of mushrooms.This lack of flexibility meant that there wasn't much room for adjusting or changing the layout to better accommodate the content. Instead, future direction to improve the outcomes from this grid system might be to use less text, which might allow for more refined and visually appealing results.
The limitations encountered in this experiment may have also stemmed from the constraints imposed by the pre-established grid structure, which restricted the placement of content within the layout. It is possible that this approach did not accurately mirror the natural process of mushroom growth, as observations from the mushroom growth kit revealed that the production and placement of mushrooms were inherently unpredictable.
REFLECTION FOR ACTION:
In light of this, a different avenue for experimentation might involve replicating the natural formation of mushroom growth. This would involve closely studying the primary element of mushroom growth—the mycelium—and using its existing patterns to create a more organic and nature-inspired layout. Such an approach could potentially yield a more harmonious and less constrained result compared to the earlier grid-based method.
